3 OM-8000 SERIES PREP TABLES
EVENING SHUT DOWN OF PREP RAIL
1. Remove product from unit at the end of the day’s preparation.
2. Turn off unit. See item 3 under the Mechanical Compartment section above for
powering on the rail.
3. Unit cleaning may be performed at this time if the frost has melted off the
surface.
4. Once defrosted, the rail drain may be opened to remove any water that has
resulted from the defrosting procedure.
WARNING: IT IS RECOMMENDED TO ONLY MAKE CHANGES OF 2 DEGREE INCREMENTS
AT A TIME. ALLOW FOR THE UNIT TO OPERATE 24 HOURS BETWEEN
ADJUSTMENTS. IF THE 2 DEGREE ADJUSTMENT IS NOT ENOUGH ANOTHER
ADJUSTMENT CAN BE MADE. IF THE SETTINGS NEED TO GO ABOVE OR
BELOW THIS POINT THERE MAY BE OTHER CONTRIBUTING FACTORS AS
TO THE CAUSE OF THE TEMPERATURE VARIANCES, PLEASE CONTACT THE
FACTORY AT 1-800-621-8560.
AMBIENT CONDITIONS
Unit is designed for normal operating temperatures between 70° F (21°C) - 86°F
(32°C). Operating outside of those temperatures may cause premature product
wear or failure.
Unified Brands has attempted to preset the temperature control to ensure that
your unit runs at an optimum temperature, but due to varying ambient conditions,
including elevation, food type and your type of operation, you may need to alter
this temperature using control adjustment until desired temperature is reached.
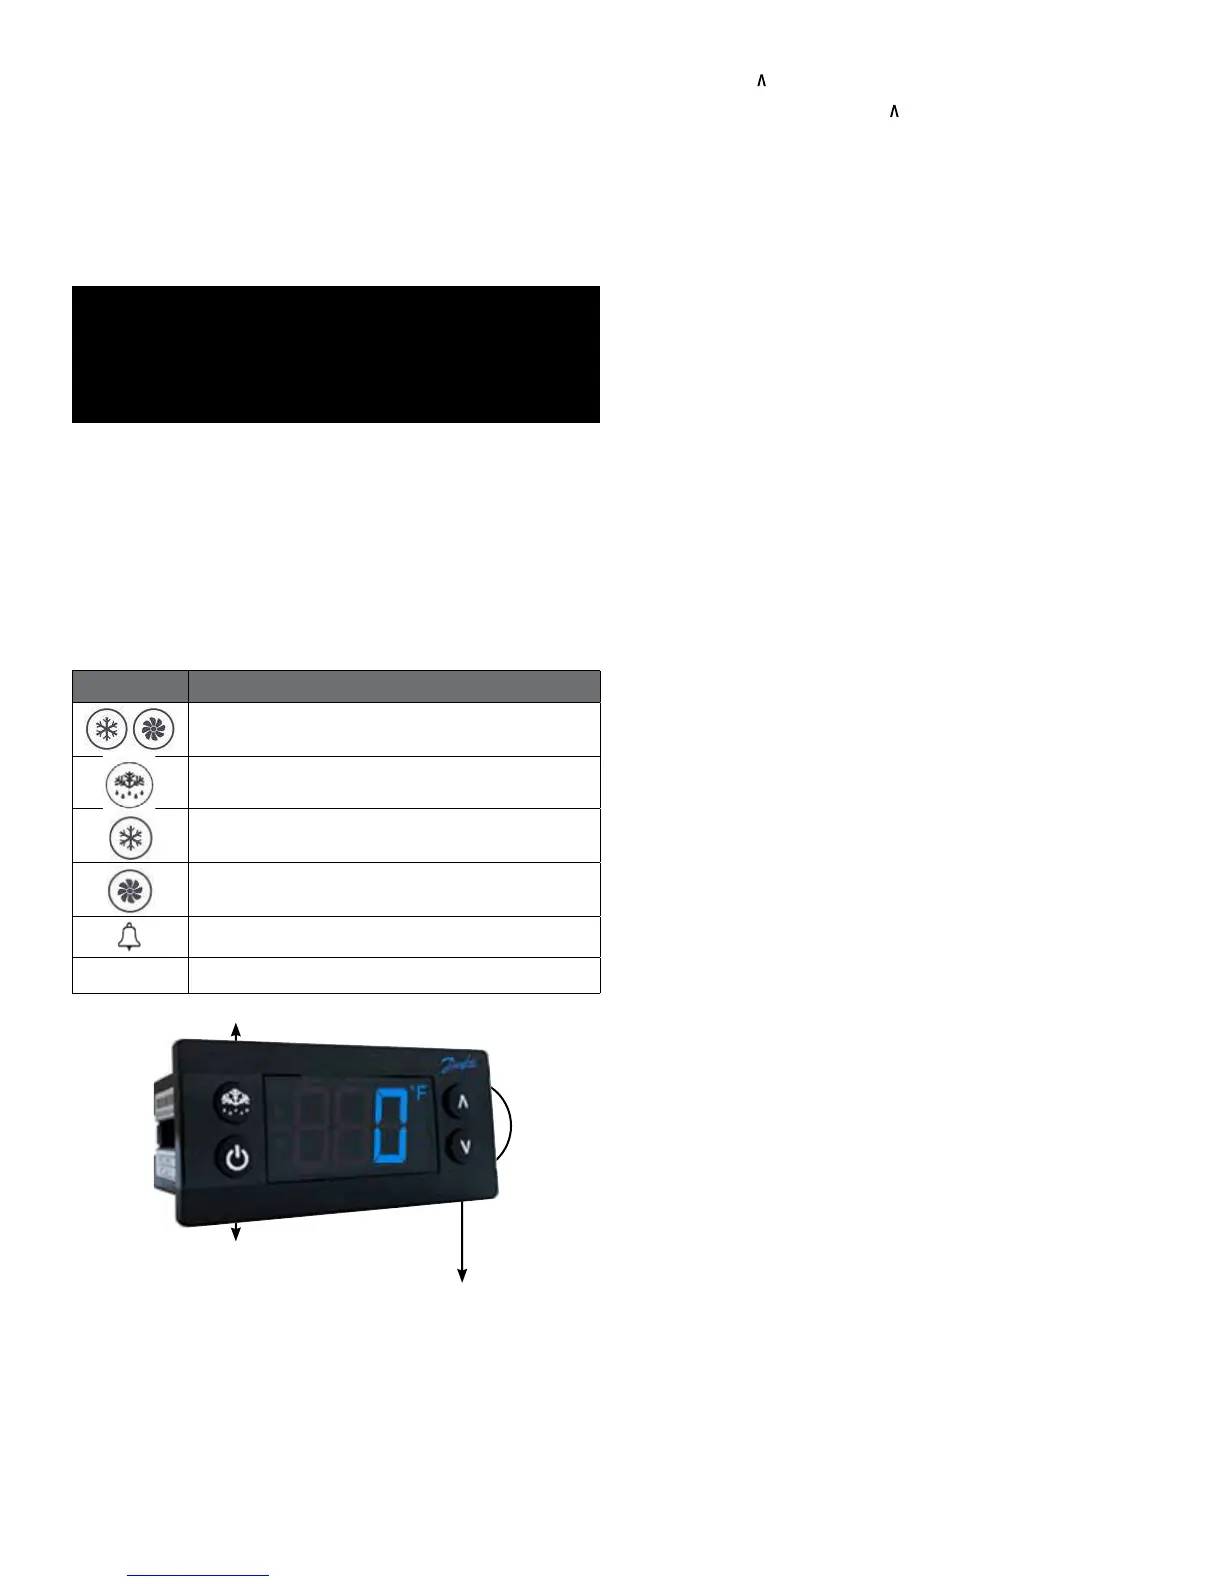
DANFOSS CONTROLLER OPERATION
LED FUNCTION
Compressor energized & Evaporator fan de-energized
Defrost in progress
Fans delay after defrost completion
Evaporator fan energize
An alarm is occurring
ºC / ºF
Temperature unit
POWER ON / OFF
MANUAL DEFROST
CHANGE SET POINT
POWER ON / OFF: Press and hold the power button until LED display turns On / Off
MANUAL DEFROST: Press and hold “Defrost” Button
CHANGE SET POINT: To raise temperature
1. Press and hold “
” to access set point.
2. When set point start flashing, Press “
” to adjust set point.
3. After 30 seconds, the display automatically reverts to showing the current
temperature.
CHANGE SET POINT: To lower temperature
1. Press and hold “v” to access set point.
2. When set point start flashing, Press “v” to adjust set point.
3. After 30 seconds, the display automatically reverts to showing the current
temperature.
CHANGE FROM ºF /ºC :
1. Press the up/down buttons simultaneously for 5 seconds to access the menu.
2. Password is requested. Password is 000.
3. Press the bottom left button to OK the password.
4. Using the up/down buttons, navigate to the “diS” level. Press the bottom left
button to OK the selection.
5. Using the up/down buttons, navigate to the “CFu” level. Press the bottom left
button to OK the selection.
a. “-F” designates Fahrenheit.
b. “-C” designates Celsius.
6. Press the top left button repeatedly to return to exit and return to the home
screen.
DRAWER / DOOR ALARM: Acknowledging Alarms – Visual Display Only
1. After 2 minutes the display will flash the alarm message “dor”
2. Press any button to acknowledge alarm
DRAWER / DOOR ALARM: Door Alarm Activation – If audible alarm is wanted
1. Press the up/down buttons simultaneously for 5 seconds to access the menu.
2. Password is requested. Password is 000.
3. Press the bottom left button to OK the password.
4. Using the up/down buttons, navigate to the “ALA” level. Press the bottom left
button to OK the selection.
5. Using the up/down buttons, navigate to the “Abd” level. Press the bottom left
button to OK the selection.
a. “0” Disables the alarm.
b. Any other number is the number of minutes before the buzzer sounds after the
drawer is opened.
6. Press the top left button repeatedly to return to exit and return to the home
screen.
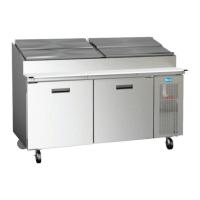
DRAINING THE RAIL
1. Open hinged mechanical compartment door
2. Place container under drain valve
3. Open valve until all water has drained
4. Close valve
5. Discard water
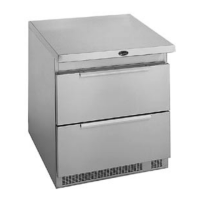
DRAWER REMOVAL
1. Fully extend the drawer that is to be removed.
2. Remove product pans from drawer.
3. Lift up the drawer stop tabs on each side of drawer track.
4. Pull drawer out while lifting the tabs.
 Loading...