EasyManua.ls Logo

Rane MP 22 User Manual

Rane MP 22
6 pages
To Next Page IconTo Next Page
Page #1 background imageLoading...
Page #1 background image
Manual-1
OPERATORS MANUAL MP 22
DJ MIXER
QUICK START
If you won’t read the manual (we know how it is) here are a few basic “plug it in and get signal thru it” facts. The MP
22 has all unbalanced RCA connectors, except for the XLR & ¼" Mic Inputs, and ¼" Mic Loop. Be sure your amplifier is
off while making connections. On the front panel, set all controls to the middle of their travel. Set all pushbuttons to their
out position, slide the MASTER LEVEL all the way down. Turn the INPUT SELECT switch for Channel A or B to an
Input with material playing. Turn your amplifier on. Now slowly turn up the MASTER LEVEL and see the material on the
meters and hear it from the MASTER OUTPUT jacks.
There are two places where you can get lost. If you bring a phono signal into PH/LN 1 or 2 be sure to keep the LINE/
PHONO switch set to PHONO; likewise when using a CD player be sure this switch is set to LINE. If you plug into the
MASTER LOOP RETURN the signal path thru the unit is broken, since these are switching jacks. They are looking for
the return from an outside device that got its signal from the MASTER LOOP SEND, so only use these when you can
make a complete loop. Now that was a pretty quick start, right?
Never connect anything except a Rane RS 1 to the thing that looks like a red telephone jack on the rear of the MP 22.
This is an AC supply and requires some special attention if you do not have an operational power supply exactly like the
one that came with your unit. Consult the Rane factory for a replacement or substitution.
Question and Answer IconNeed help?

Do you have a question about the Rane MP 22 and is the answer not in the manual?

Rane MP 22 Specifications

General IconGeneral
Channels2
Equalizer3-band
Outputs1 1/4" TRS
Power SupplyInternal
Total Harmonic Distortion<0.005%

Summary

Front Panel Description

Main Mic Input

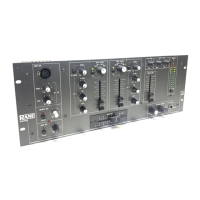
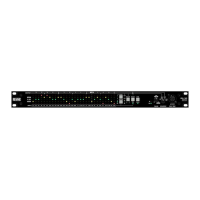
Three pin connector for balanced microphone connection.

Mic EQ Controls

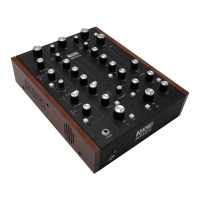
Adjusts frequency contour of Microphone Inputs. 12 o'clock position bypasses EQ.

Channel A & B EQ Engage Switches

Engages the Channel Equalizer. Out position bypasses the Equalizer.

Channel A & B EQ Level Controls

Four rotary controls contour frequency response when EQ is active.

Input Select A & B

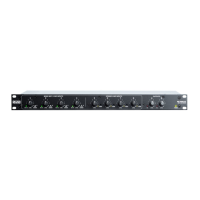
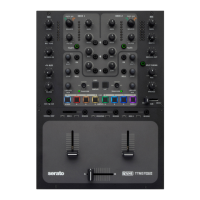
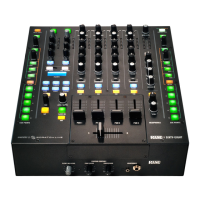
Four position rotary switches for phono/line input selection.

Zone Level Controls

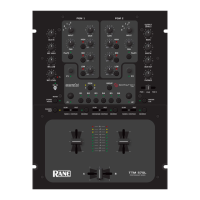
Controls the output level of Zone 1 and Zone 2.

Main Mic Engage Switch

Engages the Main Mic Input. Red LED flashes when pressed.

Main Mic Level Control

Adjusts the level of the front panel Main Mic Input.

Main & Remote Mic Overload Indicator

Red LED monitors Mic Inputs for overload conditions.

Remote Mic Engage Switch

Engages the Remote Mic Input. Red LED flashes when pressed.

Master Level Fader

Determines the final level at the Master and Zone Outputs.

Rear Panel Description

Power Input Connector

Connects to 18 volt AC center-tapped transformer. Use Rane RS 1.

Operating Instructions

Initial Operation

Steps for initial setup and testing of the mixer.

Related product manuals