Dominion LX Quick Setup Guide 3
QSG-LX-v2.6.0-0E-E 255-80-8010-00 RoHS
Disable transition effects:
Deselect the "Use the following transition effect for menus
and tooltips" option
Apple Mac Mouse Settings
Configure these Apple Mac
®
mouse settings:
Absolute Mouse Synchronization is required for proper mouse
synchronization on KVM target servers running a Mac
®
operating system.
In order for Absolute Mouse Synchronization to work, a virtual
media CIM is required. For a list of supported CIMs, see
Supported Computer Interface Module (CIMs) Specifications.
Once you have completed your LX installation, set the Mac
USB profile. If you do not set this profile, the mouse does
synch in OS X.
To do this, do one of the following:
1. Connect to the Mac target from the Raritan KVM Client.
2. Select USB Profile > Other Profiles > Mac OS-X (10.4.9
and later).
Or
3. In LX, select Device Settings > Port Configuration, then
click on the target name to open the Port page.
4. Expand 'Select USB Profiles for Port' section.
5. Select 'Mac OS-X (10.4.9) and later' from the Available
box, then click Add to add it to the Selected box.
6. Click on 'Mac OS-X (10.4.9) and later' in the Selected box.
This automatically adds it to the Preferred Profile
drop-down.
7. Select 'Mac OS-X (10.4.9) and later' from the Preferred
Profile drop-down, then check the checkbox under 'Set
Active Profile As Preferred Profile'. Click OK to apply.
Linux Mouse Settings
Configure these Linux
®
mouse settings:
(Standard Mouse Mode only) Set the mouse acceleration
to exactly 1 and set the threshold to exactly 1. Enter the
following command: xset mouse 1 1. This should be set
for execution upon login.
Sun Solaris Mouse Settings
Configure these Sun
®
Solaris
™
mouse settings:
Set the mouse acceleration value to exactly 1 and the
threshold to exactly 1
Ensure that your video card is set to a supported
resolution and that its output is VGA, not composite sync
IBM AIX Mouse Settings
Configure these IBM AIX
®
mouse settings:
Go to the Style Manager, click on Mouse Settings and set
Mouse Acceleration to 1.0 and Threshold to 3.0
QS Rule
Step 2: Configure Network Firewall Settings
TCP Port 5000
Allow network and firewall communication on TCP Port 5000
to enable remote access to the LX.
Alternatively, configure the LX to use a different TCP port,
then allow communication on that port.
TCP Port 443
Allow access to TCP Port 443 (Standard HTTPS) so you can
access LX via a web browser.
TCP Port 80
Allow access to TCP Port 80 (Standard HTTP) to enable
automatic redirection of HTTP requests to HTTPS.
QS Rule
Step 3: Connect the Equipment
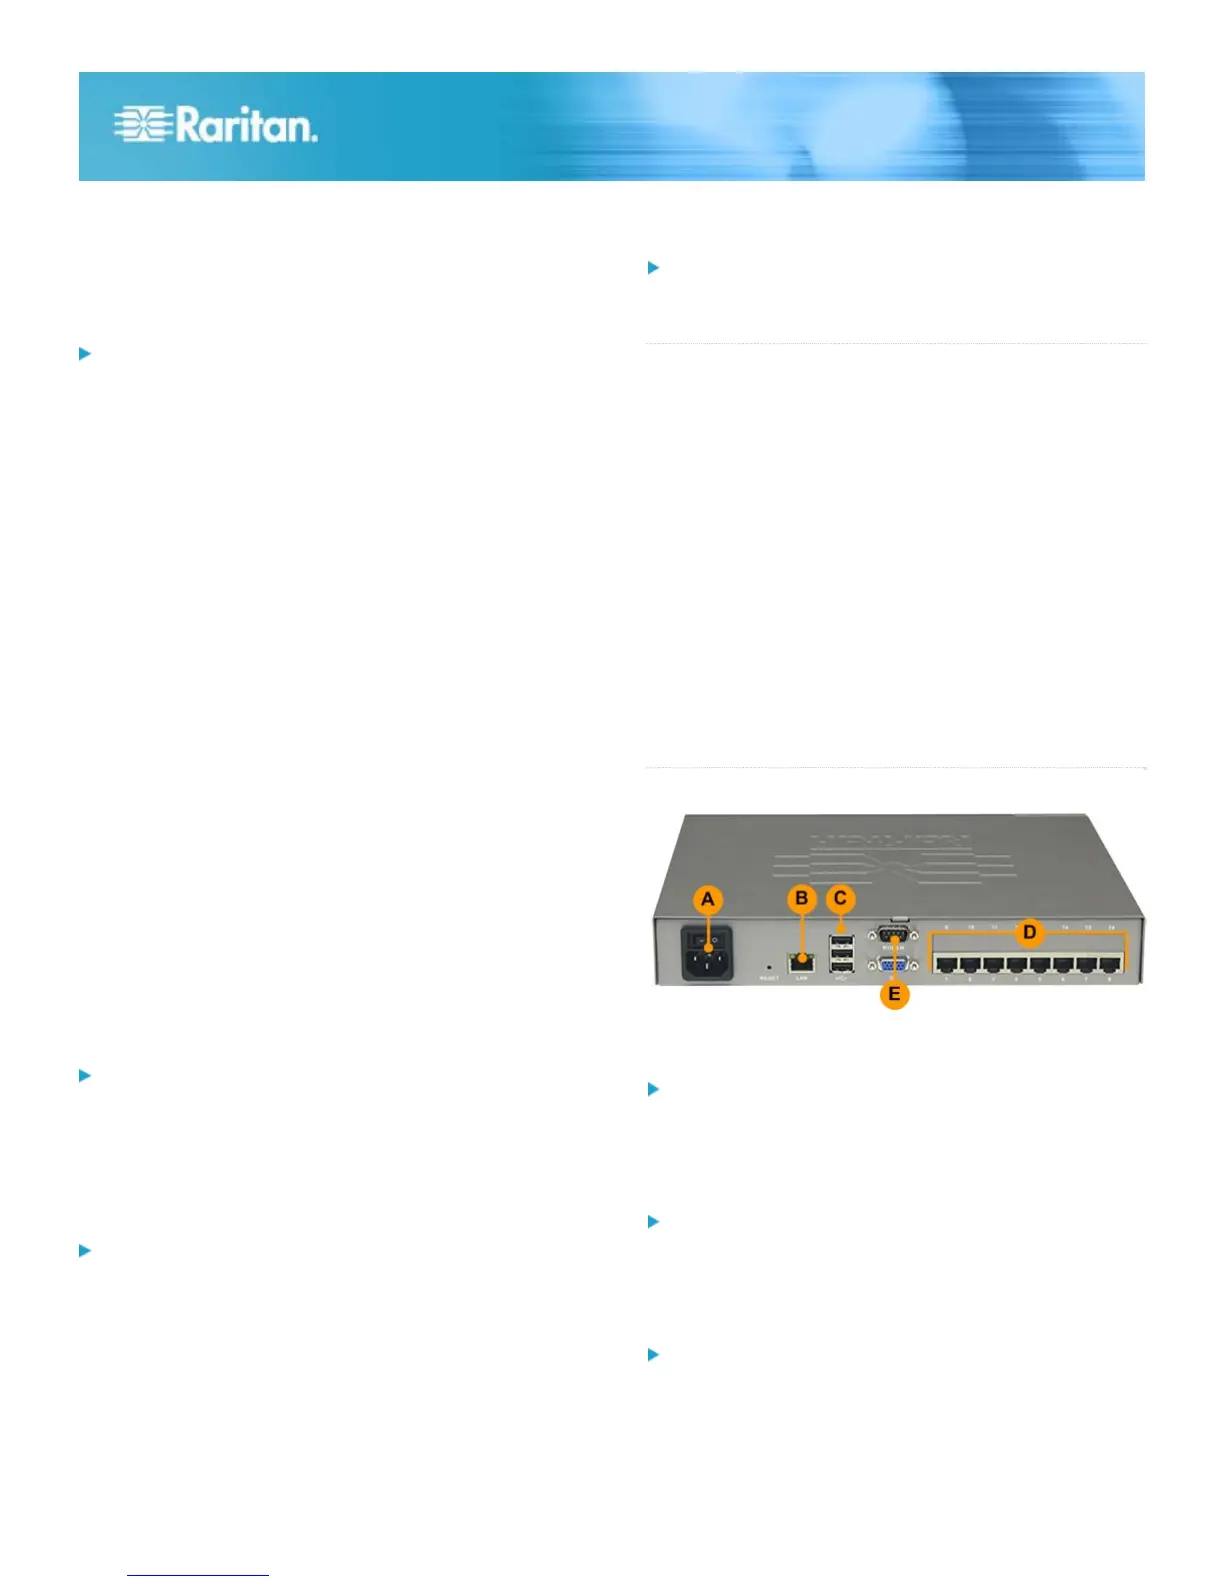
A. AC Power
To connect the power supply:
Attach the included AC power cord to the LX and plug it
into an AC power outlet.
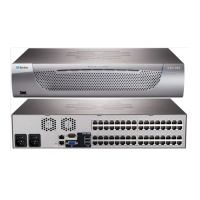
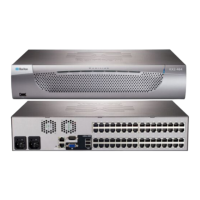
B. Network Port
To connect the network:
Connect a standard Ethernet cable (included) from the
network port to an Ethernet switch, hub, or router.
C. Local Access Port (Local PC)
To connect the local port:
Attach a multi-sync VGA monitor, mouse and keyboard to
the respective Local User ports using a USB keyboard and
mouse. The port connections are located on the back
panel of the LX.

 Loading...