D
danielriggsJul 31, 2025
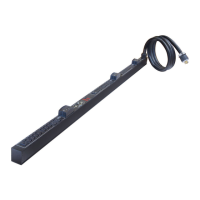
Why can't I access my Raritan PX3-1000 Power distribution unit master device?
- TTara DavisJul 31, 2025
There are several reasons why you might be unable to access the master device: * A network connection to the master device might be lost. * No power is being supplied to the master device. * The Ethernet or wireless interface on the master device is disabled. * IPv4 (or IPv6) settings are disabled on the master device. * In port forwarding mode, the master device's role is incorrectly set to 'Slave'. * In port forwarding mode, the interface where the network is connected is incorrectly selected as the downstream interface. * The installed CA certificate chain contains any certificate that has expired or is not valid yet.