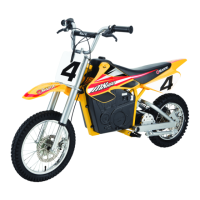
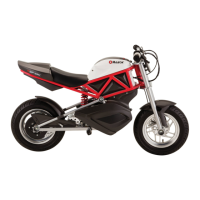
SX500 Model
3 With a 17 mm and 19 mm
wrench, tighten the front wheel.
6
2 Slide axle through fork, spacer and wheel hub. When axle passes through the
other side of the wheel hub, add the other spacer, and slide though the fork. Secure
with washer and nut.
Note: Front axle is installed with the spacer between the fork and wheel for all Dirt
Rockets.
1 Position wheel in front fork and
slide disk brake into caliper.
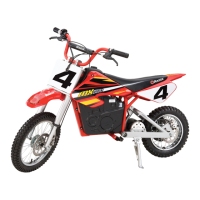
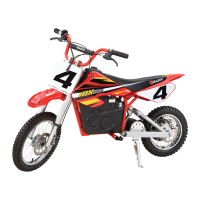
MX500/MX650 Models
3 With a 14 mm and 17 mm
wrench, tighten the front wheel.
Installing the Front Wheel
Tools required: 14 mm wrench and 17 mm wrench (MX500/MX650 Models)
17 mm wrench and 19 mm wrench (SX500 Model)
Inflating the Tires
Tires are inflated when shipped, but they invariably lose some pressure between the point of manufacturing and your
purchase.
WARNING: Failing to
properly adjust and tighten the nuts
and bolts that affix the fork can cause
you to lose control and fall.
WARNING:
Do not over inflate, as this could
damage tire or wheel.
Note: The pressurized air supplies
found at gasoline stations are
designed to inflate high-volume
automobile tires. If you decide to use
such an air supply to inflate your motor
bike tires, first make sure the pressure
gauge is working, then use very
short bursts to inflate to the correct
PSI. If you inadvertently over-inflate
the tire, release the excess pressure
immediately.
1 Using a bicycle-style tire pump
equipped for a Schrader-type valve,
inflate the front tire to the correct PSI
indicated on the sidewall of the tire.
ASSEMBLY AND SET-UP
Axle Blot
Fork Fork
Spacer
Spacer
Washer
Washer Nut
Nut
 Loading...