Need Help? Visit our website at www.razor.com or call toll-free at 866-467-2967 Monday - Friday 8:00am - 5:00pm Pacific Time.
1
WARNING
Step 1
Step 2
Required Tools: (Not included)
A. Phillips screwdriver
B. Flathead screwdriver
C. 3 mm Allen wrench
D. 4 mm Allen wrench
E. 5 mm Allen wrench
F. 10 mm wrench
CAUTION: To avoid potential shock or other injury, turn power switch OFF and disconnect
charger before conducting any assembly or maintenance procedures. Failure to follow these
steps in the correct order may cause irreparable damage.
Using a 5 mm Allen wrench and a 10 mm wrench,
remove the four (4) hex bolts that hold the fairing in place.
Location of the hex bolts are circled in the images below.
Using a 5 mm Allen wrench and a 10 mm wrench,
remove the two (2) hex bolts underneath the seat.
Remove the fairing from the unit and set aside. Location
of the hex bolts are circled in the image below.
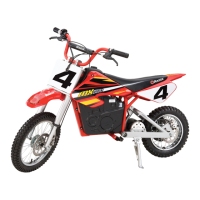
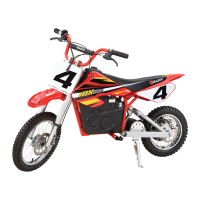
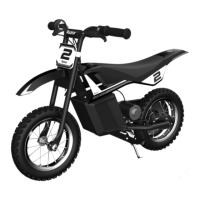
MX500
®
/ MX650
®
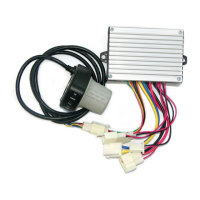
E-KIT REPLACEMENT PROCEDURES
MX500 / MX650 E-KIT
PART # W13114501164