The steps below will help you get your i v connecteo ano
working quickly. The page numbers on which you can find
detailed instructions for each of these steps are also listed
for your convenience.
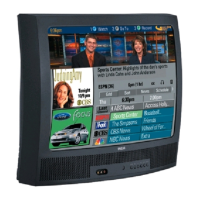
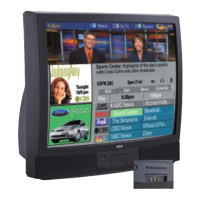
1. Unpack TV and accessories.
Shown here are the accessories thatcame packed with your TV.
Remote Control and Power Cord
Four _ Batteries
2. Install batteries in remote control.
Details areon page 6.
3. Connect antenna or cable-TV system.
Most antennaor cable-TV systems Can be connected as
show here.
Incoming Cable from Antenna or
Cable-TV System
Back
of TV
• Details for connecting a home antenna to your TV are on page
23.
• Details for connecting a cable-TV system to your TV
are on pages 24.
• Details for connecting a VCR to your TV are on
pages 29-30.
4. Attach power cord.
Firstattachthe fiat end of the power cord completely into the
connector on the back of your TV, andthen plug the otherend
into a wall outl.et.
_e
"llurn on TV, adjust the volume, and select a channel.
Pressthe TV button on
the remote to tum on the __ rv
TV. When using the Button
remote, remember to
point it at the front of the
TV. Number--
Buttons Buttons
Pressthe VOLUME up or (Volume)
Buttons
down button to adjustthe
volume to a desired
level.
Press the CHANNEL up or down button to select the next
channel in memory. You can also press two number buttons to
select a channel. To select a 3-digit cable channel (up to channel
128), press and hold number button 1 until 1-- appears on the
screen. Then press the other two numbers. Channels 2-13 were
programmed into the channel memory for you at the factory, so
•pressing CHANNEL up or down stops at these channels only.
6. AutoProgram the TV's channel memory.
Press the SETUP button repeatedly to select (highlight) the
AUTOPROGRAM function, and then press +. Details are on
page 18.
- Button ---
+ Button
SETUP
Button
You can also add and erase channels from memory as desired
by first pressing SETUP to select (highlight) the CHAN MEM
function. Select the desired channel number by pressing the
CHANNEL up or down button or by pressing the two
corresponding number buttons. Then press + to add a channel,
or press - to erase a channel. Details are on page 18.