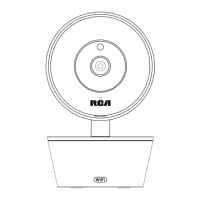
Camera
Your oodlight camera comes with a Micro-SD card pre-installed,
for recording alerts. This SD card is installed in a slot behind a door
on the underside of the camera. To remove or replace this card, use
the included screwdriver to unscrew the door on the side of the
camera open. Press the installed SD card to unlock it and pull it out.
Place the new SD card in and lock it into place. Then place the door
cover back on.
Removing/Replacing the SD Card
SD card and Reset button
(behind the door)
Lens
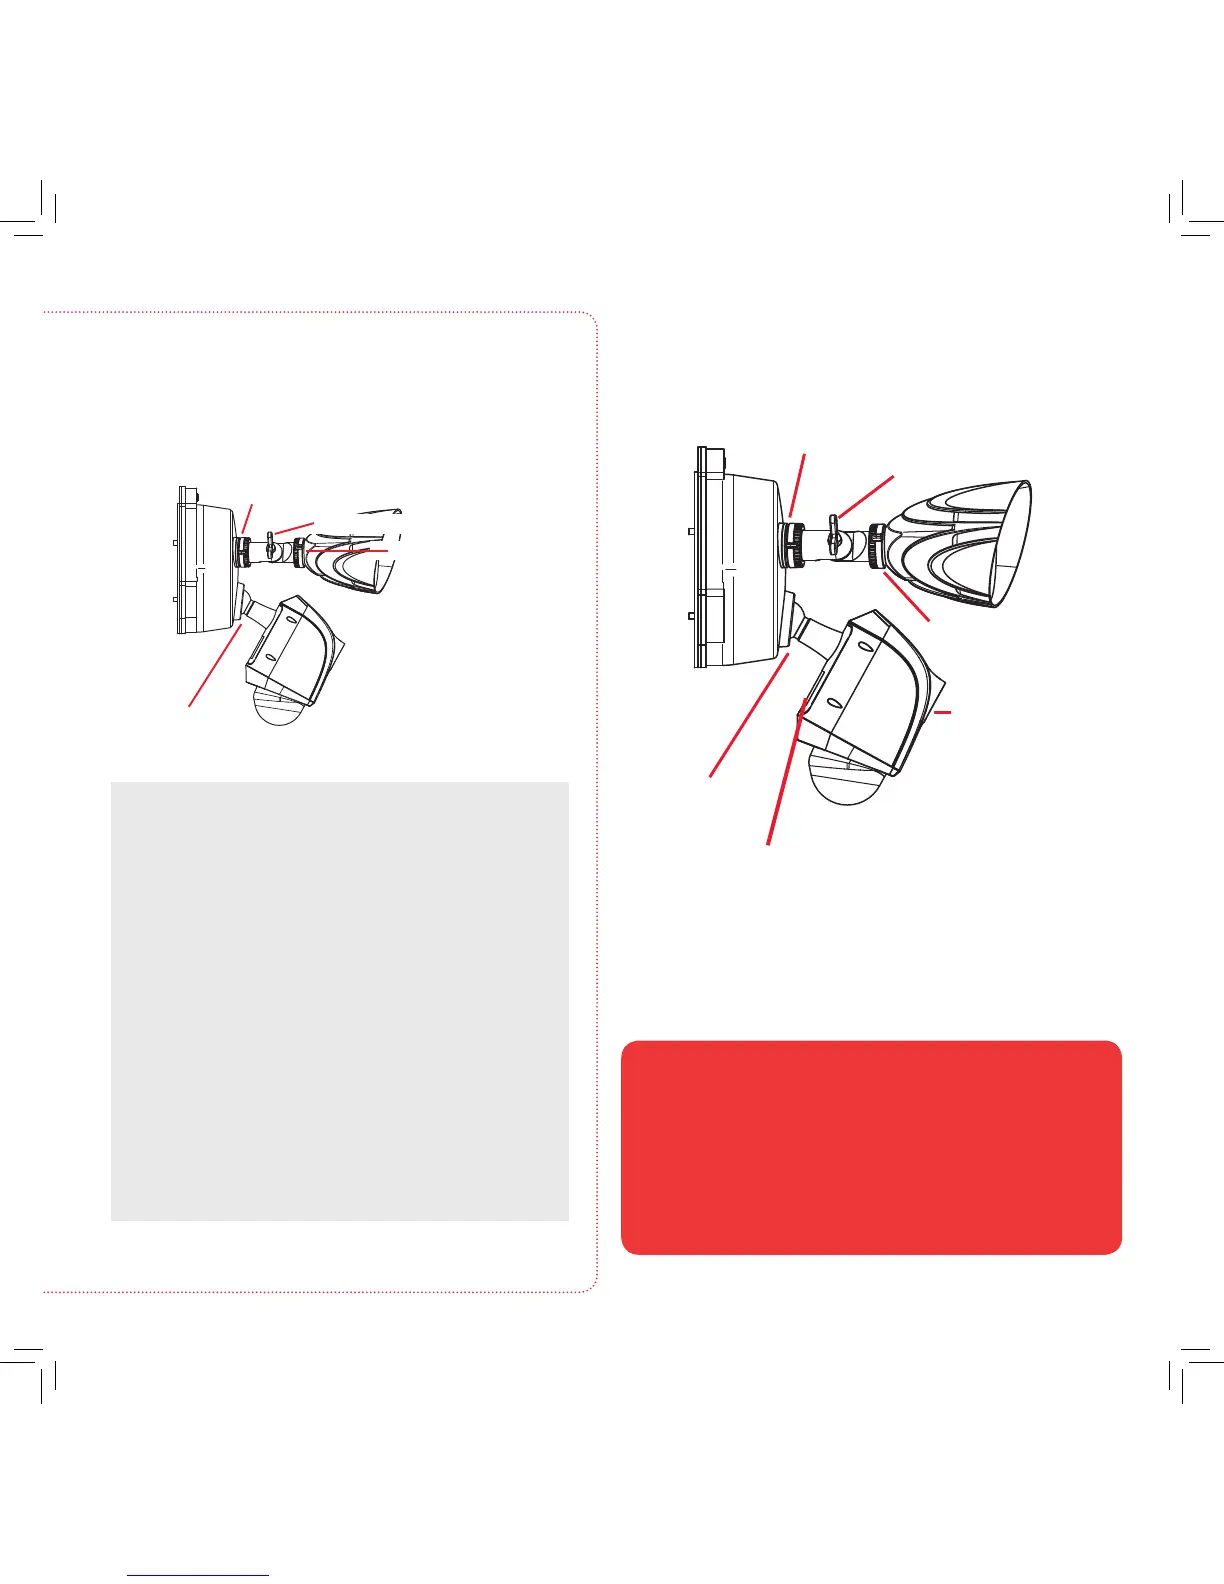
Position the camera and lights.
Lights
For pan adjustment: Loosen the base ring and
pan up to 360º. Tighten the base ring when you
have the light panned the way you want.
For arm tilt adjustment: Loosen the arm screw and
tilt the arm up to 180º. Tighten the screw when
you have the arm in the position you want.
For rotation adjustment: Loosen the light screw
and rotate the light up to 360º. Tighten the screw
when you have the light in the position you want.
Camera
Move the camera arm in its ball joint until you
have the camera in the position you want.
Make sure the base ring and adjustment
screws are tightened all the way for each
camera before proceeding.
Light base ring (pan)
Light arm screw (tilt)
Light screw (rotation)
Adjust the position of the camera and lights to get
the angle you want.
Camera arm
and ball-joint
Light screw
(rotation)