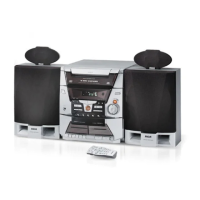
POWER ON
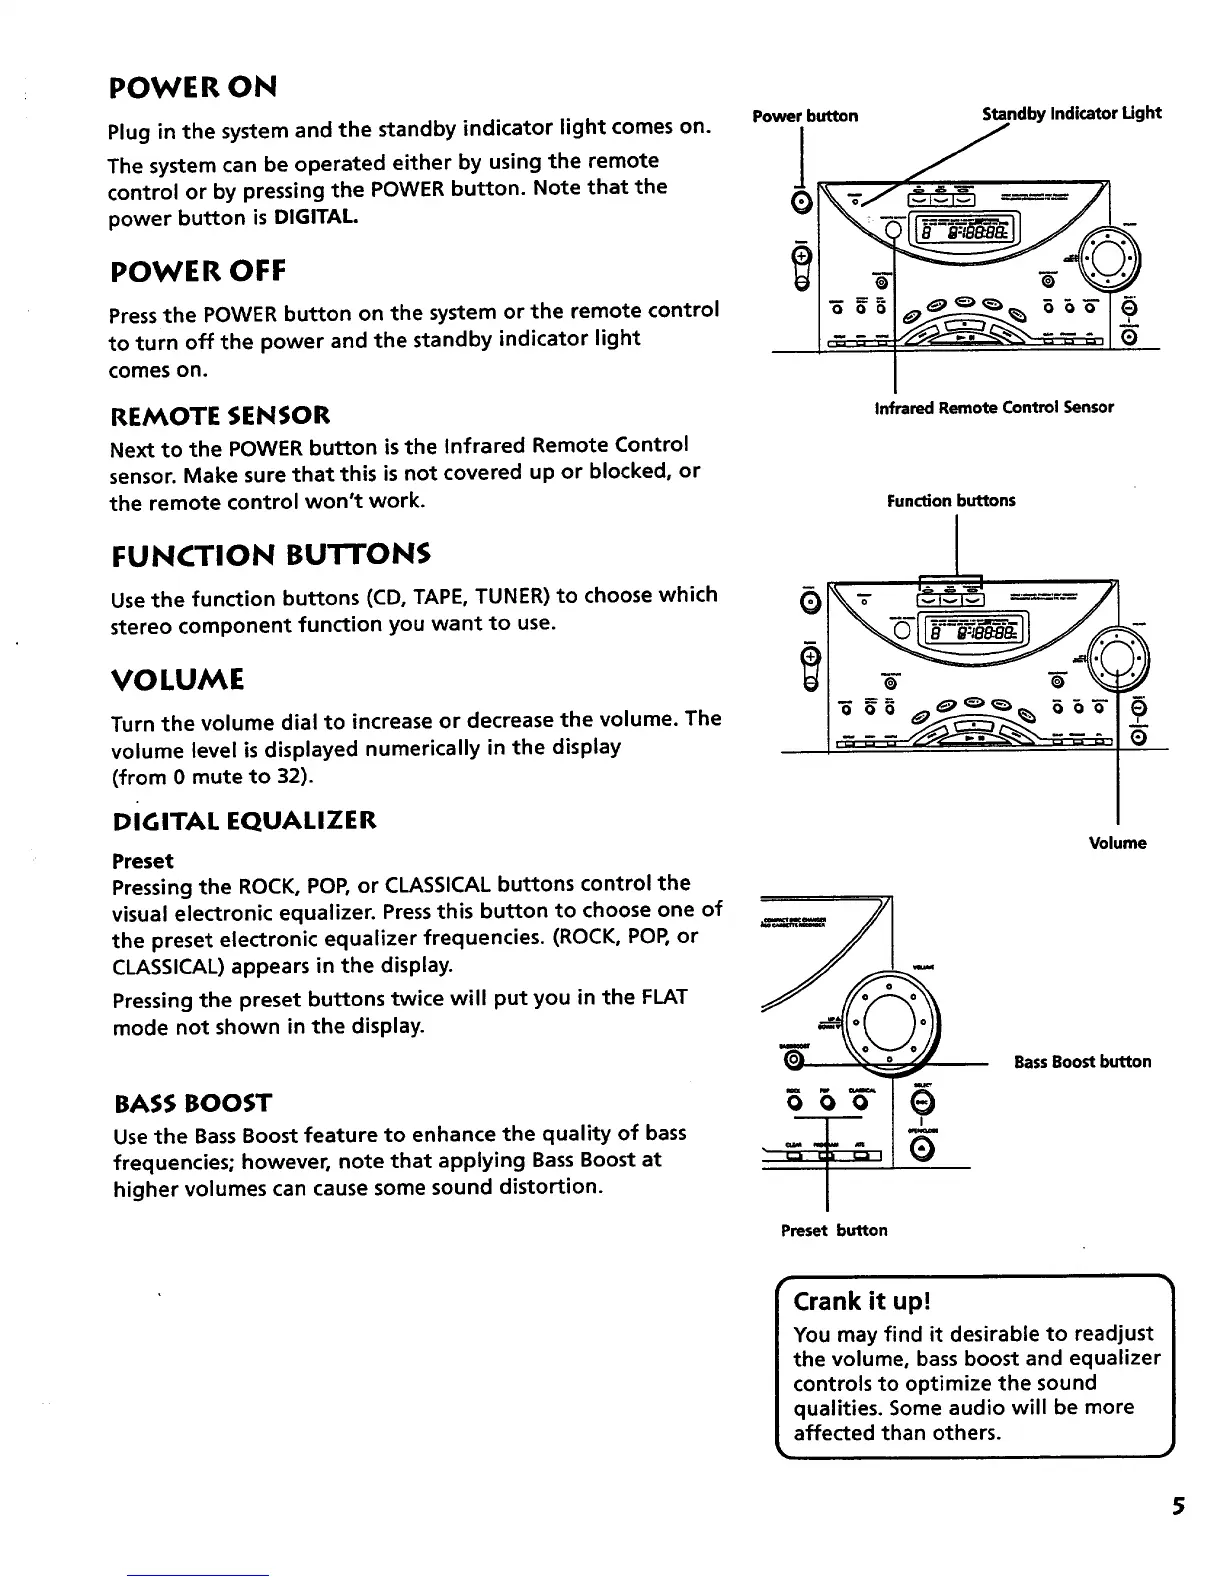
Plug in the system and the standby indicator light comes on.
The system can be operated either by using the remote
control or by pressing the POWER button. Note that the
power button is DIGITAL.
POWER OFF
Press the POWER button on the system or the remote control
to turn off the power and the standby indicator light
comes on.
REMOTE SENSOR
Next to the POWER button is the Infrared Remote Control
sensor. Make sure that this is not covered up or blocked, or
the remote control won't work.
FUNCTION BUTTONS
Use the function buttons (CD, TAPE, TUNER) to choose which
stereo component function you want to use.
VOLUME
Turn the volume dial to increase or decrease the volume. The
volume level is displayed numerically in the display
(from 0 mute to 32).
DIGITAL EQUALIZER
Preset
Pressing the ROCK, POP, or CLASSICAL buttons control the
visual electronic equalizer. Press this button to choose one of
the preset electronic equalizer frequencies. (ROCK, POP, or
CLASSICAL) appears in the display.
Pressing the preset buttons twice will put you in the FLAT
mode not shown in the display.
BASS BOOST
Use the Bass Boost feature to enhance the quality of bass
frequencies; however, note that applying Bass Boost at
higher volumes can cause some sound distortion.
Power button
Q
Standby Indicator Ught
Infrared Remote Control Sensor
Function buttons
Volume
Preset button
BassBoostbutton
pr
Crank it up!
You may find it desirable to readjust
the volume, bass boost and equalizer
controls to optimize the sound
qualities. Some audio will be more
affected than others.
5



 To Next Page