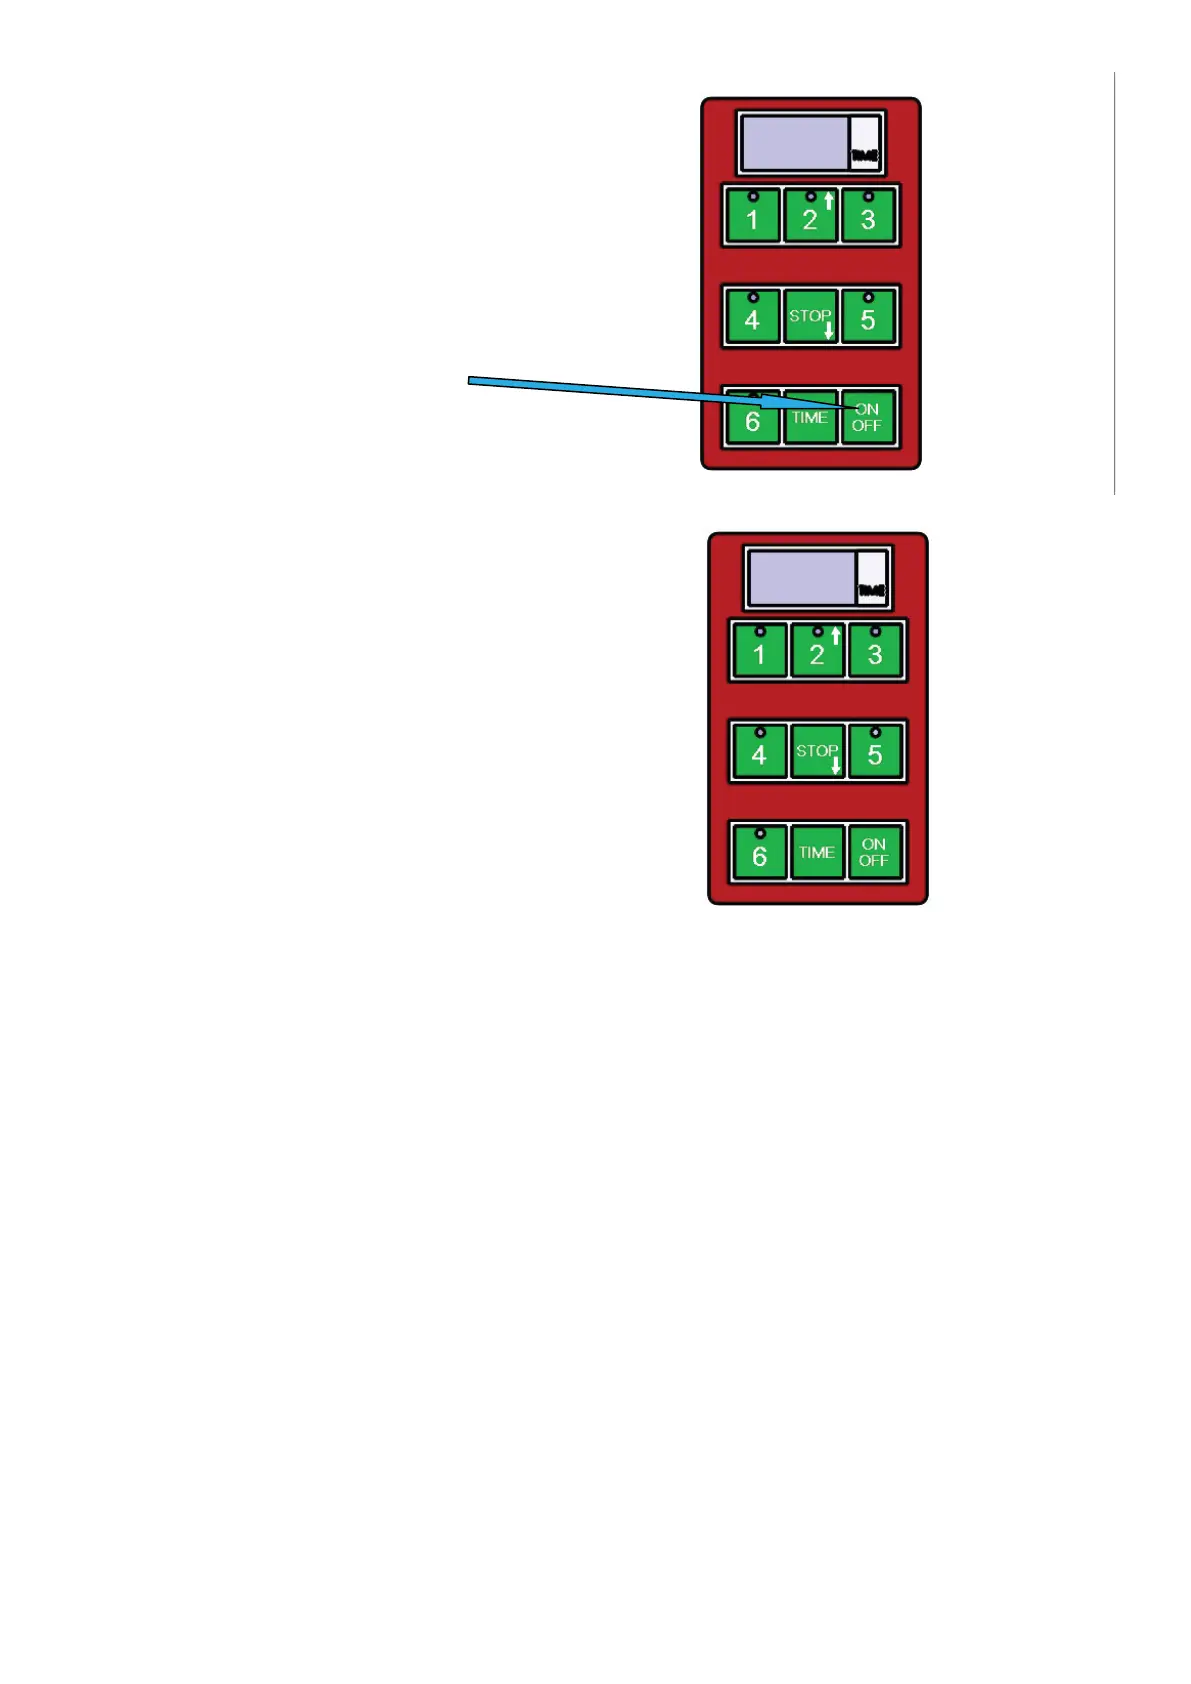
1) Einschalten / Ausschalten
Benutzen Sie diese Taste
2) Zum Starten der voreingestellten Zeit
Der Zeitgeber hat 5 voreingestellte Zeitabstände.
Diese zeitabstände starten Sie durch Betätigen der Taste
1-5, wo die Taste:
Werkseinstellung
PROGRAMMNUMMER ZEIT
Programm 1 (Taste 1) 1 Min.
Programm 2 (Taste 2) 1:30 Min.
Programm 3 (Taste 3) 2 Min.
Programm 4 (Taste 4) 2:30 Min.
Programm 5 (Taste 5) 3 Min.
Programm 6 (Taste 6) Benutzerprogrammiert
Zum Programmieren des Zyklus in der Option 6 (Taste 6) müssen folgende Anweisungen eingehalten werden:
1. überprüfen Sie, ob das Display der Steuertafel 3 Striche anzeigt „---”
2. betätigen Sie die mit „TIME” gekennzeichnete Taste
3. durch Betätigen der Taste mit aufwärts gerichtetem Pfeil (Taste 2) und abwärts gerichtetem Pfeil (Taste
STOP) ändern Sie die am Display angezeigte Zeit (je 30 Sekunden).
4. Die am Zeitgeber gewählte Zeit wird blinken.
5. Drücken Sie und halten die mit „TIME” gekennzeichnete Taste, damit die gewählte Zeit gespeichert wird.
6. betätigen Sie die Taste „6”, womit der Grillzyklus gestartet wird.
Wenn Sie die programmierbare Option 6 benutzen, damit sich der benutzerdefi nierte Zyklus wiederholt,
müssen Sie entsprechend der Schritte 5 und 6 vorgehen.
Auf das Ende der voreingestellten Zeit weist der Zeitgeber mit akustischem Signal hin. Dieser Ton wird
nach einer Minute automatisch abgeschaltet oder kann ihm die Bedienung durch Betätigen der Taste STOP
ausschalten.
Während der Zeitgeber auf das Prozessende aufmerksam macht, blinkt auf dem Tastenfeld die rote Taste der
Unterbrechung eines voreingestellten Programms.
Sie können das eben laufende Programm durch Betätigen der Taste STOP abbrechen.
7
Instruction for use for digital timer
The timer does not control the power, it is provides a visual countdown and alarm when a set
cooking time has elapsed.
1) Switching on/off
Use button ON/OFF
2) To start a pre-set time
The timer has 5 basic pre-set times.
These can be started by
pressing buttons 1-5, where:
1- For example time for hamburgers
2- For example time for fish
3- For example time for rare steak
4- For example time for medium rare steak
5- For example time for well done steak
At the end of the set time, the timer alerts with a loud tone.
This tone stops by timer itself after approximately 1 minute,
or it can be stopped by the operator by pressing the STOP button.
Whilst the timer is beeping a small red light flashes in the keyboard.
Interrupting the program
You can interrupt running pre-set program anytime you need by pressing the button STOP.
18
 Loading...