06
Rear panel connectivity
1. Earth Terminal
2. Input Connections - Connect the signal lead (tonearm leads) to the input sockets labelled on the rear panel.
If the tonearm requires a separate earth, please connect the earth lead to the earth terminal located on the rear
panel of the Fono Mini A2D (1).
N.B. Only undo the earth screw just enough to t your earth lead.
3. Output Connections - Connect the output sockets of the Fono Mini A2D to a suitable ‘line level’ input on your
amplier using appropriate RCA leads. Do not connect to an amplier’s integrated ‘Phono’ or ‘Disk’ input.
4. Power Connection - Connect the designated power supply to the power socket situated on the rear panel.
Power on is indicated by illumination of the red LED (5).
Set-up is now complete. Simply switch on, sit back and enjoy!
Connections via USB to PC
To transfer vinyl to your PC, you will need to install a digital audio editor. Such software is widely available as a
free download (such as Audacity). This is a simple interface which allows monitoring of volume and balance whilst
transferring your audio to your PC hard drive.
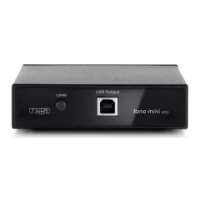
Audio editing software includes a level meter which indicates the output level achieved when playing a piece of
vinyl. You should adjust the output as necessary via the ‘Level’ control located on the front panel. Always take
special note of record levels to ensure optimum recording quality.