3 4
VGAHDMIUSB
AUDIO
OUT
DC 48V
ON
2 4 6 8
1 3 5 7
OFF
LAN
eSATA
1
2
3
PTZ
VGAHDMIUSB
AUDIO
OUT
DC 48V
ON
2 4 6 8
1 3 5 7
OFF
LAN
eSATA
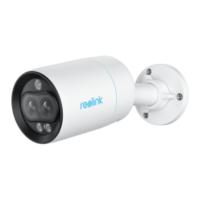
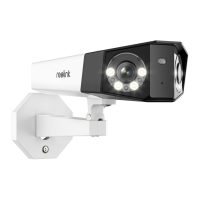
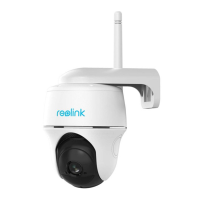
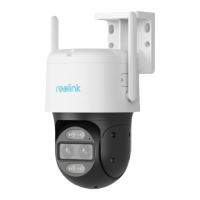
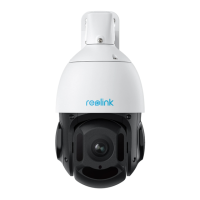
Camera Introduction
Speaker
Aluminum Metal Case
Built-in Mic
Daylight Sensor
Infrared Lights
Lens
Micro SD Card Slot
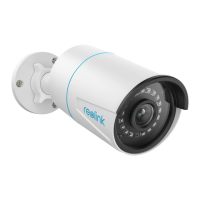
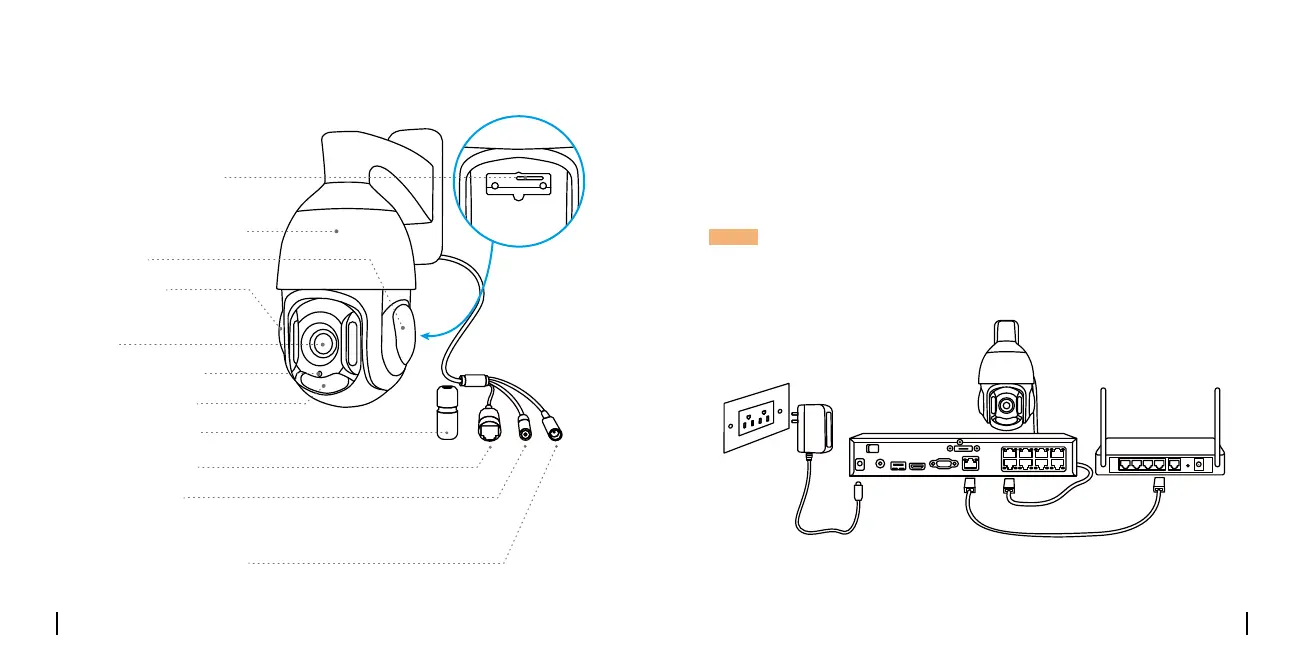
Connection Diagram
Beforeusingthecamera,pleaseconnectyourcameraasinstructed
belowtonishinitialsetup.
1.ConnectthecameratoaReolinkNVR(notincluded)withanEthernet
cable.
2.ConnecttheNVRtoyourrouter,andthenpowerontheNVR.
*YoumayalsoconnectthecameratoaPoEswitchorPoEinjector.
NOTE:Thecamerashouldbepoweredwitha12VDCadapteroraPoE
poweringdevicesuchasPoEinjector,PoEswitchorReolinkNVR
(notincludedinthepackage).
PoEIPCamera
EthernetCable
ReolinkNVR
Router
EthernetCable
PowerAdapter
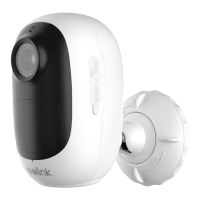
Waterproof Lid
Network Cable
Reset Button
Power Port (Optional)
*Pressforabout10secondstorestorethe
devicetofactorysettings.
 Loading...