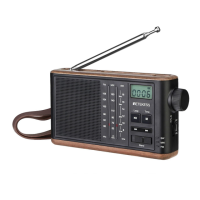
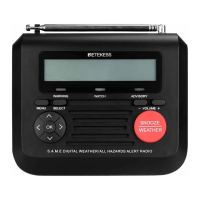
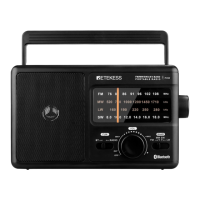
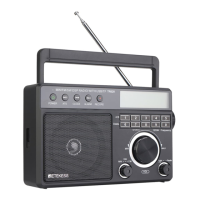
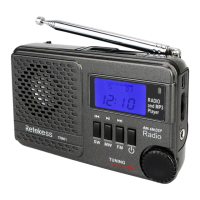
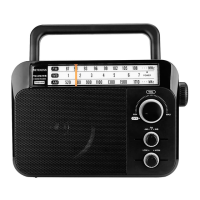
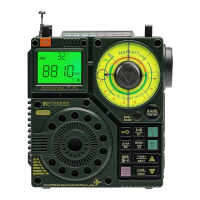
The radio is connected to AC or installed with four batteries.
The screen displays the characters ‘Boot up and connect to network’ (indicating a prompt to start and connect to
the network).
Configure network? (Indicates whether the network needs to be installed)
----YES / NO(Two choices:YES indicates that you need to connect to the network,NO indicates that
no network is required.)
Display prompts:“to previous,→to next,SELECT when done”(press【 】&【 】to choose)
Choose YES/NO. After choosing,press【ENTER 】to confirm,and enter main menu to choose.
Connect network WIFI account operation (see "4.1.1 WI-FI Network Connection")
3.2 If the network WIFI is connected, connect the power supply or install the battery
Tap [POWER], display ‘Boot up and connect to network’ character.
Then, display the current time, about 3 seconds later, the radio is turned on.
3.3 Standby/power off:
Power on, long press [POWER] key, enter into the standby state (display time interface): for the battery
power, automatic shutdown after 1 minute, For the AC power supply, it is in the standby interface for a long
time and does not automatically shut down.
4. Function
Enter【MENU】, lightly press【 】&【 】or rotate【 】to choose work mode, after choosing, and press
【ENTER】to enter.
Short press【ENTER】to select a network account.
LCD displays SCANNING......displays the name of the peripheral network, rotate
【 】to choose “ ” the well signal. And press【ENTER】to enter WIFI password.


 To Next Page