03
Batte Using Information
Batte packs are not charged when they are shipped. Charging them before use.
◆ Initially charging the batte pack after purchase or extended storage (longer than 2
months) will not bring the batte pack to its
greatest capacity or its normal charge, which can be done only after repeated charging and
discharging two or three times.
◆ Do not use the radio during charging. This will aect the normal charging of the batte
pack, causing damage to the radio and
possible accidents.
◆ After the batte pack is fully charged, please take it out of the charger base. Do not
charge it again before the batte is completely
running out, or it will destroy the memo eect of the batte.
◆ If, when using the correct charging methods, the batte does not gain capacity or use
time, which means the batte life is near the
end, please change to a new batte pack.
◆ Please only use the original facto batte pack and charger. They are available from your
local agent.
◆ If you are unsure about non-original facto batte packs and accessories, please do not
use them. Use of non-original items may
cause damage to the radio and can cause accidents.
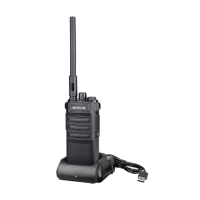
Desktop Charger Charging instructions:
Use the 5V 1A charging adapter to charge the desktop charger.
◆ Plug the lithium batte or radio equipped with the lithium batte into the charger base,
and ensure that the batte is in normal
contact with the charging base.
◆ The green light on the charging base will be on when the charging base is empty; When
the red light is on, charging begins; When
full, the green light will display.
◆ After the lithium batte pack is fully charged, take it out of the charger.
Type-C Batte Charging instructions:
Use the 5V1A charging adapter to charge the batte directly, the LED light on the back of the
batte will turn red when charging, and
change to green when the batte is full.
Note: When the radio is charging, it is forbidden to transmit to avoid damage to the radio and
possible inju.
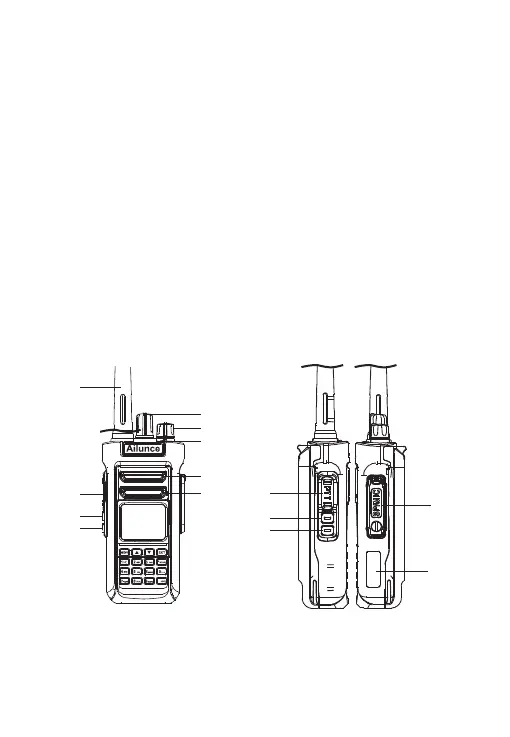
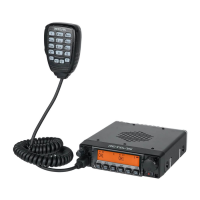
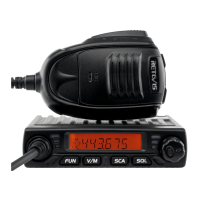
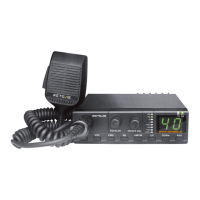
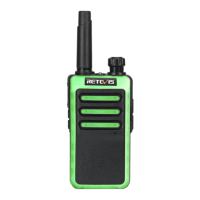
Getting Acquainted
Antenna
Channel Knob
Volume/Turn on Knob
Emergeny Knob
Speaker
Microphone
PTT
Side key 1
Side key 2
SP/MIC
Connector
ID sticker
location
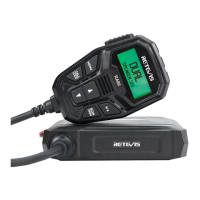
PTT
Side key 1
Side key 2