04 05
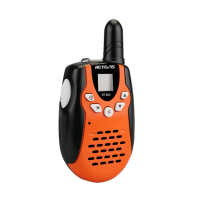
Charging the Battery Pack
The battery pack is not charged at the factory, please charge it
before use. Initially charging the battery pack after purchase or
extended storage (greater than 2 months) will not bring the battery
pack to its normal operating capacity. After two or three complete
charge and discharge cycles. The full performance of battery will
be achieved.
1. Slide the battery pack or transceiver with a battery pack into the
desktop charger.
2. Make sure the battery pack contacts are in contact with the
charging terminals.
3. The charging LED lights red and charging begins.
4. After charging about 4 hours, when the light turns to green, it
means the battery pack is fully charged.
5. Then you can take off the battery pack or transceiver with the
battery pack and use it.
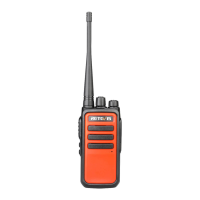
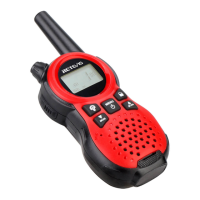
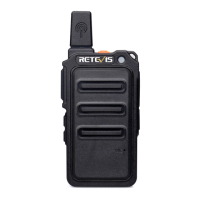
PREPARATION BASIC OPERATION
Switch Power On/Off
1. Turn On: turn the [Power] switch clockwise to switch the transceiver
ON, an alert tone will be heard.
2. Turn Off: turn the [Power] switch counter clockwise to switch
the transceiver OFF.
Adjusting the Volume
Rotate the [Volume] control to adjust the volume. Clockwise
increases the volume and counter clockwise decreases it.
Selecting a Channel
Rotate the [Channel Selector] to choose your desired channel.
Clockwise increases the number and counter clockwise decreases
it. If the channel number annunciation is activated, the radio will
announce the current corresponding channel number. If none
channel has been programmed, it cannot be used. When a non-
programmed channel is selected, the LED indicator lights orange
and an alert tone sounds.
Transmitting & Receiving
1. Press the [PTT] switch and speak into the microphone in your
normal speaking voice, for best sound quality at the receiving
station, hold the microphone approximately 1~2 inches (2.5~
5 cm) from your mouth.
2. Release the [PTT] switch to receive.