User’s Manual Electric Bike
Half-Yearly: Remove, clean, and lubricate chain and all cables.
Check and replace as required.
Weekly (or as needed): Wash bicycle with warm soapy water. Dry with a soft, non-
abrasive cloth. Do not use strong chemicals or abrasives. Do not use a high-pressure
washer. Inspect your bicycle while cleaning.
WARNING! Every six months, your pedal electric assistance bicycle should be
professionally checked to ensure that it is in correct and safe working order.
It is the responsibility of the rider to ensure all parts are in working order prior
to riding.
4. Assembly Instruction
This bikes comes assembled- no tools required for assembly. We strongly recommend
you take this bike to a professional bicycle shop for adjustment and education on its
operation and maintenance.
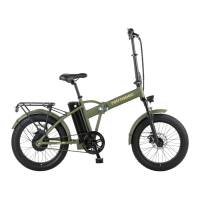
Unfolding Your Bike And Connecting The Frame
1. Your bike comes folded. Unfold the frame and swing the two hinged halves until they
almost come together - this may require extra eort as the parts are new.
2. You will need to pull up on the quick release latch (Fig. 3) to allow the two frame
halves to mate against one another.
3. Once the halves are together, release the quick release latch so it locks (Fig.4).
4. Swing the quick release latch around so it ts fully in the slot in the hinge on the
front half of the frame. Make sure the steel and nylon washers are on the outside of the
hinge and against the lever body (Fig.5)
5. Close the quick release lever to complete attaching the two halves of the frame
(Fig.6 & 7). The lever should require some eort to close. If the lever is too dicult to
close, or closes with little eort, tighten or loosen the nut on the end of the latch to
adjust the lever tension (Fig.5).
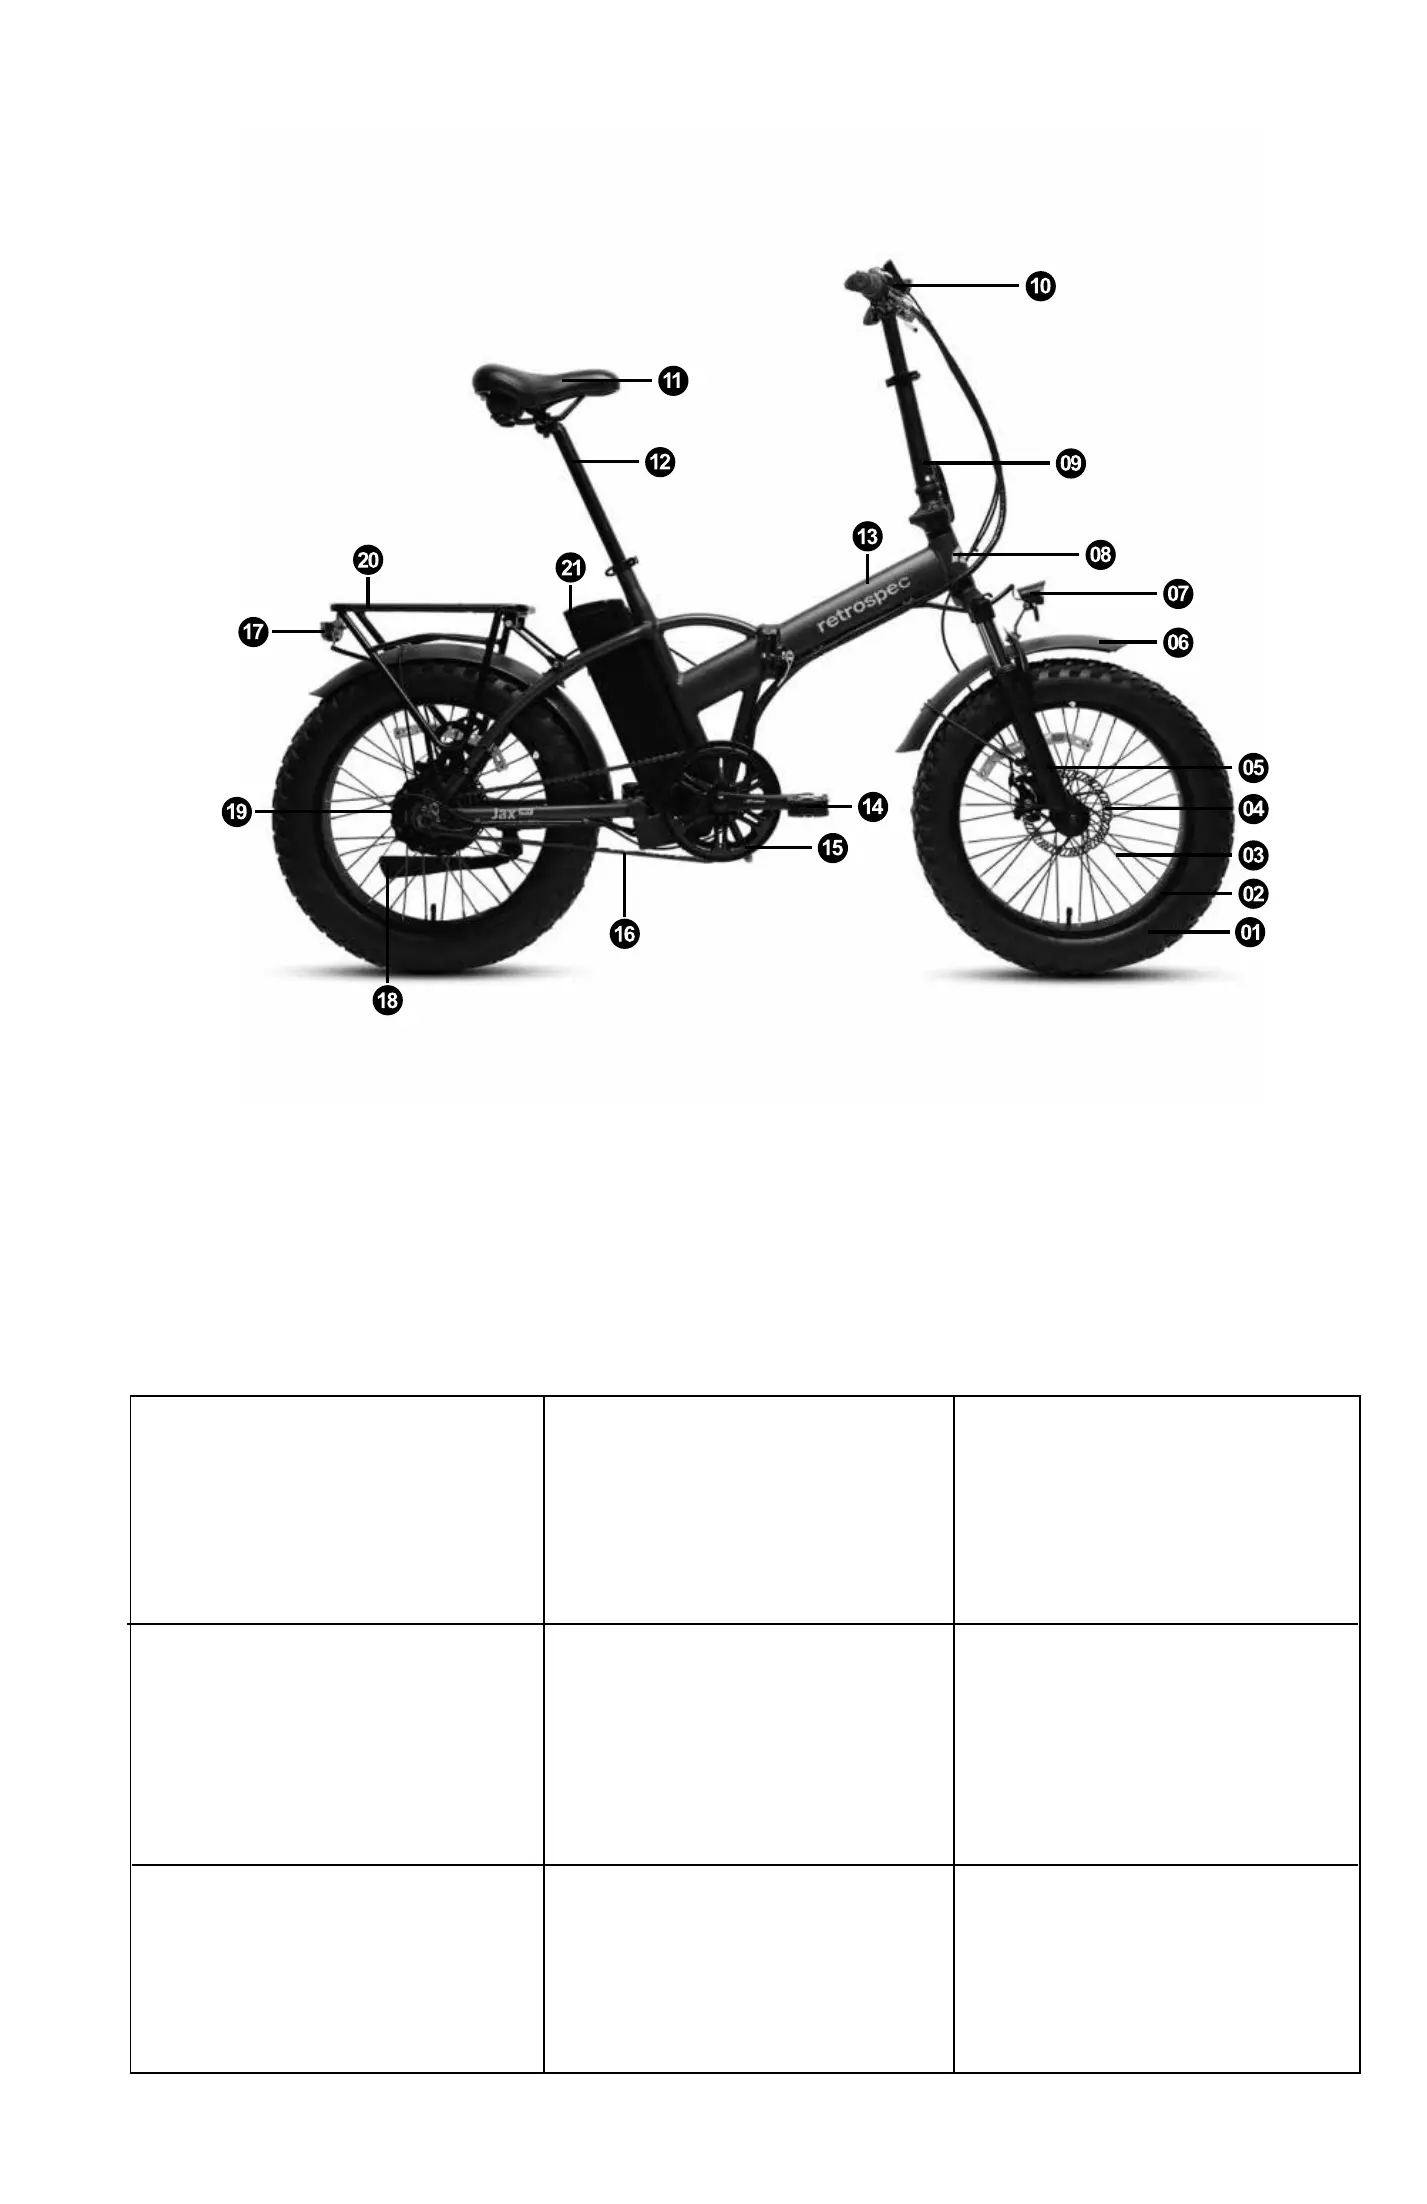
1- Tires
Check for cuts and wear. Maintain
pressure indicated on tires sidewall for
maximum eciency and safety.
2/3- Wheels
Check that axles are sealed, spin
smoothly, and are secured properly.
Check rims are straight. Check for
loose or damaged spokes.
4-Brakes
Lightly oil exposed cables monthly.
Check the rotors are straight and
secured to the hub. Make sure there
are no oils on the rotors. Maintain and
replace brake caliper pads when worn,
brake cables when frayed.
Electrical Parts: #10, 19, & 21. Refer to
Section II of this manual.
18-Kickstand
Check the attaching bolt is tight,
and the kickstand is secure in its
stowed position for riding. Replace if
necessary.
9- Headset/Stem Assembly
Remove, clean, and regrease yearly,
replace parts, bearings as if worn, or
as necessary.
16-Chain
Check and lightly lubricate weekly.
Clean and lubricate half-yearly
(minimum).
7/17- Front/Rear Light
Check the lights are in good working
condition, no cracks in the lens,
replace if necessary.
15- Cranks
Check weekly. Remove, clean and
lubricate half-yearly.
5- Fork
Dealer adjustment only
6-Mudguards
Check they are securely tight,
clean, and not damaged. Replace if
necessary.
14-Pedals
Lightly oil bearings monthly.
11-Saddle and Quick-Release
Check the quick release is tight and
the saddle does not move, ensure
the saddle and quick-release are
undamaged, replace if necessary.
20-Rear Carrier
Check the paint for cracks which could
indicate material fractures.
5 6
3
4
6
5
Tension Adjust Nut
7


 To Next Page
 Loading...