23
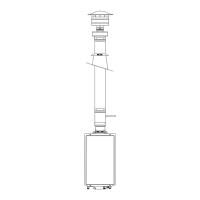
Venting for Direct-Vent Water Heater
Venting
When the water heater is installed above 2000 ft.
(610 m), the settings on the DIP switch located
on the control board need to be changed per
vent length and altitude. If these settings are
not changed, the water heater may not function
properly.
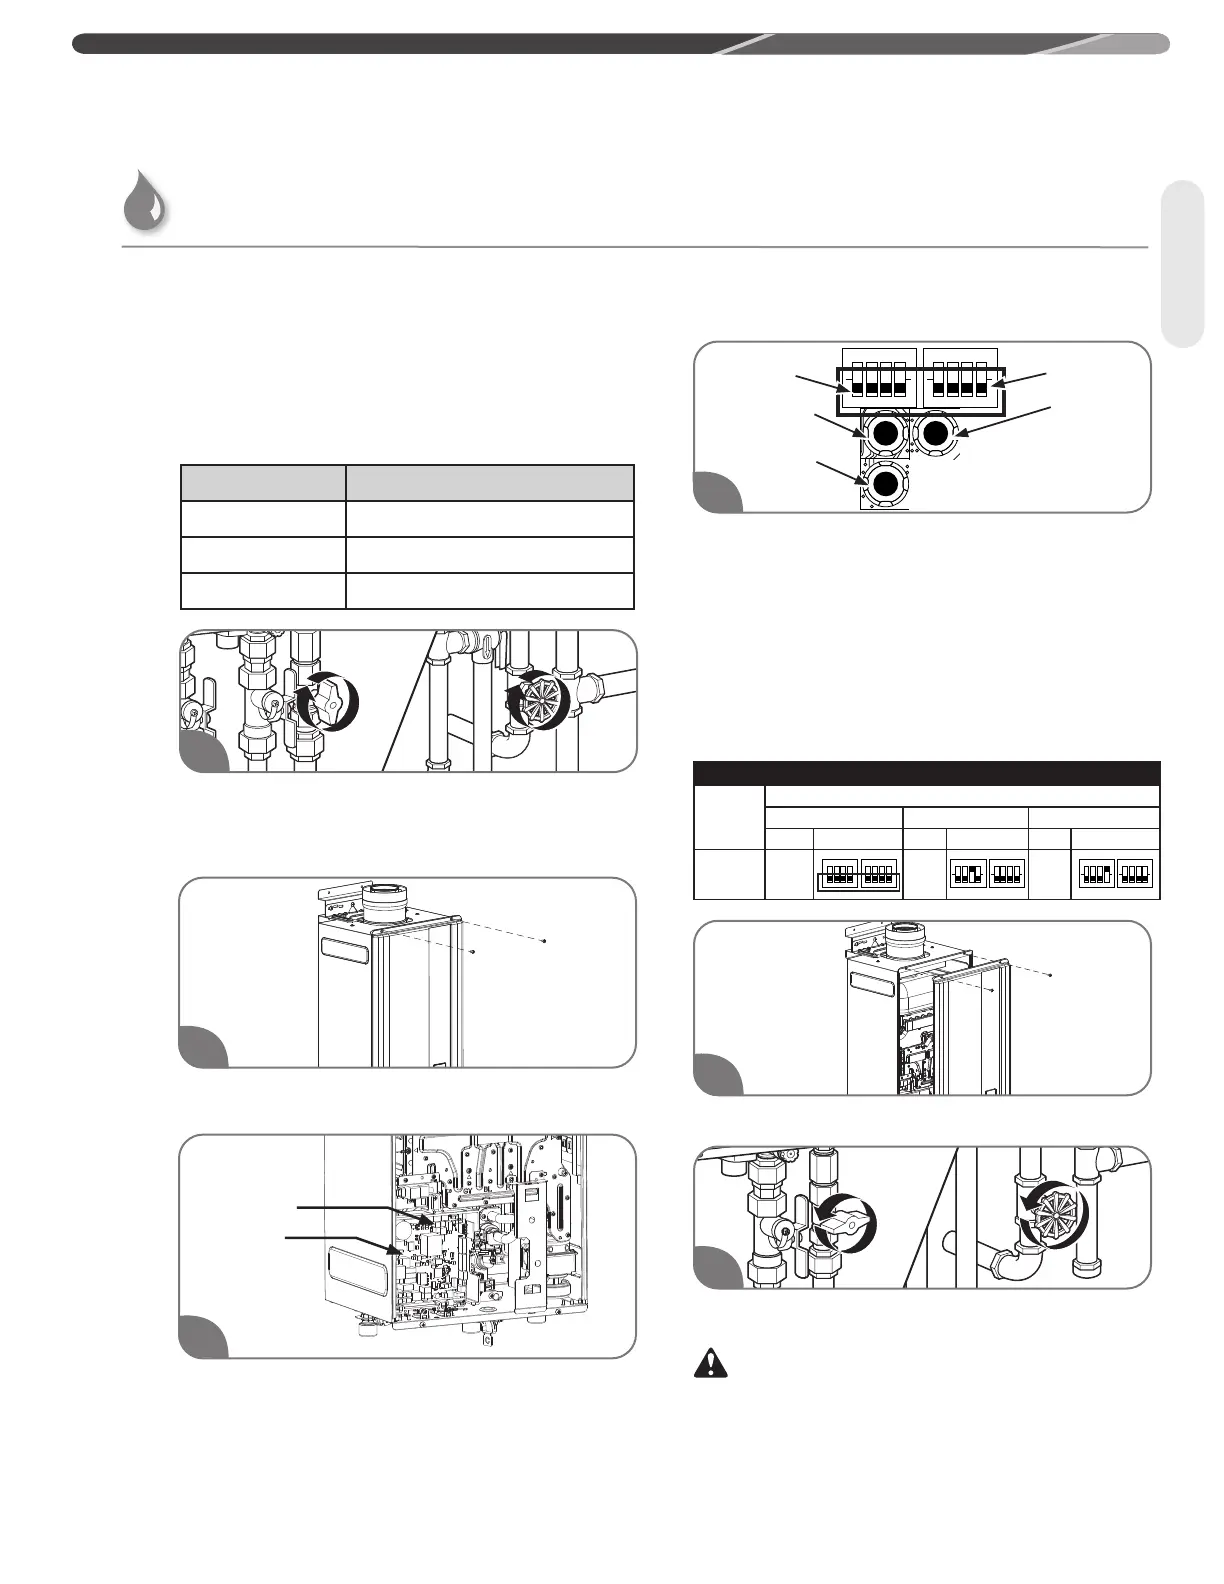
Verify the altitude that the water heater is installed.
Turn off the gas and water to the water heater by
closing the shut-off valves.
Remove the front cover panel on the water heater.
Find DIP Switch 2 located in the top-right portion
of the control board. The switch labeled “DIP 2” is
the bottom switch.
The factory settings for this switch should all be in
the OFF position (DOWN).
NOTICE:
DO NOT alter any other DIP switch settings. The
manifold pressure will be reduced accordingly.
For altitudes above 2000 ft. (610 m), refer to the table
below for the necessary DIP switch settings. These
setting must be changed to ensure proper operation.
Replace the front cover panel.
Turn on the gas and water to the water heater by
opening the shut-off valves.
WARNING:
This water heater requires the correct DIP switch
adjustments per vent length and altitude for proper
operation. Incorrect DIP switch adjustments may cause
improper water heater operation resulting in serious injury
or death.
1
2
3
DIP Switch
Control Board
"MAX"
button
"ADJUST"
button
"MIN"
button
DIP Switch 1
4
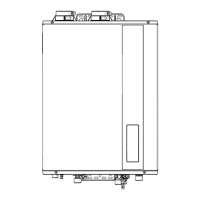
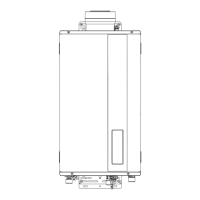
INSTALLATION INSTRUCTIONS
SECTION HIGH-ALTITUDE
Sea Level (A Setting) 0-2000 ft (0 m - 610 m)
B Setting 2001 ft - 5400 ft (610 m - 1650 m)
C Setting 5401 ft - 7800 ft (1650 m - 2377 m)
5
6
DIP Switch 2
ALL VENT LENGTHS
Identify
Vent Length
IDENTIFY ALTITUDE
0 - 2,000 ft 2,001 - 5,400 ft 5,400 - 7,800 ft
Setting Dip Setting Dip Setting Dip
All Vent
Lengths
A
(Factory
Setting)
B C
ON
ON
ON
ON
ON
ON
High-Altitude DIP Switch Adjustments
 Loading...