30
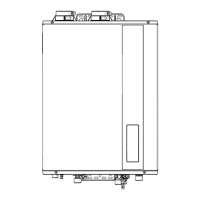
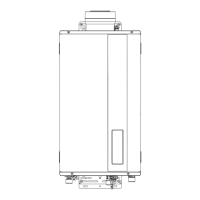
Venting for Direct-Vent Water Heater
Venting
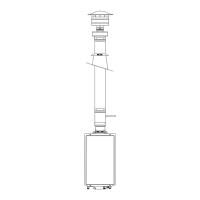
Horizontal Vent Installation
WARNING:
Follow the vent manufacturer’s installation
instructions since design might vary from
manufacturer to manufacturer. Improper vent
installation can result in death, personal injury,
product damage, and/or poor performance.
CAUTION:
Use UL-approved Category III Stainless Steel vent
material only. No other vent material is permitted
for use with this appliance.
Outer casing can be galvanized aluminum or other
material�
Fasteners will vary depending on the wall type�
For particle board or
composite sheathing, use 4
hollow wall anchors. The
anchors should be at least
1/8 in. (0.3 cm) in diameter
and the appropriate length
for the sheathing thickness.
For plywood or solid wood
sheathing or members, use
4 #10 x 1 1/4-in. wood
screws.
For masonry walls, use
suitable masonry anchors
long enough to pass
through the wall.
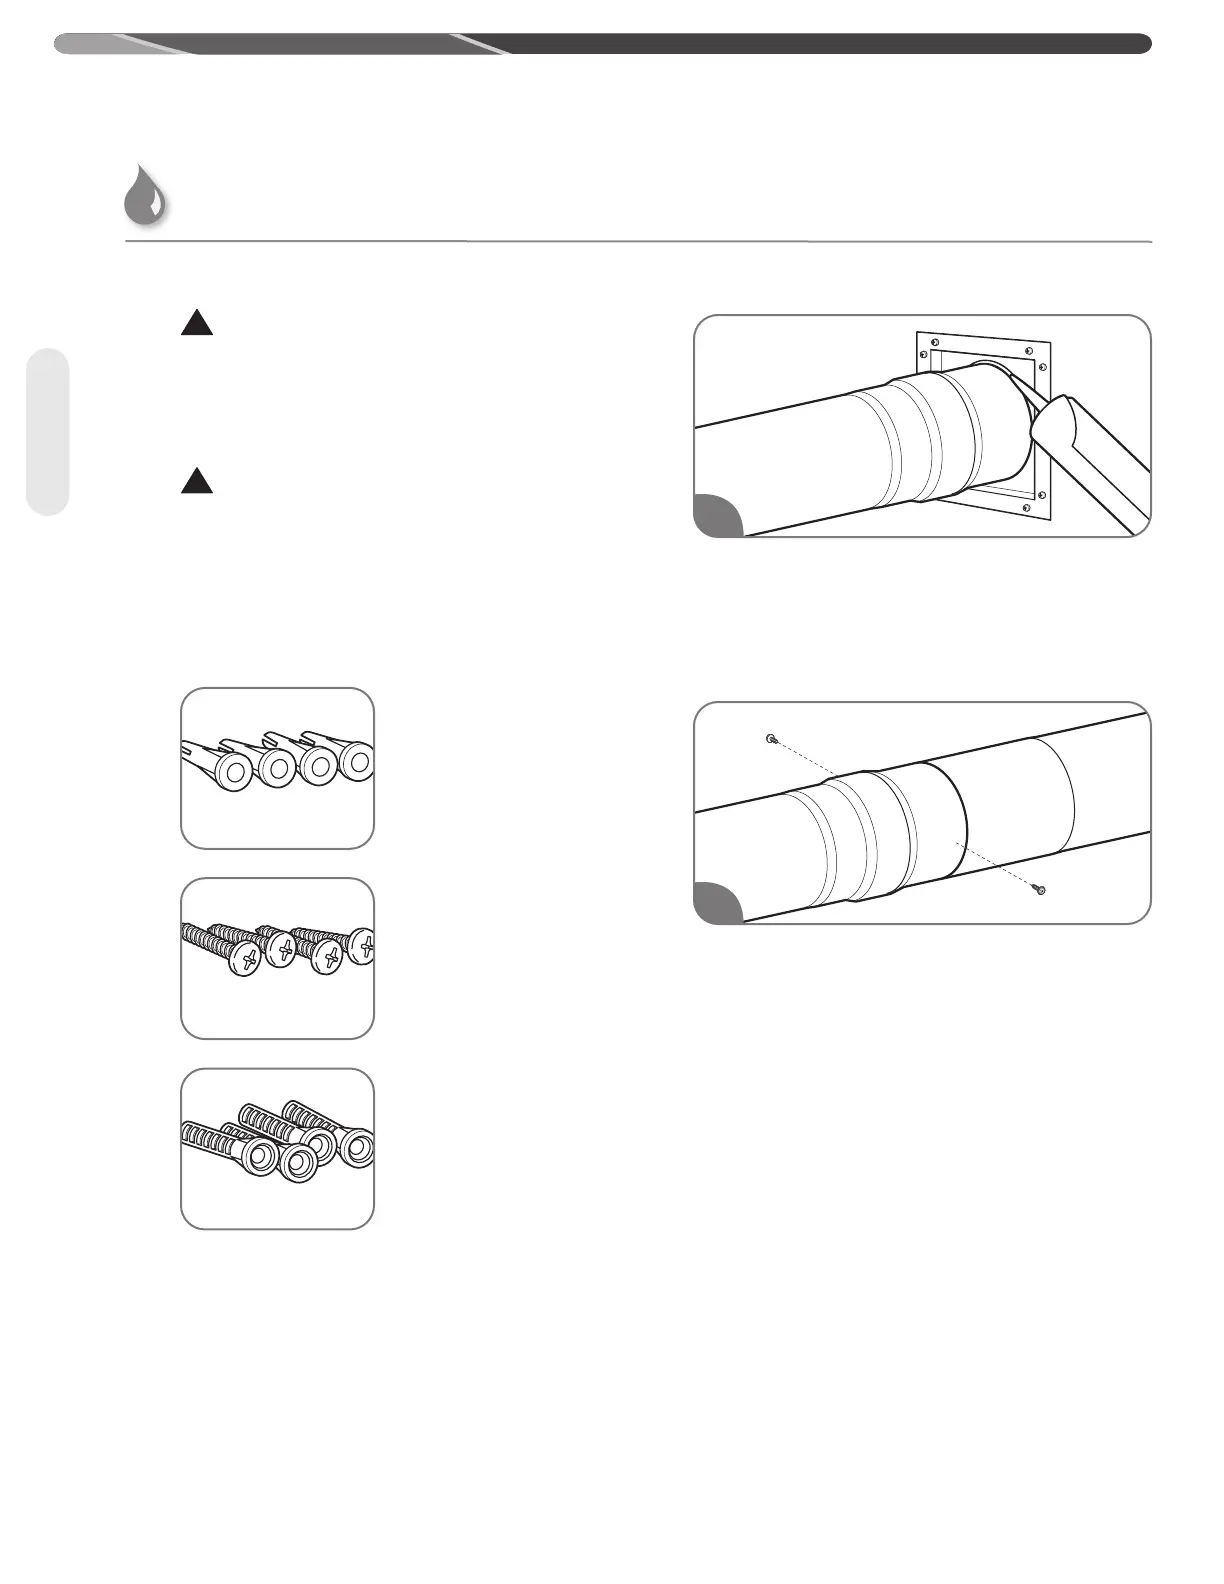
Reinstall the decorative sheathing around the
faceplate. The decorative sheathing may be
painted to match the exterior decor.
Apply high temperature silicone sealant or silicone/
latex caulk around the vent section. Completely
seal where it passes through the wall plate and
where it is attached to the structure. This will
provide a weather seal for the system, so it must
be a good seal.
Attach the female end of the next vent pipe
section to the male end of the 3-in./5-in.
(7.6-cm/12.7-cm) concentric vent pipe. Push
firmly on the pipe until the outer jacket has made
contact with the snap ring on the male end of the
concentric vent pipe section. Secure the two pipe
sections with the provided self-tapping screws.
NOTICE:
When fully assembled, the outer female end will
overlap the male end about 1 in. (2.5 cm).
DO NOT attempt to fabricate or adapt other vent
pipe or materials to this venting.
1
2
INSTALLATION INSTRUCTIONS
 Loading...