61
Recirculation Pump Control
Recirculating Pump
Installation
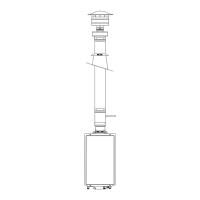
Disconnect all electric power to the water heater.
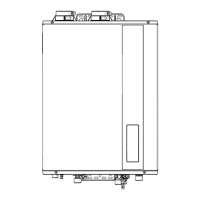
Remove the front cover panel on the water heater.
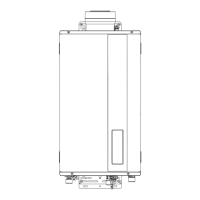
Install the recirculation pump on the return
line according to the pump manufacturer
installation instructions. Install a check
valve in the return line as shown in typical
recirculation pump installation if one is
not integrated into the pump. See "Typical
Recirculation Pump Installation".
* Check valve is included in Rheem
recirculation pump kit.
The wire harness for the recirculation pump is
bundled with the wire harness from the control
board. Find a blue connector with a black and a
white wire.
Connect the pump's connector to the control
board harness. If necessary, cut the blue
connector, splice the wires, and add a 4 amp fuse
to the hot wire of the pump.
Connect the ground wire from the pump to a
screw at the base of the water heater cabinet.
NOTICE:
Follow any applicable electrical code and the pump
manufacture installation instruction referring to the
Pump Electrical Connection Diagram in Step 5 of these
instructions.
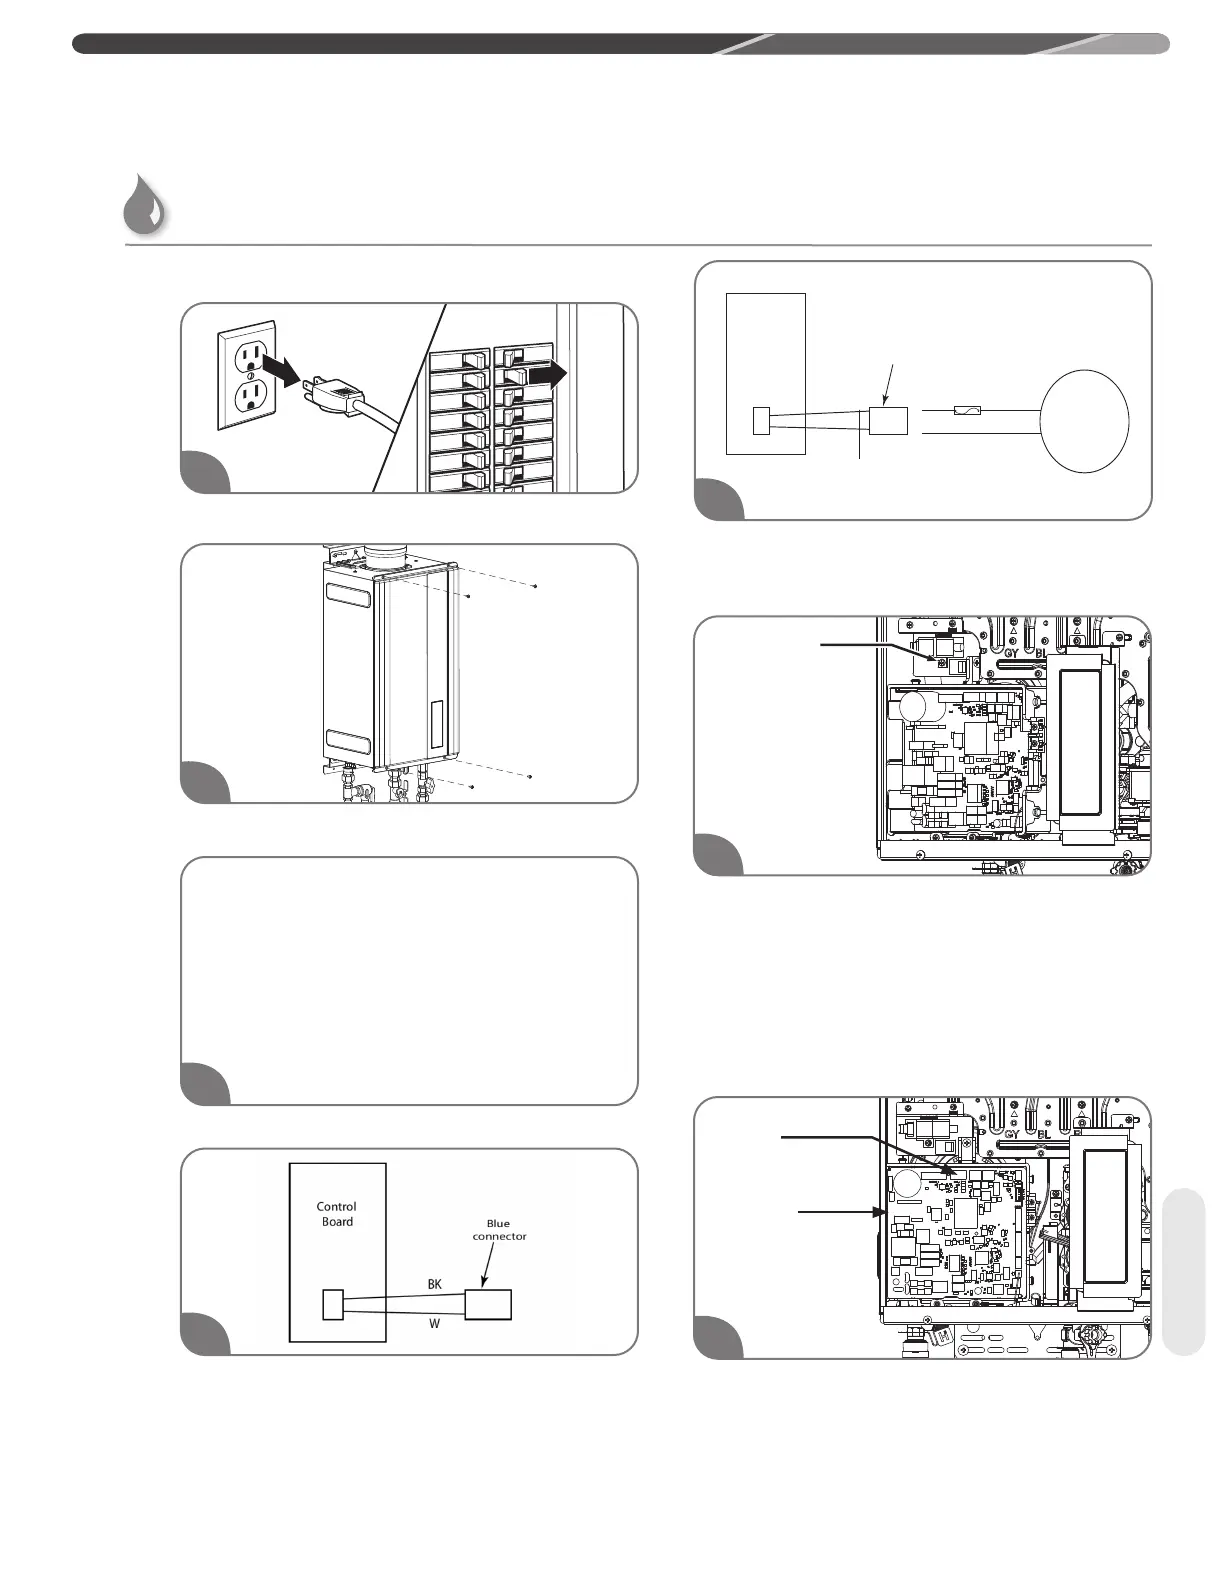
Find DIP Switch 2 in the top-right portion of the
control board. The switch labeled “DIP 2” is the
bottom switch.
2
1
4
Control
Board
PUMP
Add
4 Amp
Fuse
Blue
connector
Cut blue connector
and splice wires.
BK
W
5
3
6
Ground
7
DIP Switch
Control Board
USING YOUR WATER HEATER
 Loading...