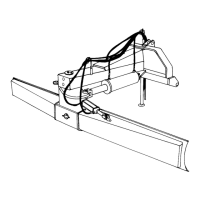
Rhino 2500 series for Euro Crossbar
.
MX
XX
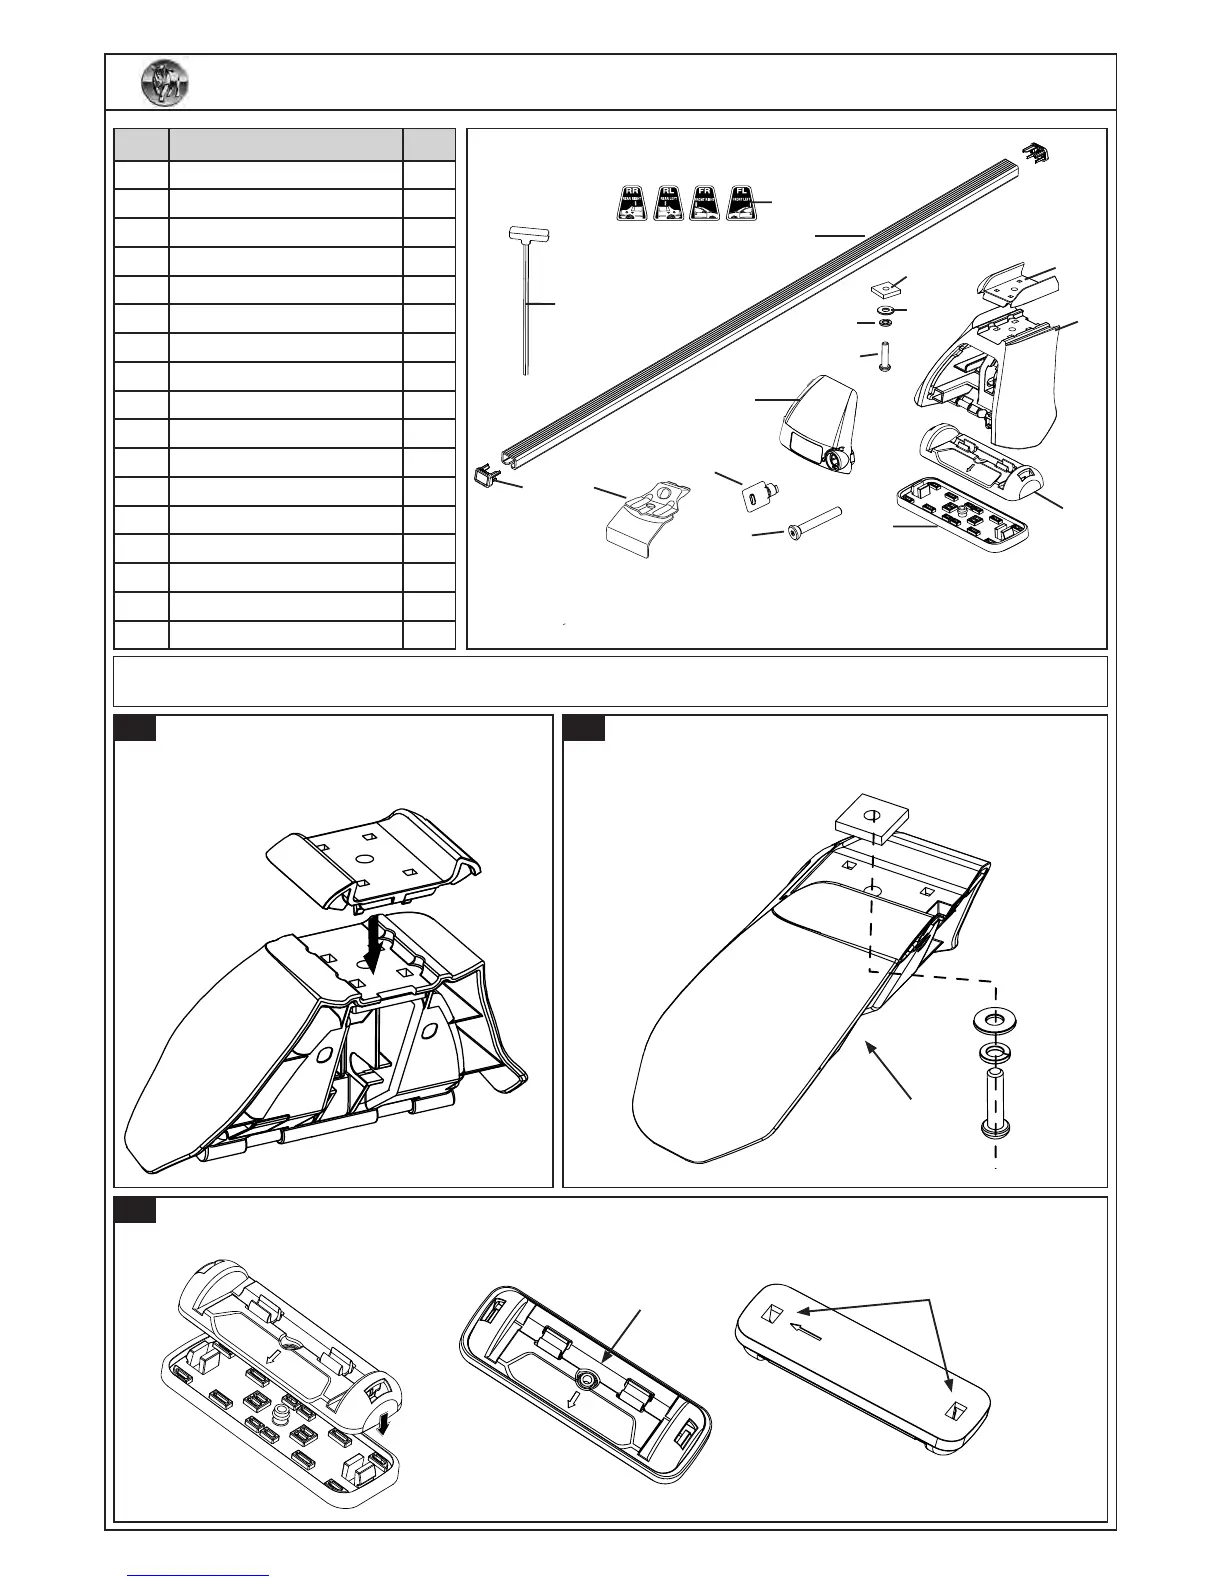
3
Clip the rubber pad onto the foot pad , ensure the center tube is fully located in the foot plate and the
ends are clipped in.
Center tube
pushed through.
Ends clip in.
1
Fasten the M6 x 25mm screw
, at and spring washer
assembly to the M6 Square nut as shown. Leave loose at
this stage.
Inside of LEG.
Insert the euro crossbar adaptor (4) legs
into the leg square holes and snap the
adaptor inplace.
2
NOTE:RefertotheDKSpecicationsheetforcorrectplacement(FrontorRear
,
LeftorRight)oftheFOOTPLA
TE,
RUBBER P
AD and METAL STRAP. Also refer for sizes to cut the BAR MEASUREMENT STRIP.
NOTE :
ALL MEASUREMENTS AND FITMENTS SHOWN APPLY FOR THE EURO CROSSBAR.
11
9
1
2
3
4
5
6
7
8
10
12
13
14
15
16
Item Component Name Qty
1 Euro End Cap 4
2 Euro Crossbar 2
3 Front Cover 4
4 Key 2
5 M8 Clamp Bolt 4
6 Clamp 4
7 Rubber Base Pad 4
8 Foot Plate 4
9 Leg 4
10 Euro Crossbar Adaptor 1
11 M6 x 25mm Security Screw 4
12 M6 Spring Washer 4
13 M6 Flat Washer 4
14 M6 Square Nut 4
15 Allen Key - Long 1
16 Leg Position Labels 4
17 Fitting Instructions 1
T
ools Required;
Security key (inc. in kit) Side Cutters/Scissors,Tape Measure, Rubber Mallet.

 Loading...