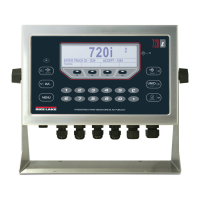
720i/820i/920i
®
Programmable Weight Indicator and Controller
Analog Output Card Installation
Disconnect power before removing indicator backplate.
Use anti-static protection for grounding and to protect components from electrostatic discharge (ESD) whe
n
working inside the indicator enclosure.
Manuals can be viewed or downloaded from the Rice Lake Weighing Systems website at www.ricelake.com/manuals
Use the following procedure to install analog output cards in 720i, 820i and 920i indicators:
1. Disconnect indicator from power source.
2. Open the indicator enclosure to access the CPU board (expansion board slots in the 920i).
3. Carefully align the large connector on the bottom of the option card with the option card slot in the indicator, outlined
in
red in Figure , or .
Figure 1. CPU Card Connections
J11
PORT 1
J9
PORT 3
J10
PORT 4
J2
J13
EXPANSION BUS
SW1
SW2
JP3
1
1
1
J5
J6
J7
DIGITAL I/O
J8
PORT 2
OPTION CARD
CONNECTOR
OPTION CARD
CONNECTOR
OPTION CARD LOCATIONS
J1
1
BATTERY
J15
BOOT
MODE
SLOT 1
SLOT 2
REMOTE
SETUP
SWITCH
BATTERY
LOAD CELL SENSE
JUMPERS
J12
EXPANSION CARD SLOT
J11
COMMUNICATIONS
OPTION CARD SLOT
J9
SW1
JUMPER ON TO ENABLE J2,
OFF TO ENABLE J11
HEARTBEAT
LED
J7
J8
J6 EXPANSION CARD SLOT
BATTERY
4
CHANNEL 1
SENSE JUMPERS
CHANNEL 2
SENSE JUMPERS
720i CPU Card – Connector J11 or J12
920i CPU Card – Connector J5 orJ6
820i CPU Card – Connector J6
PN 69089 Rev EApril 17, 2018