DE
EN
FR
ES
IT
Fertig!
Done!
Fait!
Hecho!
Fatto!
3
5
E.N.Z. Engineering GmbH, Salzmatten 6, 79341 Kenzingen (Germany)
4
A
IT
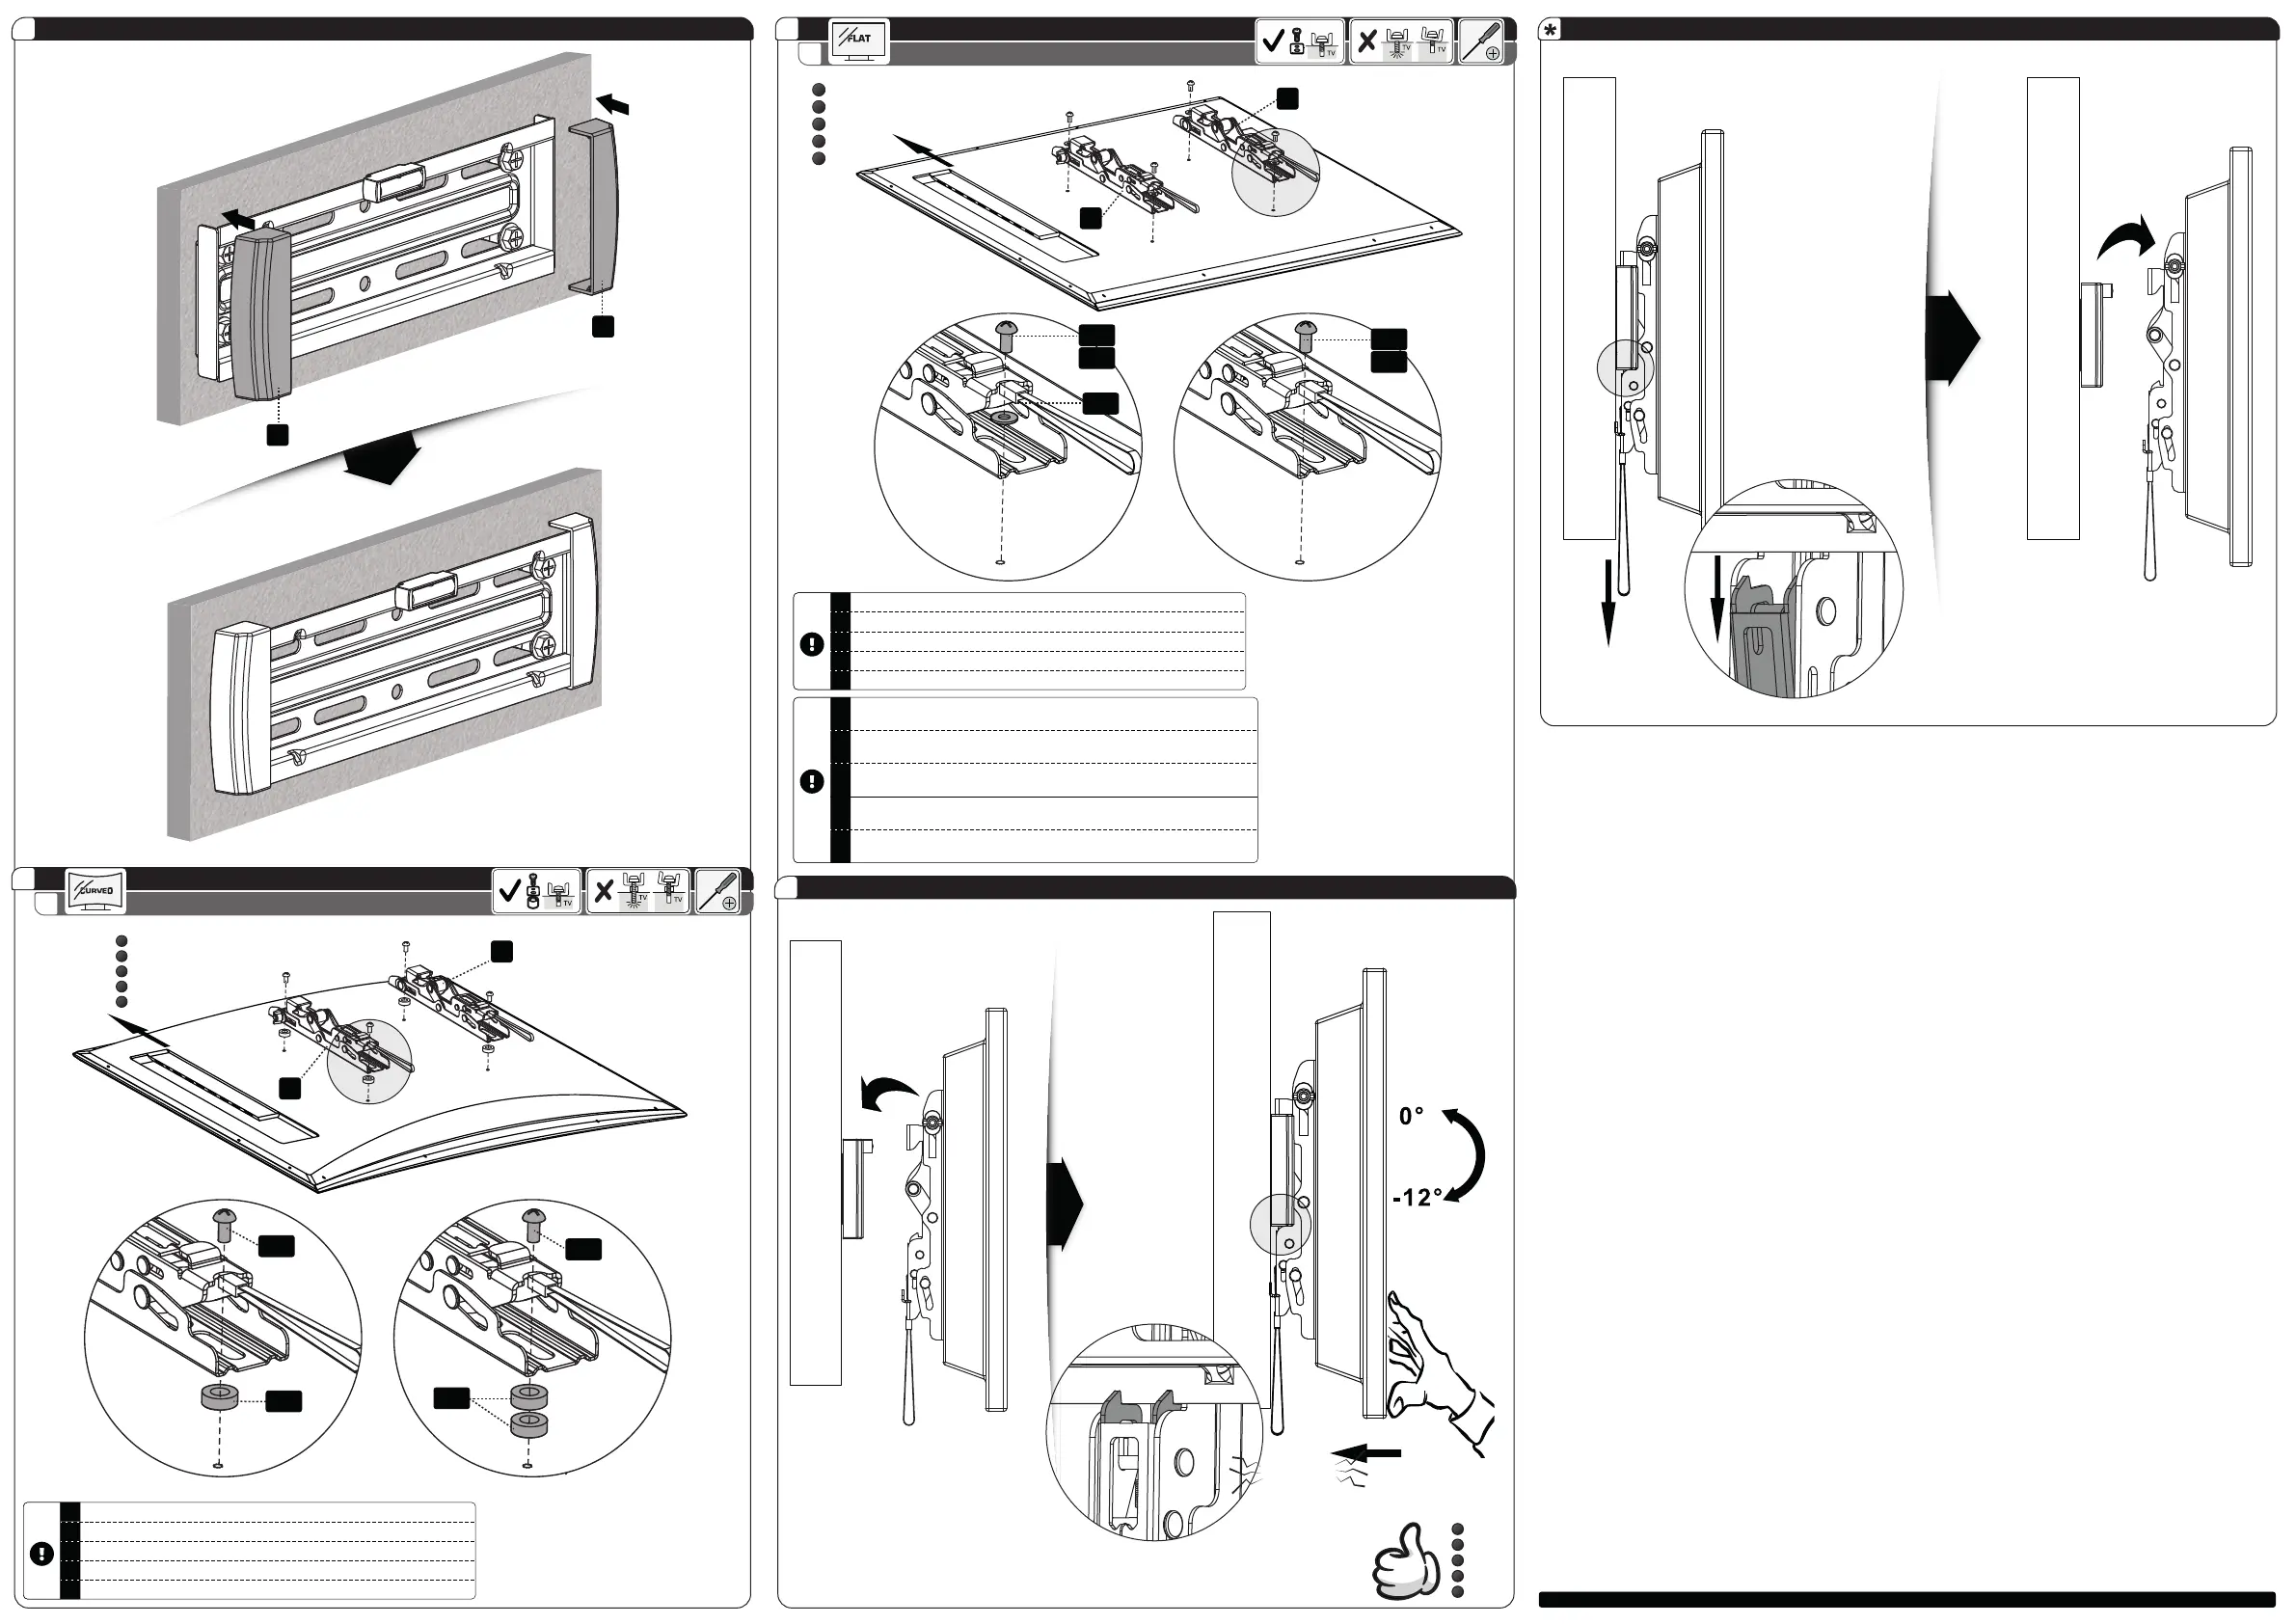
Utilizzare le viti e i distanziali appropriati per lo schermo.
ES
Use los tornillos y espaciadores apropiados para su pantalla.
FR
Utilisez les vis et les entretoises appropriées pour votre écran.
EN
Use the matching screws and spacers for your display.
DE
Benutzen Sie die für Ihren Bildschirm passenden Schrauben und Abstandshalter.
4
B
IT
Utilizzare le viti e i distanziali appropriati per lo schermo.
ES
Use los tornillos y espaciadores apropiados para su pantalla.
FR
Utilisez les vis et les entretoises appropriées pour votre écran.
EN
Use the matching screws and spacers for your display.
DE
Benutzen Sie die für Ihren Bildschirm passenden Schrauben und Abstandshalter.
IT
Se le viti "M-D" sono troppo lunghe, utilizzare i cilindri / distanziali di plastica "M-F".
(come al punto 4 A)
ES
Si los tornillos "M-D" son demasiado largos, utilice los cilindros / distanciadores de
plástico "M-F". (como en el paso 4 A)
FR
Si les vis "M-D" sont trop longues, utilisez les cylindres en plastique / entretoises
"M-F". (comme à l'étape 4 A)
EN
If the screws "M-D" are too long, use the plastic spacers "M-F". (like in Step 4 A)
DE
Wenn die Schrauben "M-D" zu lang sind, verwenden Sie die Plastik- Abstandshalter
"M-F". (wie im Schritt 4 A)
E
E
DE
EN
FR
ES
IT
Oberseite
Top
Toupie
Cima
Vetta
B
C
M-D
M-F
M-D
M-F
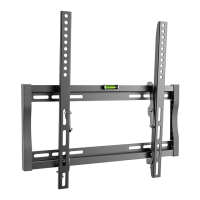
DE
EN
FR
ES
IT
Oberseite
Top
Toupie
Cima
Vetta
B
C
M-A
M-B
M-E
M-C
M-D
CLICK