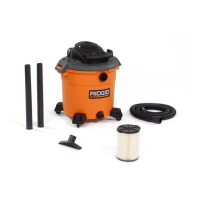
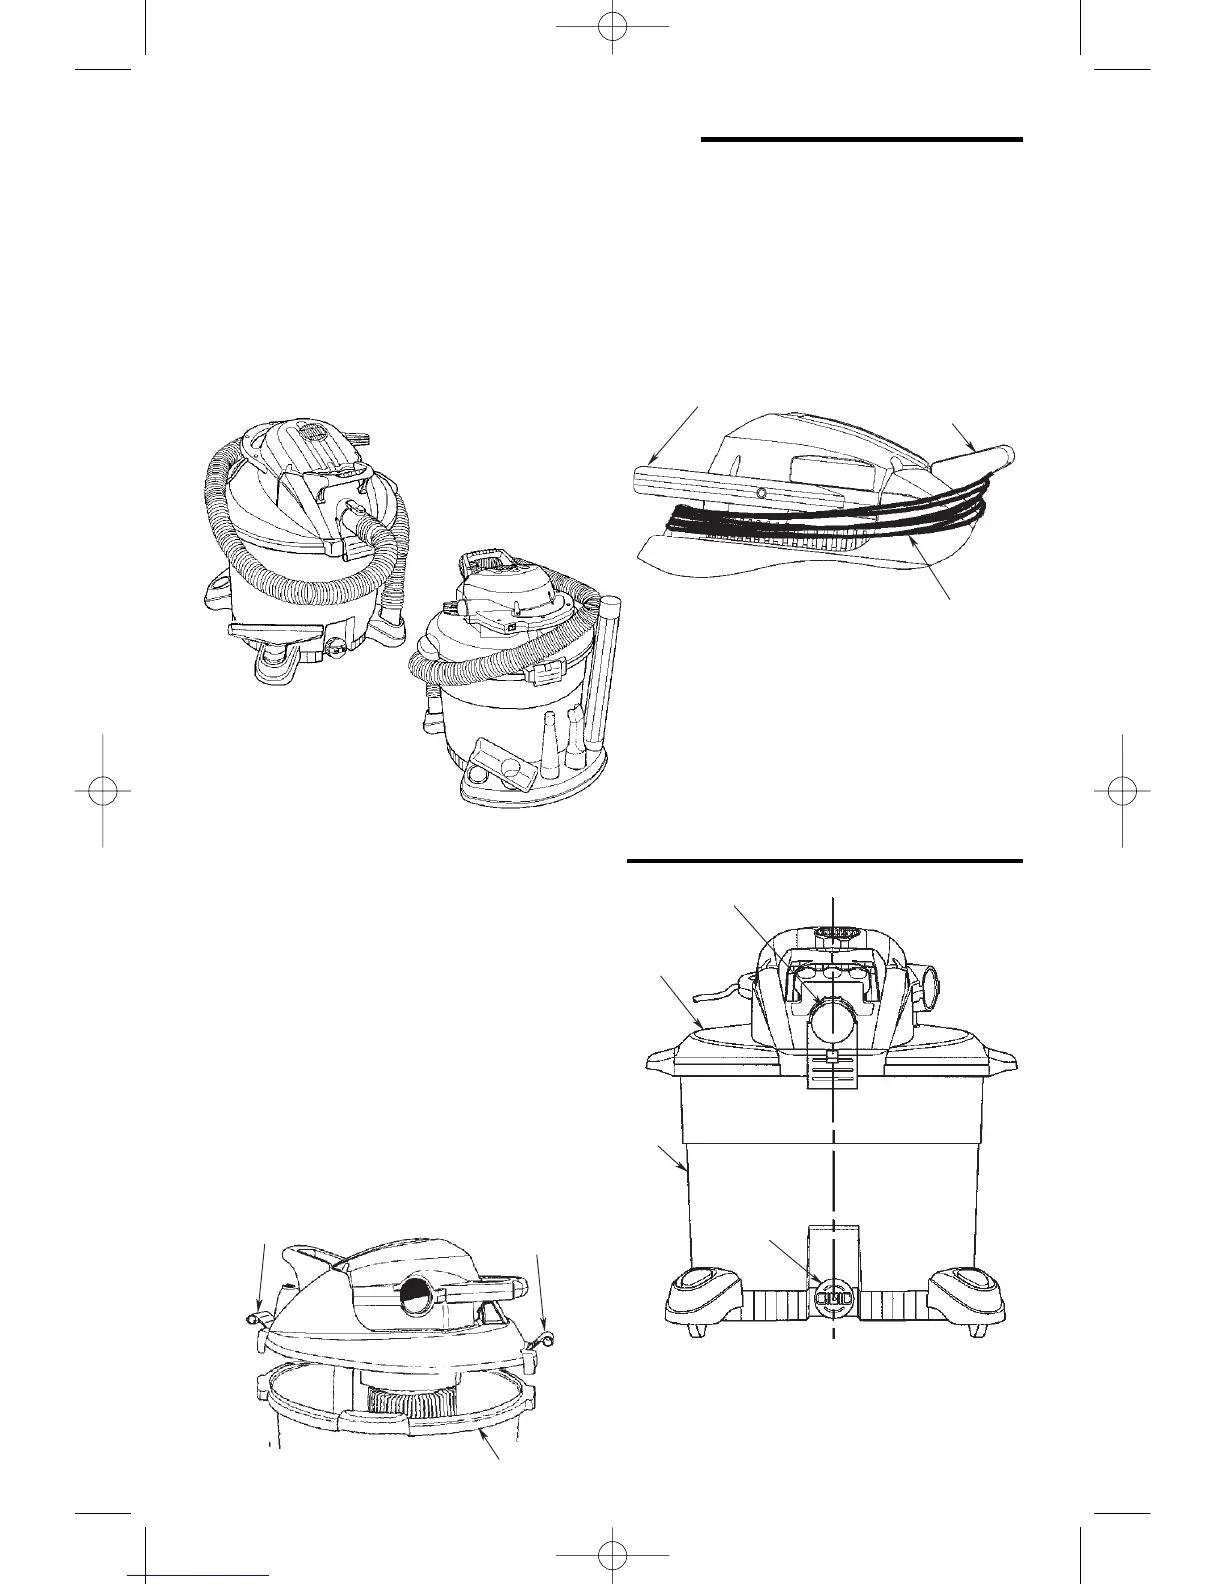
1. Locate the lid assembly and the drum/
caster foot/caddy assembly (assembled
earlier).
2. Position the lid assembly with the inlet
of the unit located in line with the drain
cap on the dust drum.
3. To assemble the lid assembly to the
drum/caster foot/caddy assembly,
lower the lid assembly onto the dust
drum. Rotate both latches down until
you hear them snap over the lip of the
drum.
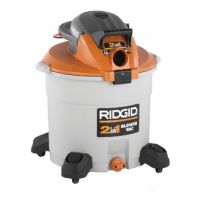
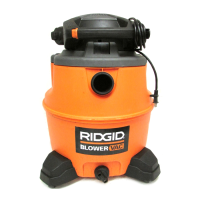
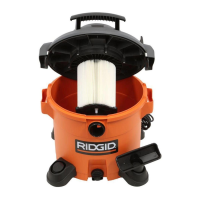
Wet/Dry Vac Assembly
Y
our RIDGID Wet/Dry Vac is designed to
p
rovide better stability, mobility and
accessory storage with the accessory
caddy. Located on the caddy are five
storage pockets. Conveniently store
accessory nozzles and extension wands
on these locations and use the front 2
caster feet storage pockets for the hose
or any of the accessories.
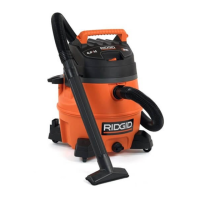
To Store Your Accessories
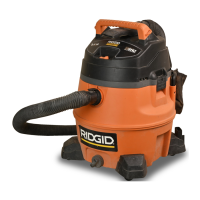
Cord Wrap
When vacuuming is complete, unplug the
cord and wrap it around the power
assembly as shown. The cord should
wrap under the pull handle (above the
inlet) and around and under the handle to
the power assembly.
SP6728 16 Gallon 10/28/09 8:56 AM Page 8
 Loading...