LID Tab Naming
It is a good idea to name the input and output tabs of
your LID block so that when you come to use it in a
program, you will be reminded of what should be
connected to each tab. There are two ways in which this
can be achieved.
Method One
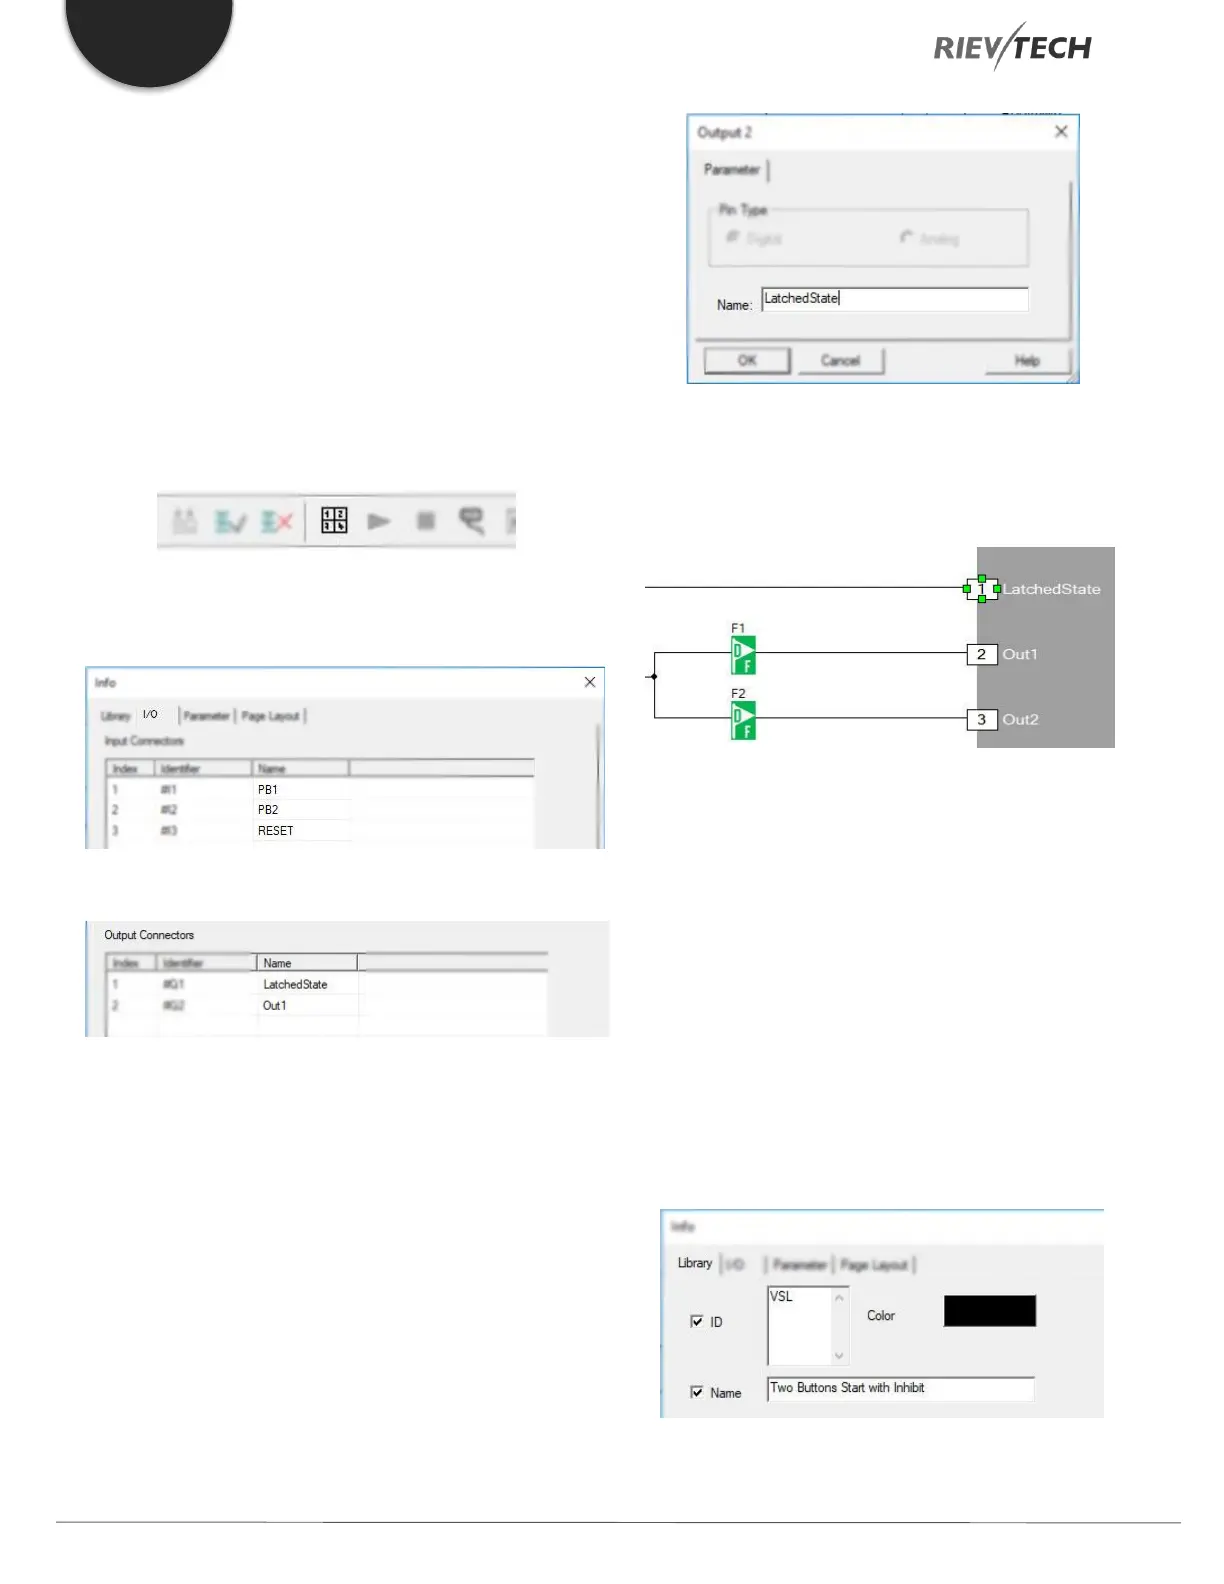
Select ‘File…Properties’ from the main menu or click on
the ‘Page Layout’ icon:
Then select the I/O tab and enter the names that you wish
to assign to each tab:
Figure 40 - LID Input Tab Naming
Figure 41 - LID Output Tab Naming
Method Two
Alternatively, you can right-click on a tab and select
‘Properties’ and a window will open enabling you to
configure just that pin:
Figure 42 - LID Single Tab Naming
You need to repeat this process for each pin you wish to
name.
Figure 43 - LID Output Tabs Named
LID Customisation
You can customise your LID block further if you wish by
adding your own ID, block image and size. Once saved,
every time you use your LID in a program, it will have
these properties rather than the standard xLogicsoft
defaults.
Select ‘File…Properties’ from the main menu or click on
the ‘Page Layout’ icon.
Select the ‘Library’ tab and customise your options:
Figure 44 - LID ID Change
 Loading...