110876_C
1
Inside the Everest printer, remove the plastic packing pieces.
5
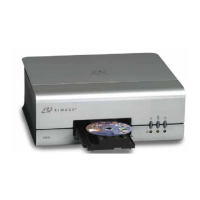
Rimage Everest III Printer™ setup guide
Install the transfer ribbon.
a. To access the transfer ribbon
carrier, grasp the transfer ribbon
carrier and pull out.
b. Install the transfer ribbon around the
ribbon guides and snap the ends of
the ribbon into the ribbon carrier.
c. To tighten the ribbon, turn the takeup
roller as indicated by the arrow.
d. Slide the ribbon carrier into the
printer.
e. Close latches 1, 2, and 3 as
indicated by the arrows.
f. Close the printer side cover.
Move the shipping screw.1
a. On the back of the Everest
printer, use a Phillips screwdriver
to remove the shipping screw.
b. Using a Phillips screwdriver,
install the shipping screw in the
location indicated by the caution
card.
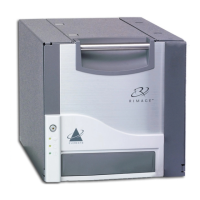
Open the Everest printer.
2
Latch 1
Latch 2 Latch 3
a. To open the side cover,
press the two cover
latches and lower the side
cover.
b. Open latches 1, 2, and 3
as indicated by the arrows.
Remove the internal packing pieces.3
Install the print ribbon.
4
a. To remove the ribbon carrier,
grasp the ribbon carrier and pull
out.
b. Install the ribbon around the
ribbon guides and snap the
ends of the ribbon into the ribbon carrier.
c. To tighten the ribbon, turn the
takeup roller clockwise as
indicated by the arrow.
d. Insert the ribbon carrier into
the printer, but do not close the
latches.
Transfer
Ribbon
Carrier
6
Learn more.
For more information about operating and maintaining the
Everest printer, refer to the Everest Printer User Guide included
with your product.
For autoloader or AutoPrinter information, refer to the
instructions included with your autoloader or AutoPrinter.
If you are upgrading from a Prism printer to an Everest printer,
use GemFlash or GemUtil to update the autoloader rmware.
Instructions on updating the autoloader rmware are available
at www.rimage.com/support.
Note: The transfer ribbon
carrier slides out from the
printer but remains attached.
Cover Latches
Side Cover
Ribbon Carrier
Takeup Roller
Ribbon Guides
Ribbon Guides
Takeup
Roller
Latch 1
Latch 2
Latch 3
Tighten