EasyManuals Logo

ring Floodlight Cam Wired Pro User Manual

ring Floodlight Cam Wired Pro
23 pages
To Next Page IconTo Next Page
To Previous Page IconTo Previous Page
Page #10 background imageLoading...
Page #10 background image
18
19
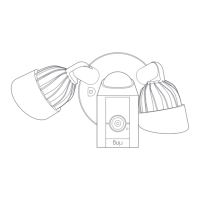
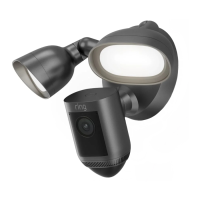
Préparez votre caméra à projecteur d’illumination
pour l’installation.
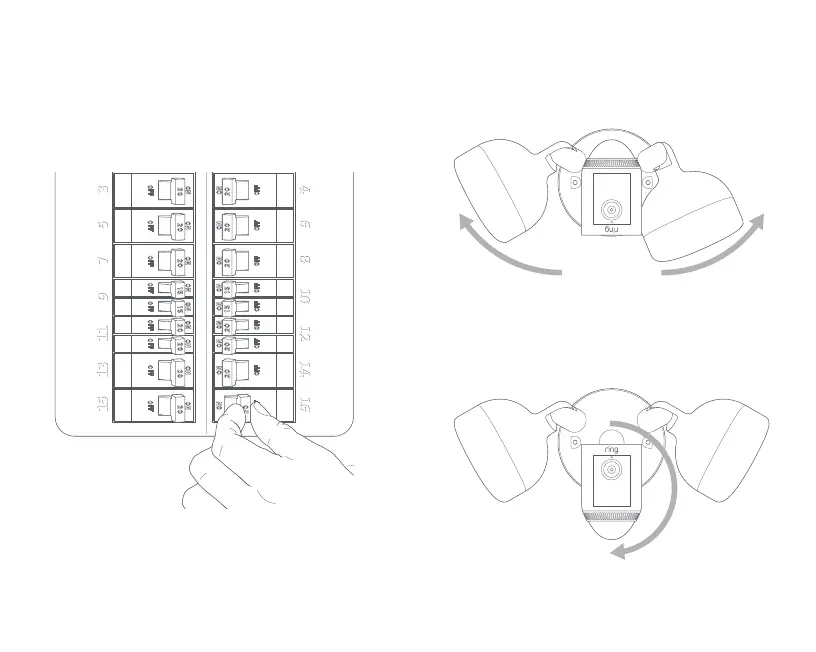
Tout d’abord, tournez les lumières pour libérer l’espace,
comme ceci…
Si vous faites l’installation sur un avant-toit ou un
porte-à-faux, votre caméra est déjà en position.
If you’re mounting to a wall, faites pivoter la caméra
en position comme ceci...
Coupez l’alimentation à partir du disjoncteur!
Vous travaillerez avec des fils électriques pendant
le processus d’installation. Si vous ne savez pas où
se trouve votre disjoncteur ou comment couper
l’alimentation du circuit de votre projecteur, nous vous
recommandons d’embaucher un électricien agréé.

Other manuals for ring Floodlight Cam Wired Pro

Questions and Answers:

Question and Answer IconNeed help?

Do you have a question about the ring Floodlight Cam Wired Pro and is the answer not in the manual?

ring Floodlight Cam Wired Pro Specifications

General IconGeneral
TypeIP security camera
Luminous flux2000 lm
Day/night modeYes
Color temperature3000 K
Placement supportedOutdoor
Connectivity technologyWireless
Built-in HDD-
Built-in sirenNo
Mounting typeCeiling/wall
Product colorBlack
Country of originChina
AC input voltage100 - 240 V
Power source typeAC
Number of lenses1
Operating temperature (T-T)-28 - 48 °C
Total megapixels- MP
Maximum resolution- pixels
Supported video modes1080p
Networking standardsIEEE 802.11ac, IEEE 802.11b, IEEE 802.11g, IEEE 802.11n
Harmonized System (HS) code85258900
Weight and Dimensions IconWeight and Dimensions
Depth202 mm
Width326 mm
Height217 mm
Package depth360 mm
Package width16.3 mm
Package height24.8 mm

Related product manuals