ToUse
Models 8401, 8405,
8455,8550,8605
Models 8401, 8405
8455,8550,8605
ToUse
Before Using First Time
Wash all parts except motor drive (see page 8).
(4, 5, and 6 Quart
To Harden And Ripen Ice Cream Models Only)
3.
Place cover on can. Be sure the cover notch lines up
with top indentation of can.
1. Pack ice cream down into can and replace cover. Put cork into hole on cover.
2. Drain off salt water through drainage hole in side of bucket.
3. Repack ice and salt layers (see "To Use," item 7), covering entire can including
cover.
4. Cover the bucket with a folded towel or a few newspapers for insulation and
allow to harden for two to three hours. Hardening time varies with type of ice
cream mixture used.
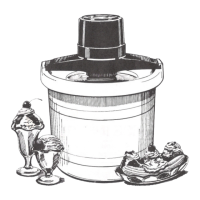
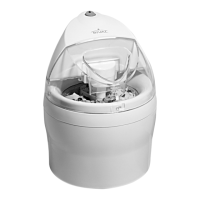
1. Pour chilled ice cream mixture into cooled can. Fill can
only ~ full, as mixture will expand during freezing.
2. Insert dasher. Be sure that bottom of dasher fits
indentation at bottom of ice cream can.
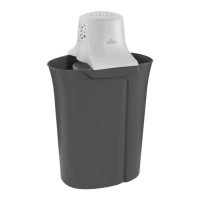
4. Place filled can in ice cream bucket. Be sure can
engages drive hub of bucket, as shown.
Drive Hub
Home Freezer Method (ForAllModels)
· Ice Cream Can
1. Pack ice cream down into can and replace cover. Put cork into hole on cover.
For 2 quart.model, cover can with storage lid provided.
2. Place in home freezer for several hours.
·Plastic Containers
1. Spoon ice cream into plastic container; allow Y2inch for expansion. Cover with
a tight-fitting lid.
2. Place in home freezer for several hours.
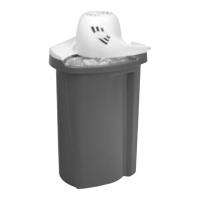
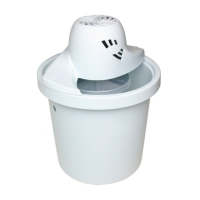
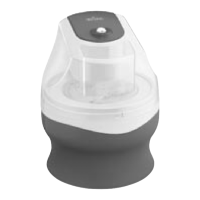
5. Place motor drive over can so that stem of dasher engages hole in
bottom of motor drive. Rotate can slightly until motor drive engages can cover.
ImDortant Points
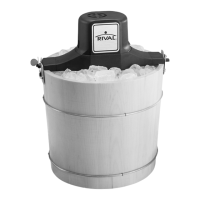
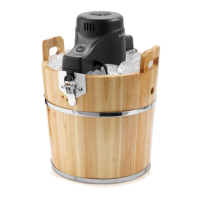
6. While ice cream freezer is running, distribute 2 inches of ice around bottom of
bucket. Sprinkle approximately Y2cup of salt uniformly over layer of ice.
Exception: For Model 8550, layer 1 inch of ice with ~ cup of salt. (See
"Hints," page 8.)
Note: The dasher stays still while the can turns around it.
· To achieve a smooth-textured ice cream, follow carefully the ice and salt
amounts indicated. As the ice melts and the ice level decreases, add small
amounts of ice to maintain the original level.
· To loosen jammed ice, unplug the power cord and twist ice cream can several
times. Plug in cord to restart churning process. If jamming continues, add 2 cups
of water to bucket.
·2 quart model: Ice cream should churn approximately 25-40 minutes or until
metor stops. Occasionally your ice cream freezer may not stop when the ice
cream mixture is complete. If this happens, unplug after 50 minutes. DO NOT
ALLOW UNIT TO RUN LONGER THAN 50 MINUTES.
· 4, 5, and 6 quart models: Ice cream should churn approximately 20-40 minutes
or until motor stops. If you choose to churn less than the ~ volume of liquid
recipe, the motor may not stop. Occasionally check mixture until ice cream looks
like fluffy mashed potatoes. Unplug and remove motor drive.
· Drain hole (4, 5, and 6 quart models only): Check frequently to make sure salt
water flows freely through hole. A plugged drain hole may allow salt water to
seep into can and ruin the ice cream.
· Set 4, 5, or 6 quart ice cream bucket in sink or above sink drain to catch
excess water.
7. Continue adding layers of ice, with salt between layers, until ice level reaches
top of rotating ice cream can. Note: Should ice cream freezer stop before
churning is complete (approximately 20-40 minutes), check to see if large ice
cubes are jammed against the rotating ice cream can. (See "Important Points,"
page 7.)
8. Ice cream should churn about 20-40 minutes or until motor stops. Unplug and
remove motor drive.
9. Clear ice and salt away from top of ice cream can. Wipe cover carefully to
remove salt and water before removing. Lift out dasher and scrape clean with a
rubber spatula. Pack down ice cream into can.
6
7