4
Start up and use
2.1 Installing the whirlpool
2.2 Switching the power
supply on and off
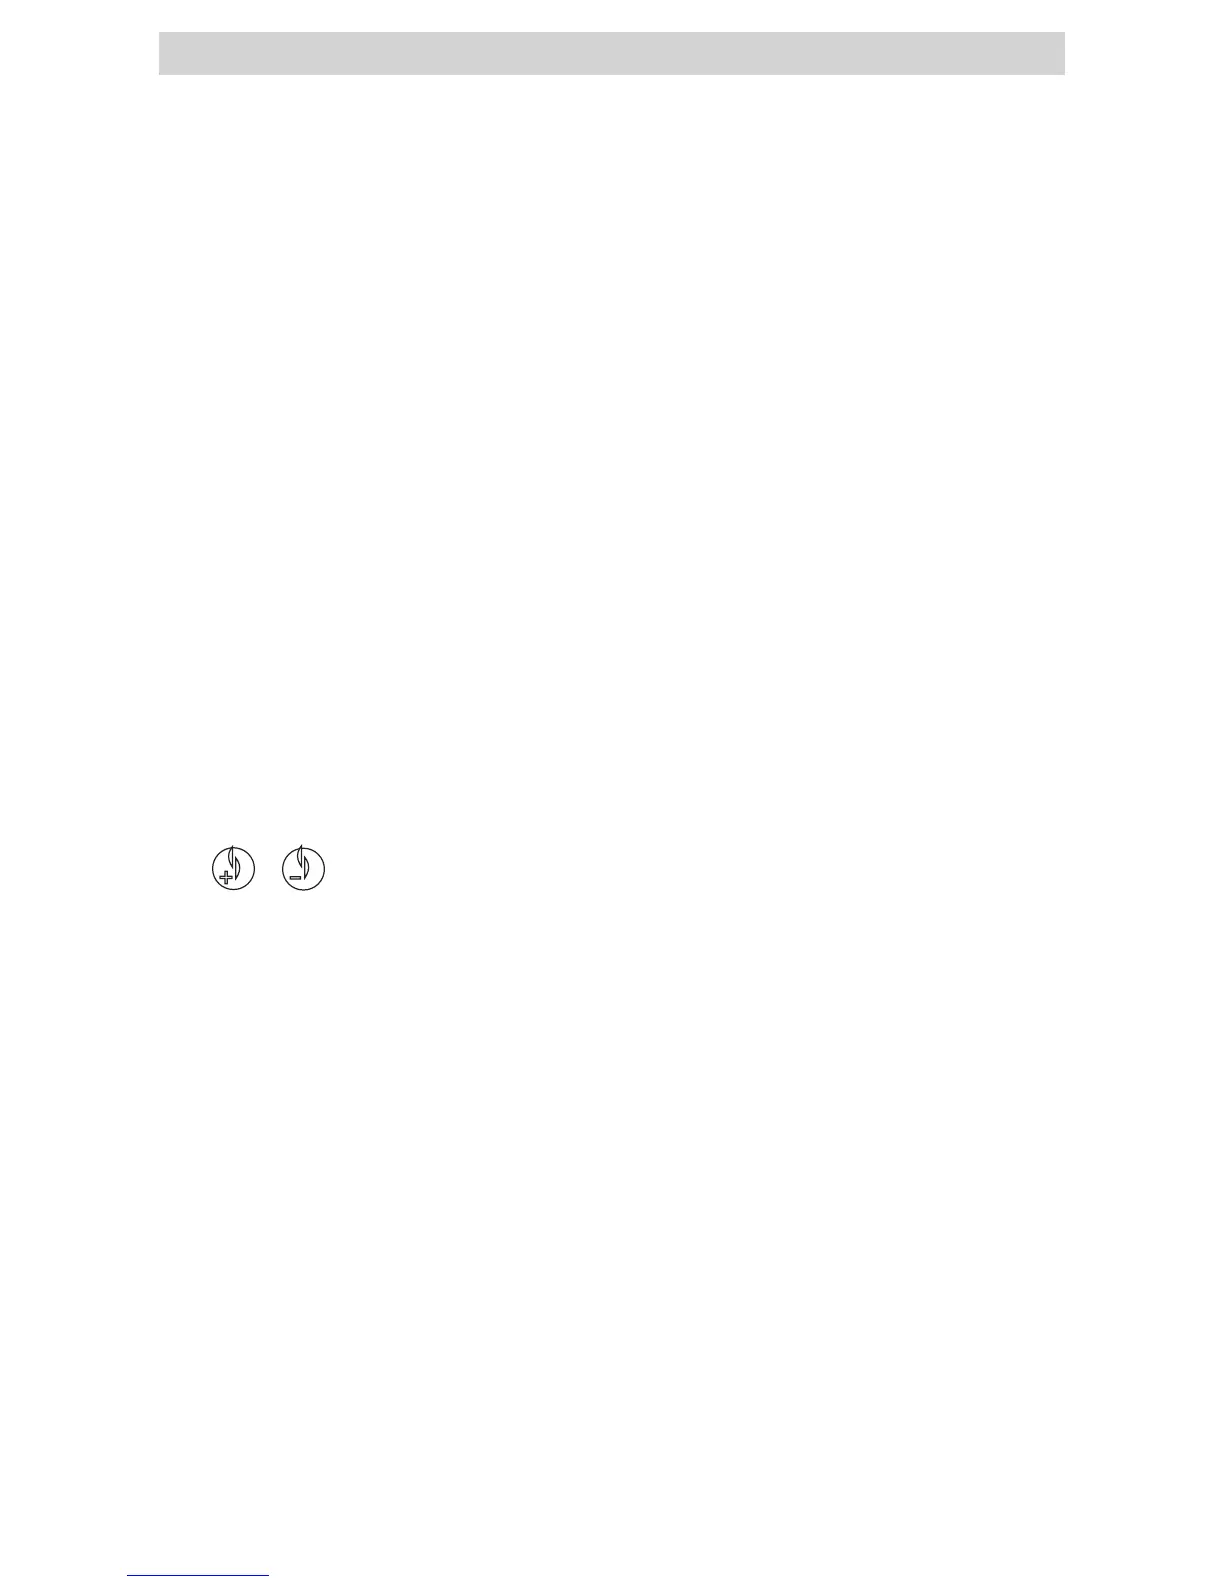
2.3 Temperature setting
(26° - 40° C)
2.4 Frost protection
2.5 Locking the control panel
2.6 Locking the temperature
2.7 To reverse the digits
The whirlpool should be installed on a firm and level foundation. The
surface upon which the pool is to be placed should be checked to make
sure it is perfectly flat. Similarly, a check should be carried out with a spirit
level to ensure that the whirlpool is standing even. The valve for emptying
the whirlpool will have been closed at the factory. However, before filling
the whirlpool this should be checked again. Then the whirlpool should be
half-filled with fresh tap water. This is marked on the skimmer plate with the
words „WATERLEVEL“. Filling the whirlpool way above this level will result in
a poor skimming effect. Filling the whirlpool below this level can result in air
entering the system and the equipment will switch itself off, (error message
„DRY“). If the pool is being used by several people at the same time or by
very large people, it can be useful to keep the water level lower. Once the
pool has been filled, it should be connected to the mains.
After the pool has been connected to the mains, it will initially start up in
checking mode (shown as „PR“ in the display). This checking mode lasts
about 4-5 minutes. After that the filter pump will start up, the whirlpool
will be heated and the water temperature will be maintained at standard
level. The pool can be switched off by interrupting the electric current at
the circuit breaker. Caution: Interrupting the current supply incapacitates
the frost protection function, so always be sure to empty the pool after
switching off the power supply.
The LCD always displays the last recorded temperature. Please note that
the last recorded water temperature can only be shown with accuracy
after pump 1 has been operating for at least 2 minutes. To program the
pool to the desired temperature, press the „warm“ or „cool“ button controls
once. Every time either one of the buttons is being pressed, the temperature
rises or falls. After 3 seconds the LCD display will automatically show the
latest recorded water temperature.
If the frost protector sensor installed in the heater detects a temperature
drop to 6,7° C degrees the pump switches itself on automatically and the
system keeps working until a temperature of +/- 7, 2 ° C has been reached. In
cooler climate regions an additional sensor can be installed. Please ask your
dealer for further information.
Press the „Time“, „Jet 1“ and „Warm“ control buttons within 3 seconds.
Once the control panel has been locked, the display will show the water
temperature and the lock symbol „PL“=Panel Locked. All the buttons apart
from the time button are now locked. To unlock the control panel, press the
„Time“, „Jet 1“ and „Cool“ control buttons within 2 seconds.
The temperature control can be locked by, when entering the water
temperature and after pressing the „Warm“ or „Cool“ button within
3 seconds, the „Time“, „Jet 1“and „Warm“ buttons are being pressed. Once
the panel is locked, the middle display will show the water temperature and
the lock symbol „TL“= Temperature Locked. To unlock the control panel,
press the buttons „Cool“, „Time“, „Jet 1“, „Cool“.
By pressing „Cool“ – „ Blower“ the digits as shown on the display can be
reversed.
2. Start up and use