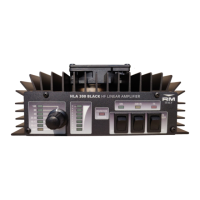
Quick Start Guide:
A more complete guide to the installation is featured later
1. Connect the input RTX connector to transceiver with 50 Ohm
patch cable
2. Connect the ANT Output of the Amplifier to SWR Bridge / ATU
(If required), and then the Antenna
3. Connect the Amplifier DC power Cables to a suitable 13VDC (±
1V) Power Supply or Auto Battery
4. Connect PTT cable if required to the transceivers PTT OUTPUT,
(The Amplifier may be used without this connected. PTT is Ac-
tive Low and only becomes active after the first transmission)
5. Set front panel filter selector (2) to Auto
6. Make sure that the Amplifier is switched off
7. Adjust the Transceivers output RF power to 10W (15W max) if it
is capable of more than 10W output
8. If the antenna requires tuning this must be done before the Am-
plifier is switched on!!
9. Switch on the Amplifier and start operating
10. Check that the antenna VSWR is acceptable with the amplifier
in use. Any large increase in VSWR indicates that the Antenna
or ATU is not suitable for the power being used. Operation
should be halted immediately to avoid damage to the Ampli-
fier / Radio / ATU etc.
**** The amplifier must not be used whilst the antenna is being
tuned by either a manual or Automatic ATU *****
***** Automatic ATU’s must be placed in standby after the an-
tenna has been tuned such that they cannot start another tun-
ing cycle whilst the amplifier is in use*****