26
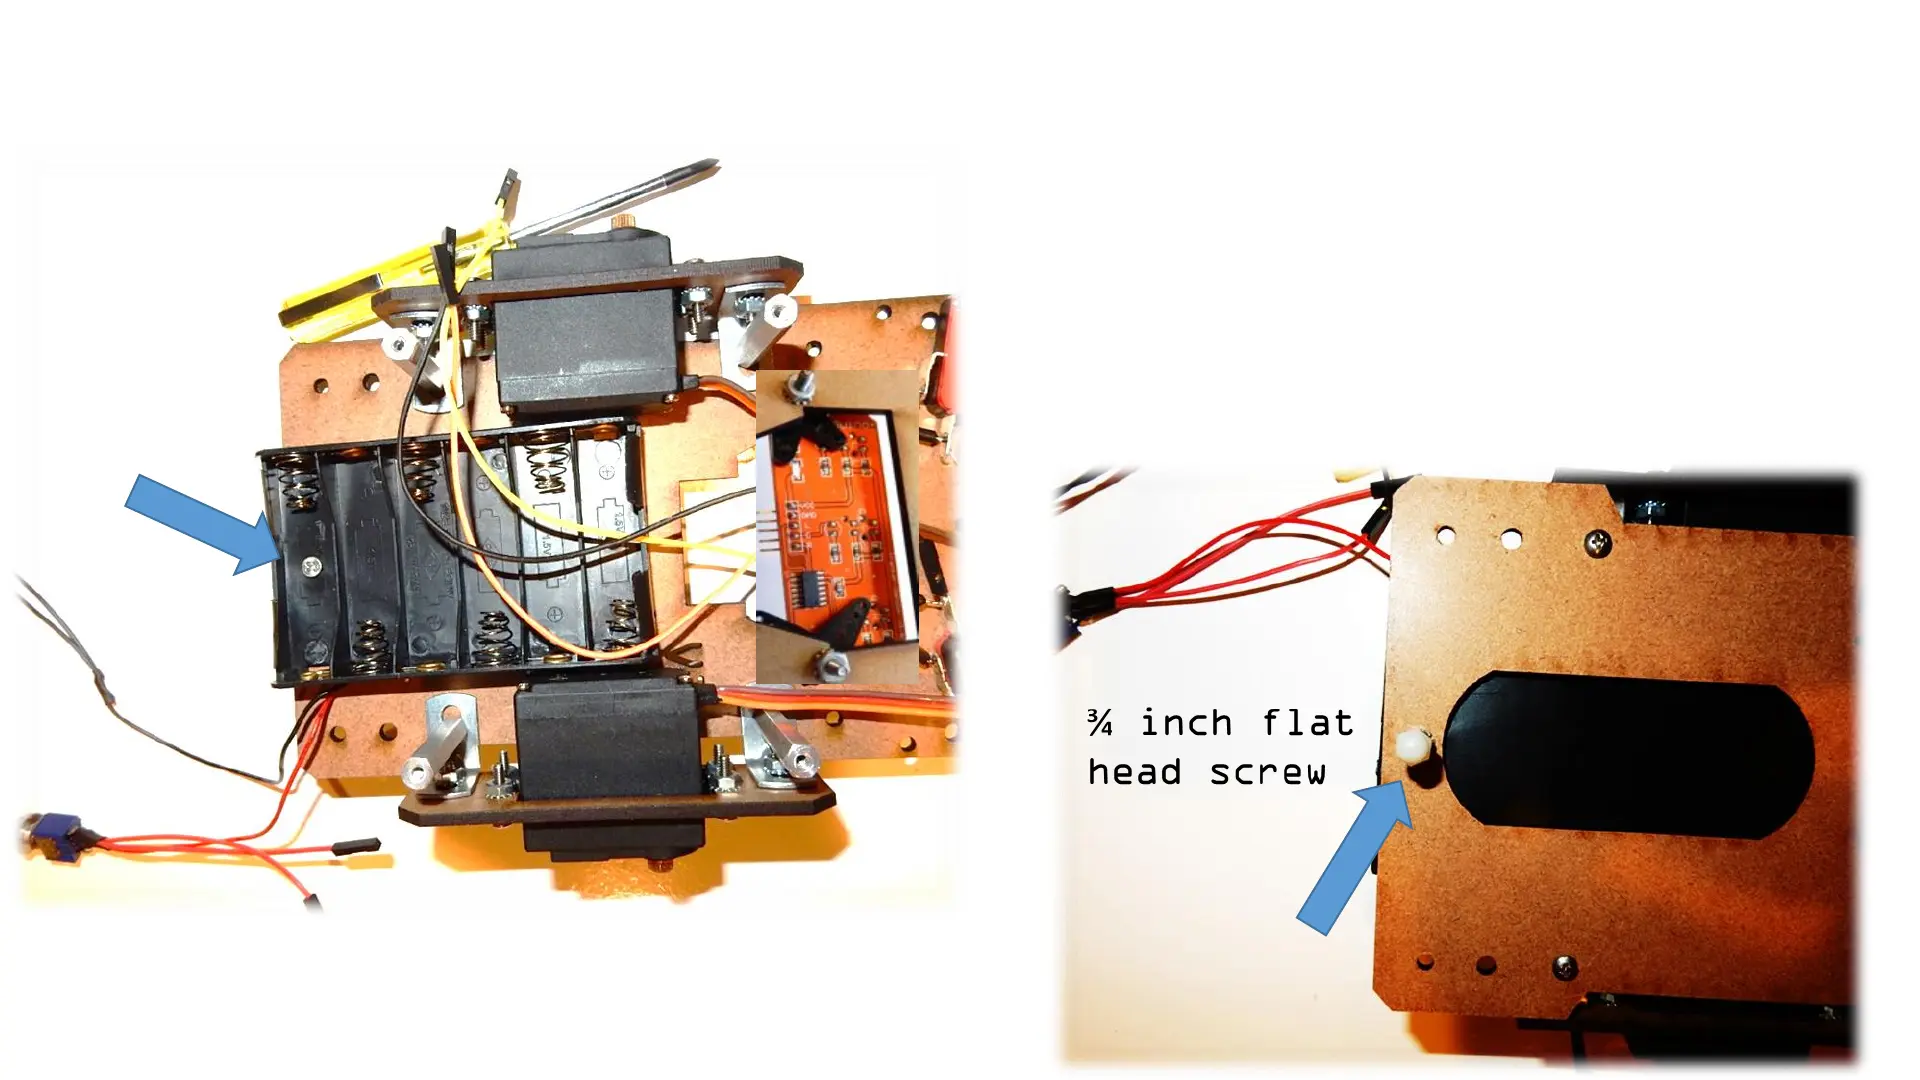
Step 6: Assembling the battery holder and back acorn nut
Note: You only will install one
screw on the battery holder on
the back. You only need one to
make it easier to pull out the
battery holder and replace
batteries when need it
3/4” flat
head screw
Acorn nut
and locking
nut