Confidential & Proprietary|© ROKIT Healthcare Inc. 2019. All Rights Reserved
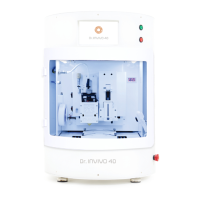
Dr. INVIVO 4D Installation
1. Unbox and place the Air Compressor on a level and unclustered surface. Turn the red emergency button clockwise and
unlock for operation.
2. Connect the air tube 1 to the Air Compressor and Air Dispenser Controller keeping the air-in and air-out sockets aligned.
Insert the tube completely until it clicks.
3. Insert the power plug into the power outlet.
4. Turn on the power. If the equipment does not operate, check again the red emergency button.
5. Check for a pressure rise. The gauge on the left shows the tank pressure and the gauge on the right shows the regulator
pressure.
6. The Air Compressor will stop the pressure rise automatically when the pressure gauge has reached ~ 9 bar. If the pressure
does not rise, turn the pressure regulator clockwise until you see the gauge needle move.
7. Turn the regulator to adjust to the required pressure.
8. Turn off the power and finish the installation.
1. Before installing or using the Air Compressor, be sure to read the operating instructions provided with Dr. INVIVO.
2. When not in use for a long time, remove the air using the vacuum control knob on the Air Dispenser Controller.
Installation of Air Compressor (Premium) [Packaging specification 820 x 550 x 560, 49 kg ]
1. When using the Air Compressor, the mode of Air Dispenser should be set to STEADY.
2. If the vacuum of the Air Dispenser Controller is open, an air leak will be heard and the air pressure will not rise. Lock the vacuum.
3. Drain the water from the water filter before using the Air Compressor.
4. Check the drain bucket on the back of the Air Compressor at least once a month and empty it if it is full.
5. Replace the air dryer every 6 months.
6. Check and replace other consumable parts.
17
CAUTION
WARNING
INV-CHS-20191210
 Loading...