5
Copying Objects on the Song Edit Screen
You can quickly make a single copy of an object on the Song Edit screen. The
copy is placed on the same track as the original, immediately after it.
On the Song Edit screen, select the object you want to copy.
1
Click F3 (Copy) to make a copy of the object at the end of the object 2
you selected in Step 1.
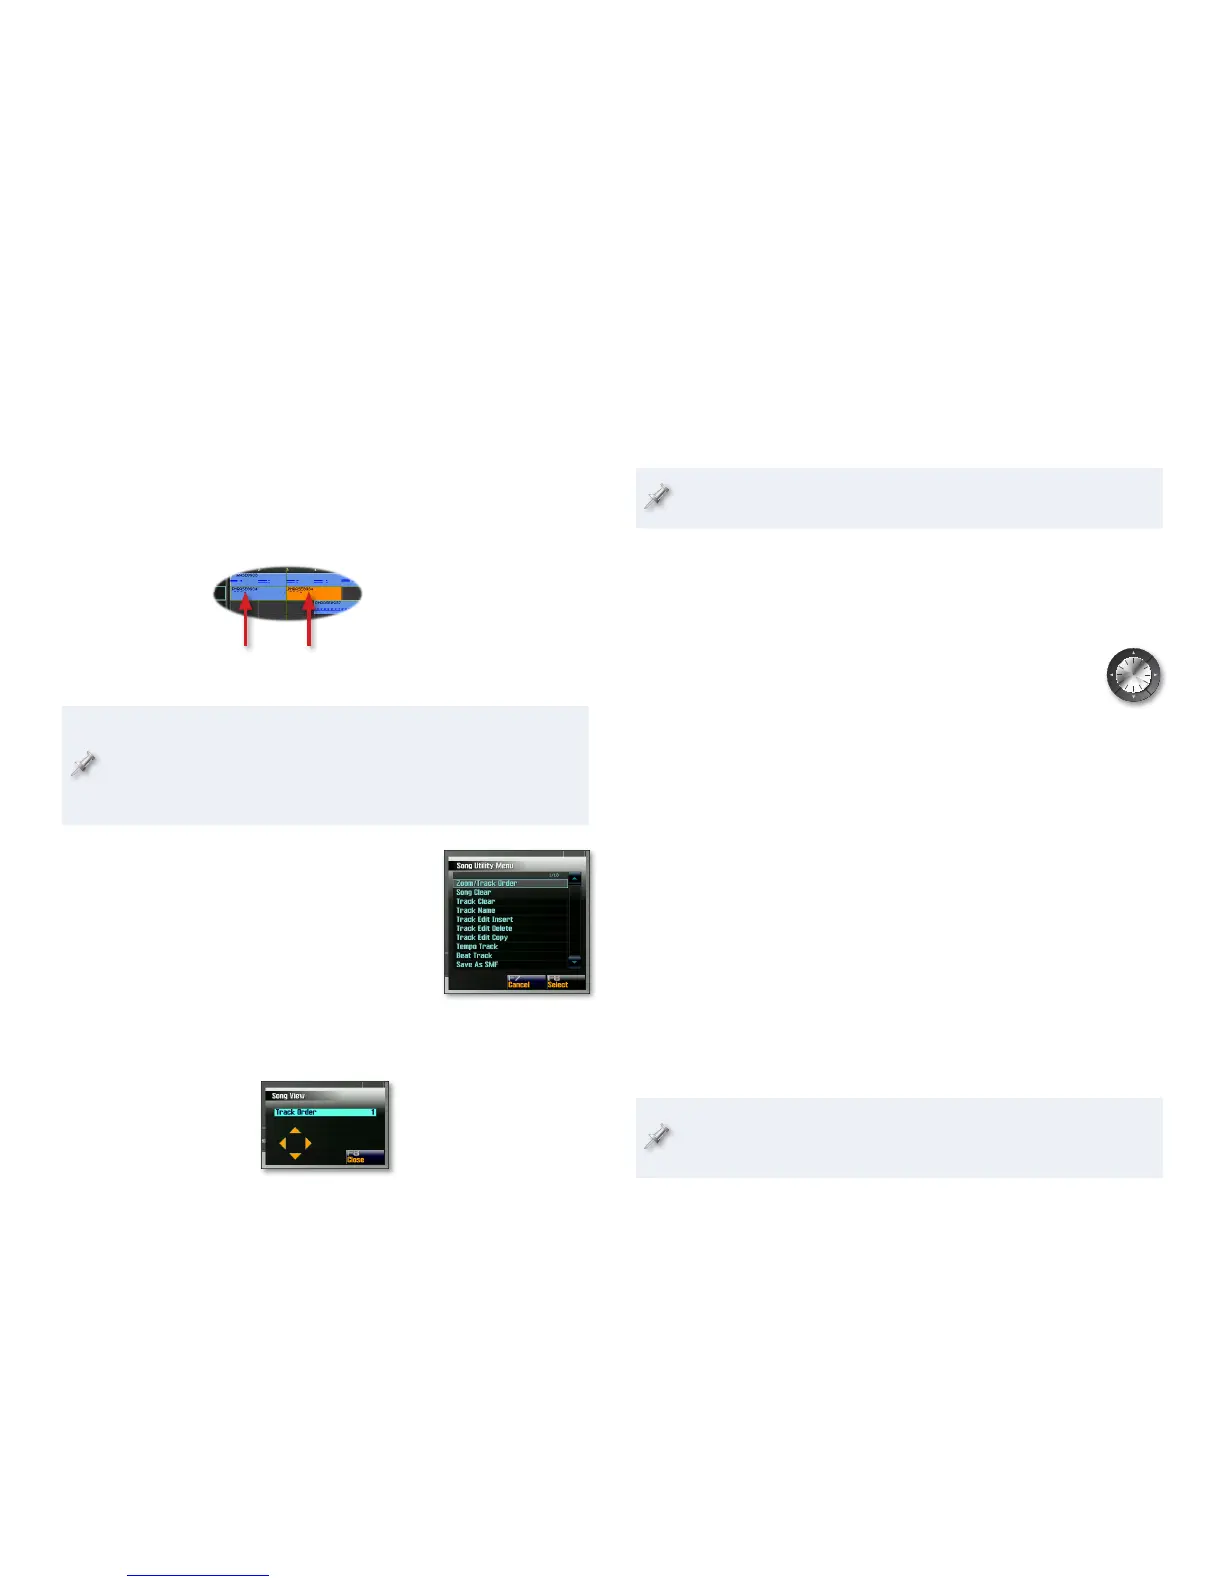
Original
object
Copy
The copy is placed
immediately after
the original. (After
copying, the new object’s
selected.)
If the object you copy doesn’t end exactly at a bar line, copies you
make using this method are likely to fall out of time with your other
tracks. For greater control over placing copied objects, and to make
multiple copies at a time, use the Track Edit Copy tool in the Song
Utility menu. We’ll start getting into this menu now.
Using the Song Utility Menu
The Song Utility menu, which you can display
by clicking F7 (Song Util) on both the Song Play
and Song Edit screens, contains a number of
useful song-editing tools. We’ll describe these
in the following sections. (We already discussed
the menu’s Save as SMF tool on Page 23 of the
Sequencing and Recording Workshop booklet.)
Zooming and Changing a Track’s Number
The Zoom/Track Order tool performs double duty, allowing you to both
zoom in or out on a song, and change the number—and thus the onscreen
placement—of the currently selected track.
On the Song screens, tracks are always presented in numerical order:
MIDI Tracks 1-16, Audio Tracks 1-24, and then MIDI Tracks 17-128.
To zoom in and out using the Zoom/Track Order tool:
Select Zoom/Track Order from the Song Utility menu to display the
1
Zoom/Track Order window, and then use:
3
• —to zoom out on your tracks horizontally.
4
• — to zoom in to your tracks horizontally.
5
• —to zoom out on your tracks vertically.
6
• —to zoom in to your tracks vertically.
Click F8 (Close) when you’re done.
2
To change a track’s number:
If you’re not using a mouse, go to the Song Play or Edit screen and
1
select the track whose number you want to change. If you are using
a mouse, skip to Step 2.
Select Zoom/Track Order from the Song Utility menu to display the
2
Zoom/Track Order window.
If you’re using a mouse, select the track whose number you want to
3
change behind the Zoom/Track Order window—use the track area’s
scroll handles to move up and down through the tracks. If you’re not
using a mouse, move on to Step 4.
Set the Track Order parameter to choose the desired number for the
4
selected track.
Click F8 (Close) when you’re done, or select another track with your
5
mouse and repeat Steps 4 and 5.
Just a word of explanation for all the mouse/not mouse talk above.
Once you’re on the Zoom/Track Order window, the 5 and 6 buttons
zoom in and out vertically, so they can’t be used for selecting tracks.
 Loading...