Do you have a question about the RONDELL RDE-1108 and is the answer not in the manual?
This document describes the Röndell RDE-1108 Automatic Coffee Machine, a device designed for preparing various coffee beverages.
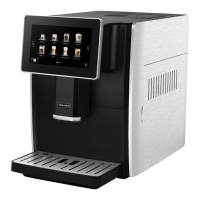
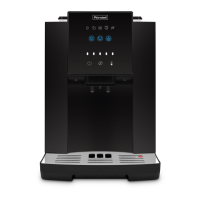
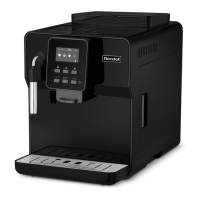
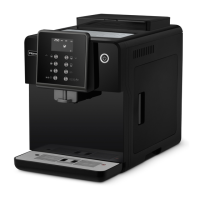
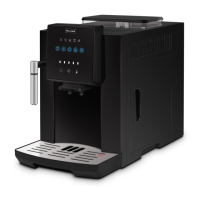
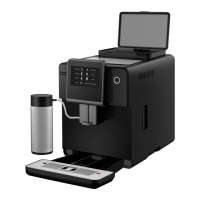
The RDE-1108 is an automatic coffee machine capable of preparing a wide range of coffee drinks, including Lungo, Americano, Latte, Cappuccino, Espresso, Macchiato, Latte Macchiato, Cafe Au Lait, Flat White, Long Black, and Ristretto. It features a control panel with sensory buttons for easy operation and a display that shows the menu and various settings. The machine can use both coffee beans and ground coffee. It includes a milk system for frothing milk, a hot water supply, and a height-adjustable coffee spout.
Initial Setup: Before first use, the machine should be kept at room temperature for at least three hours after transportation or storage at low temperatures. All removable parts (water tank, drip tray, brewing unit, coffee grounds residue tray, used coffee grounds container, milk intake pipe) should be washed with warm water and neutral detergent, then dried. The brewing unit, used coffee grounds container, and drip tray must be correctly installed. The water tank (1) should be filled with clean, cold water; hot or ice-cold water should not be used to avoid damage to the tank.
Connecting and Switching On: The power cord is inserted into the socket (17) on the rear panel and connected to the mains (pic. 2). The machine is switched on by pressing the switch (16) to the "I" position (pic. 6). A startup screen (pic. 7) will appear, followed by a "Launch" message (pic. 8). After loading, the main menu will be displayed (pic. 9 and 10).
Coffee Grinding and Ground Coffee: Coffee beans are added to the container (2) (pic. 3). Only coffee beans should be used; water, ground coffee, or beans mixed with hard particles can damage the grinder. The grinding degree can be adjusted during grinder operation by turning the control knob (3) (pic. 3). Turning counter-clockwise results in a finer grind and stronger taste, while clockwise results in a coarser grind and softer taste. For ground coffee, it is added to the machine (pic. 4), ensuring the amount does not exceed one spoon to prevent clogging.
Beverage Preparation: The desired drink is selected from the start menu (pic. 31). Settings for each drink, such as coffee amount, frothed milk duration, and temperature, can be adjusted (pic. 16, 32, 33, 35, 36). For milk-based drinks, the milk intake pipe (15) is placed into a container with milk (pic. 34). The selected drink button is pressed to start preparation. Pressing the button again will pause the process.
Water Hardness Adjustment: To prolong the machine's life, it's crucial to set the water hardness level (from 1 to 4) to enable automatic descaling notifications. This is done via the "Coffee machine settings" menu, under "Descaling settings" (pic. 20), based on water hardness test strip data.
Switching Off: To switch off, press the icon in the bottom left corner (pic. 27), then press it again for 3 seconds (pic. 28) to initiate a washing cycle (pic. 29). After washing, press the switch (16) to the "0" position.
Warning Meanings: The machine provides visual warnings for various issues:
Cleaning:
Deep Cleaning: Performed after 500 cups. This is initiated from the "Cleaning" menu (pic. 13), selecting "Deep cleaning" (pic. 51). A cleaning tablet is added to the coffee beans container (2) (pic. 52).
Descaling (Decalcination): Initiated from the "Cleaning" menu (pic. 13), selecting "Descaling" (pic. 53). The machine will request confirmation to start the process.
Troubleshooting: The manual provides a troubleshooting guide for common malfunctions, their possible causes, and solutions. Examples include:
Storage: Before storage, unplug the unit and let it cool completely. Clean it as per the "Cleaning" section. Store in a dry, cool place, away from children and people with disabilities, and at temperatures above 0°C.
Transportation: Keep the original packaging for safe transportation. Drain all water from the water tank and internal components, then wipe dry with a soft tissue.
| Brand | RONDELL |
|---|---|
| Model | RDE-1108 |
| Category | Coffee Maker |
| Language | English |