Before Use
- Please read all of the Instructions for Use and
the Important Safety Guards carefully.
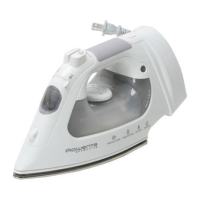
- Remove all packaging from the iron.
- Remove the soleplate protector.
- It is normal for a small amount of smoke and
a light odor to be produced the first time it is
used. This will quickly disappear.
- Particles may emit from iron during first use.
They are not harmful and sould disppear
after the iron has been alowed.
Helpful Hints
- When ironing, start with fabrics that require a low tempera-
ture setting (•) and finish with those which need the highest
temperature (•••).
- Mixed fiber fabrics should be ironed on the temperature for
the most delicate fabrics. For example a shirt that is 60 %
cotton and 40 % polyester should be ironed at the (•) set-
ting for synthetics.
- If spray starch is used, spray it onto the reverse side of the
garment. Allow starch to penetrate before ironing by set-
ting garment aside for 30 seconds.
- For best results, use a mesh type ironing board to allow
excess steam to escape.
- For delicate fabrics, we recommend carrying out a test on
an unobtrusive area of the garment such as an inner seam.
- Adhere to manufacturer recommendations on garment label.
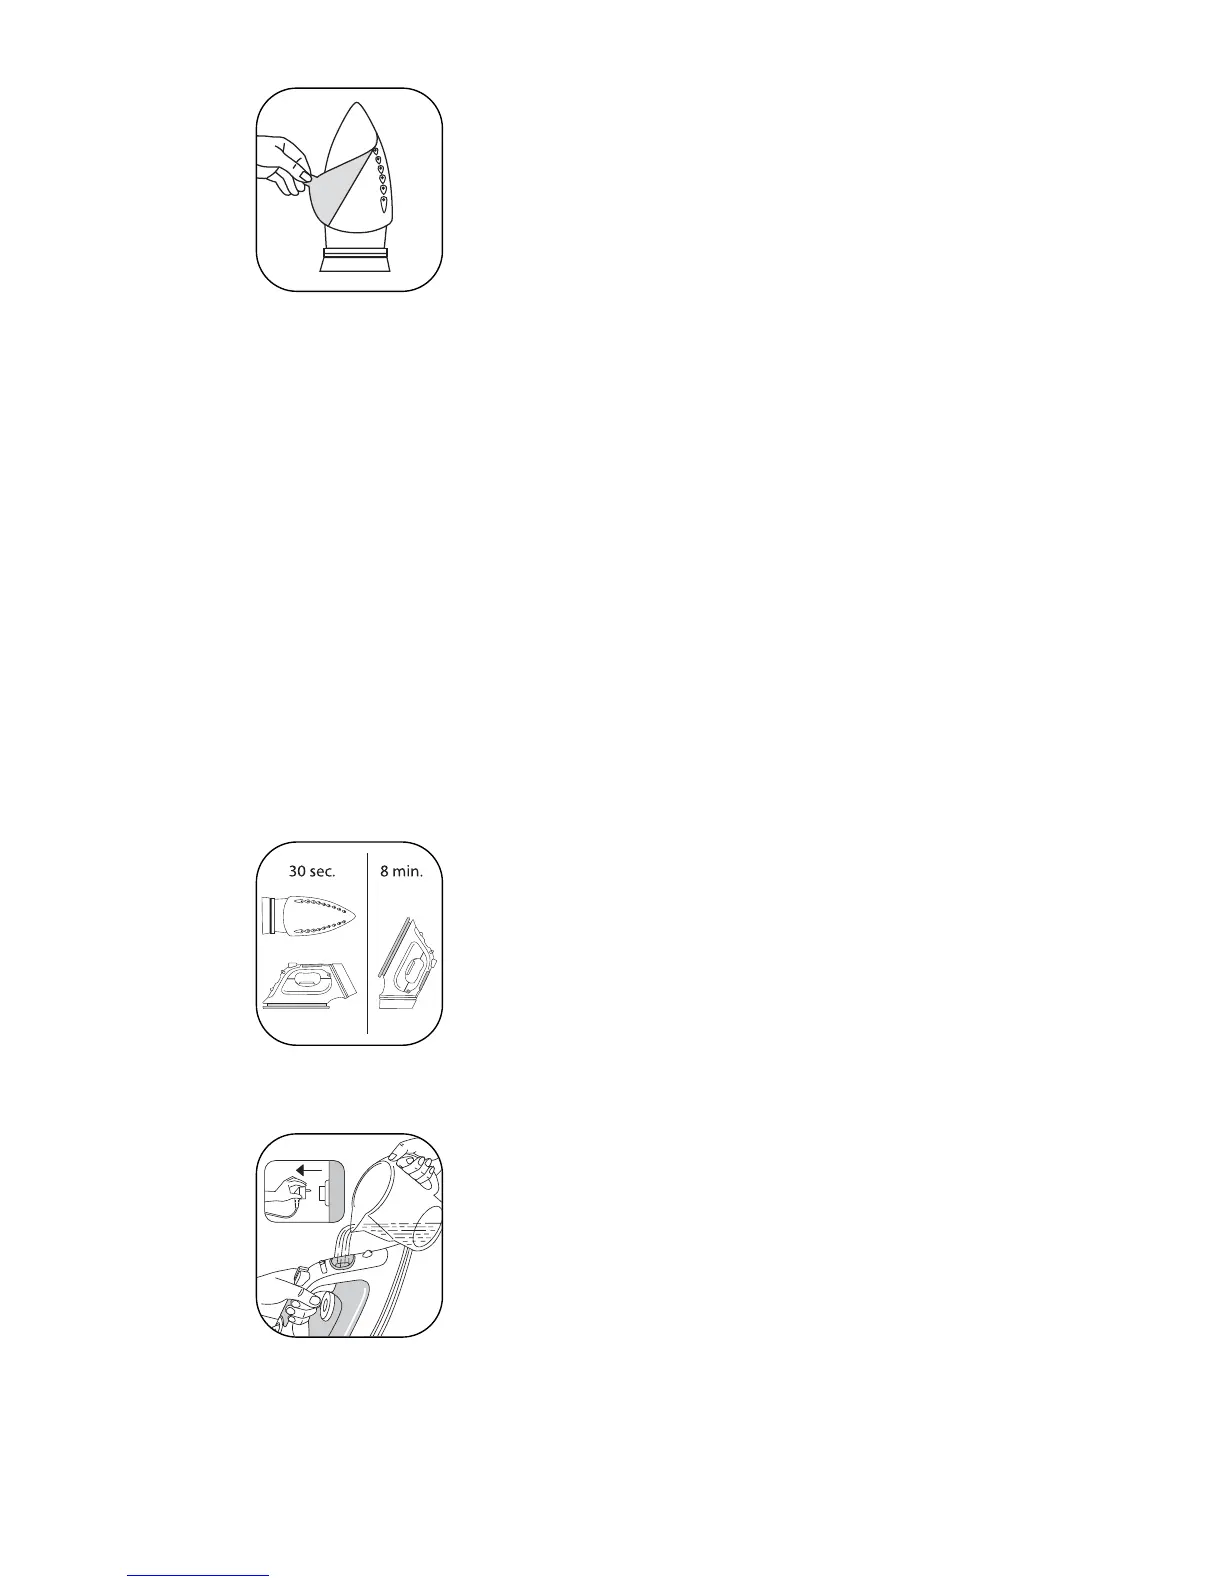
3 Way Auto-Off
- If the iron is not moved while it isplugged in,
an internal safety switch will turn it off.
- It will turn off in 8 minutes if left vertically or
in 30 seconds if left on its soleplate or tipped
over. A red flashing light indicates that the
auto-off has been activated.
- To switch the iron on again, move the iron
or gently shake it.
Auto off is not on/off switch.
Always unplug iron when it is not use.
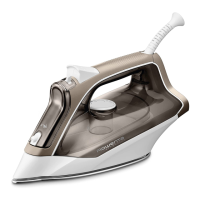
Filling with Water
- Ensure the iron is unplugged.
- Slide the variable steam control completely to
the left.
- Rest the iron on heel and tilt it foward
approximately 1 inch. If the iron is equiped
with a covered filling inlet, open the filling
inlet by sliding the cover down.
- Hold the appliance upright so that the water
inlet is horizontal.
- Fill with water (containing no additives) to
the max mark on the water tank. We recommend
using water pitcher rather than filling under the
tap.
- If you need to add water during ironing,
UNPLUG the iron and follow the steps above.
- Ensure iron heats back to temperature after-
wards, that means thermostat light will go out.