PG 10
IDAHO DOOR
Step 17: Fit the temporary door stop in doorway.
Check all wall panels are straight and panels either
side of doorway are ght against door stop. Screw
panels to oor using 1 x 75mm tek screw per panel
as posioned in the Wall Plan. Screw near the panel
joins, where possible.
Once all appropriate posions are screwed down
remove the door stop.
Step 18: Fit door in posion as shown.
Step 19: Using 3 x 75mm tek screws, screw door
stud to the panel. Check that door opens.
Using 3 x 50mm beading nails, nail 15mm packer
onto side of door opening as shown in Wall plan
on pg. 5.
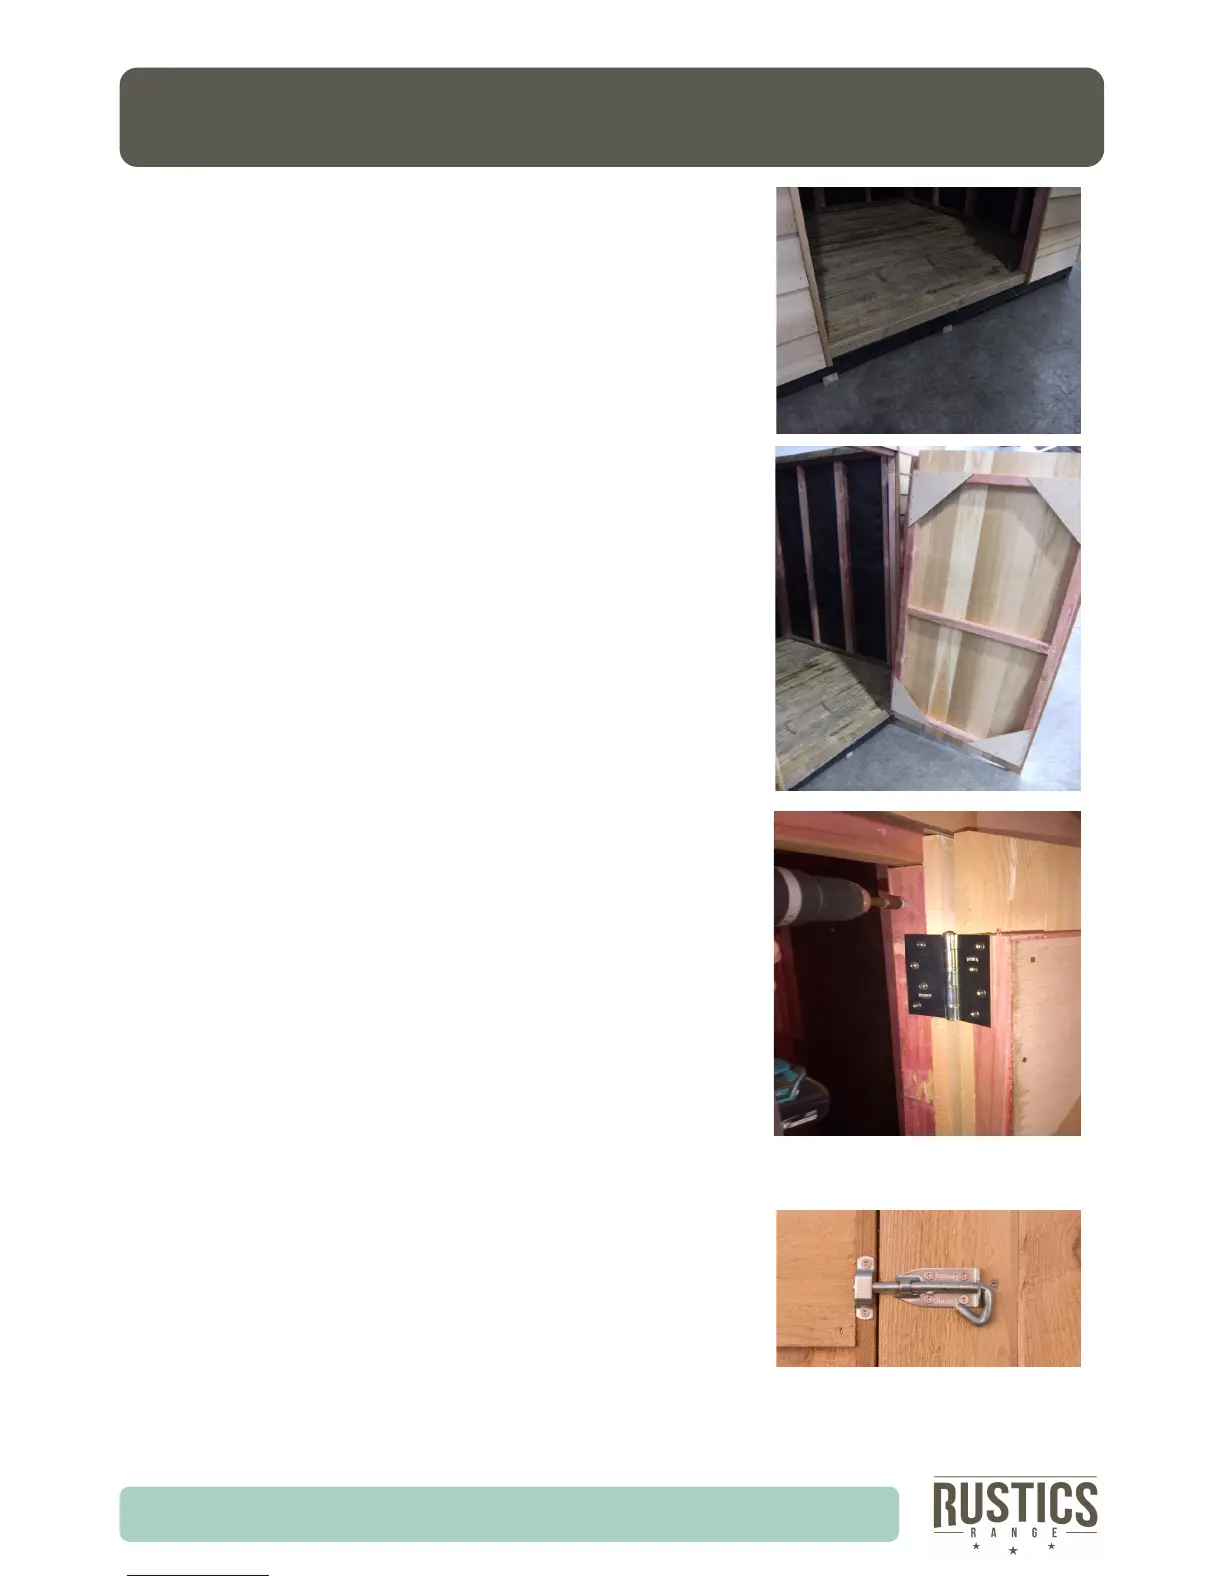
Step 20: Screw the Keeper through the 15mm Bead
into the Stud using the 32mm Stainless Steel screws,
so that it is central to the middle row of screws on the
door.
Screw the Padbolt inline with the Keeper so that the
bolt can slide in and out of place.
 Loading...