PG 9
IDAHO ROOF
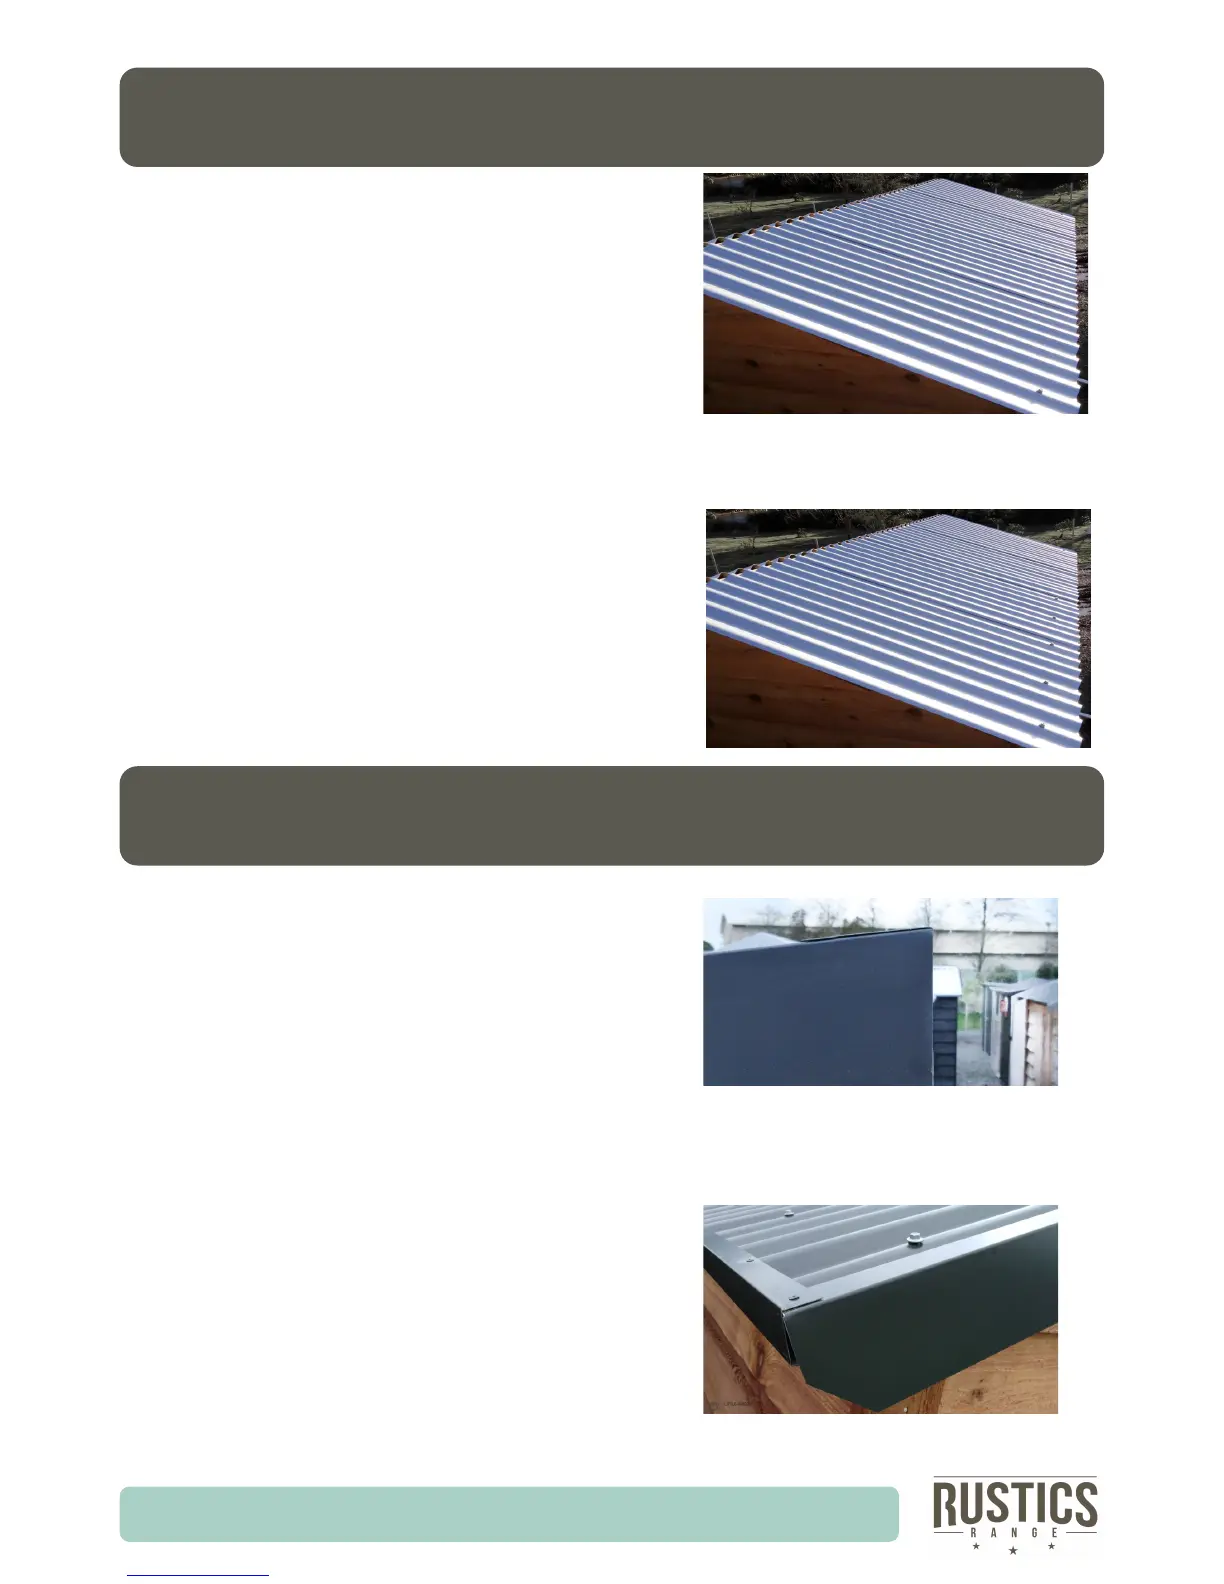
Step 14: Lay out remaining full roof sheets, with
sucient overlap that the last lip lines up with
the opposite ends purlins.
This may require overlapping mulple ribs.
Rivet these sheets together, 3 rivets per join, to
make 1 large roof panel as shown in photo.
Rivet top, middle and boom.
Screw the remaining corners to the top and
boom purlins again so the top overhangs by
150mm. Screw through every fourth rib at the top
and boom purlins.
Tip: If you have string or a long piece of mber use it as a
guide to screw in a straight line by lining it up with the
screws in the corners..
Above and below image show before and aer
being screwed down. Also note that the image
shown is not of this model.
IDAHO ROOF FLASHINGS
Step 15: Leaving each end free and ensuring each
end is ush with the edge of the roof. Rivet the
ridge ashing to the roof sheets, starng from the
third rib and then every eighth rib.
Slide the barge under the roof sheet, pushing the
barge in to create a square corner where the barge
and ridge ashing meet. Rivet the barge and Ridge
ashing with 1 rivet on both sides.
Step 16: Rivet the spoung to the barges, allowing
for approximately a 5mm spacing at either end for
water run o. Then rivet the barge to the roof lin-
ing up with the rivets on the ridge ashing.
Above shows the ridge ashing ,
below shows the barge ashings.
 Loading...