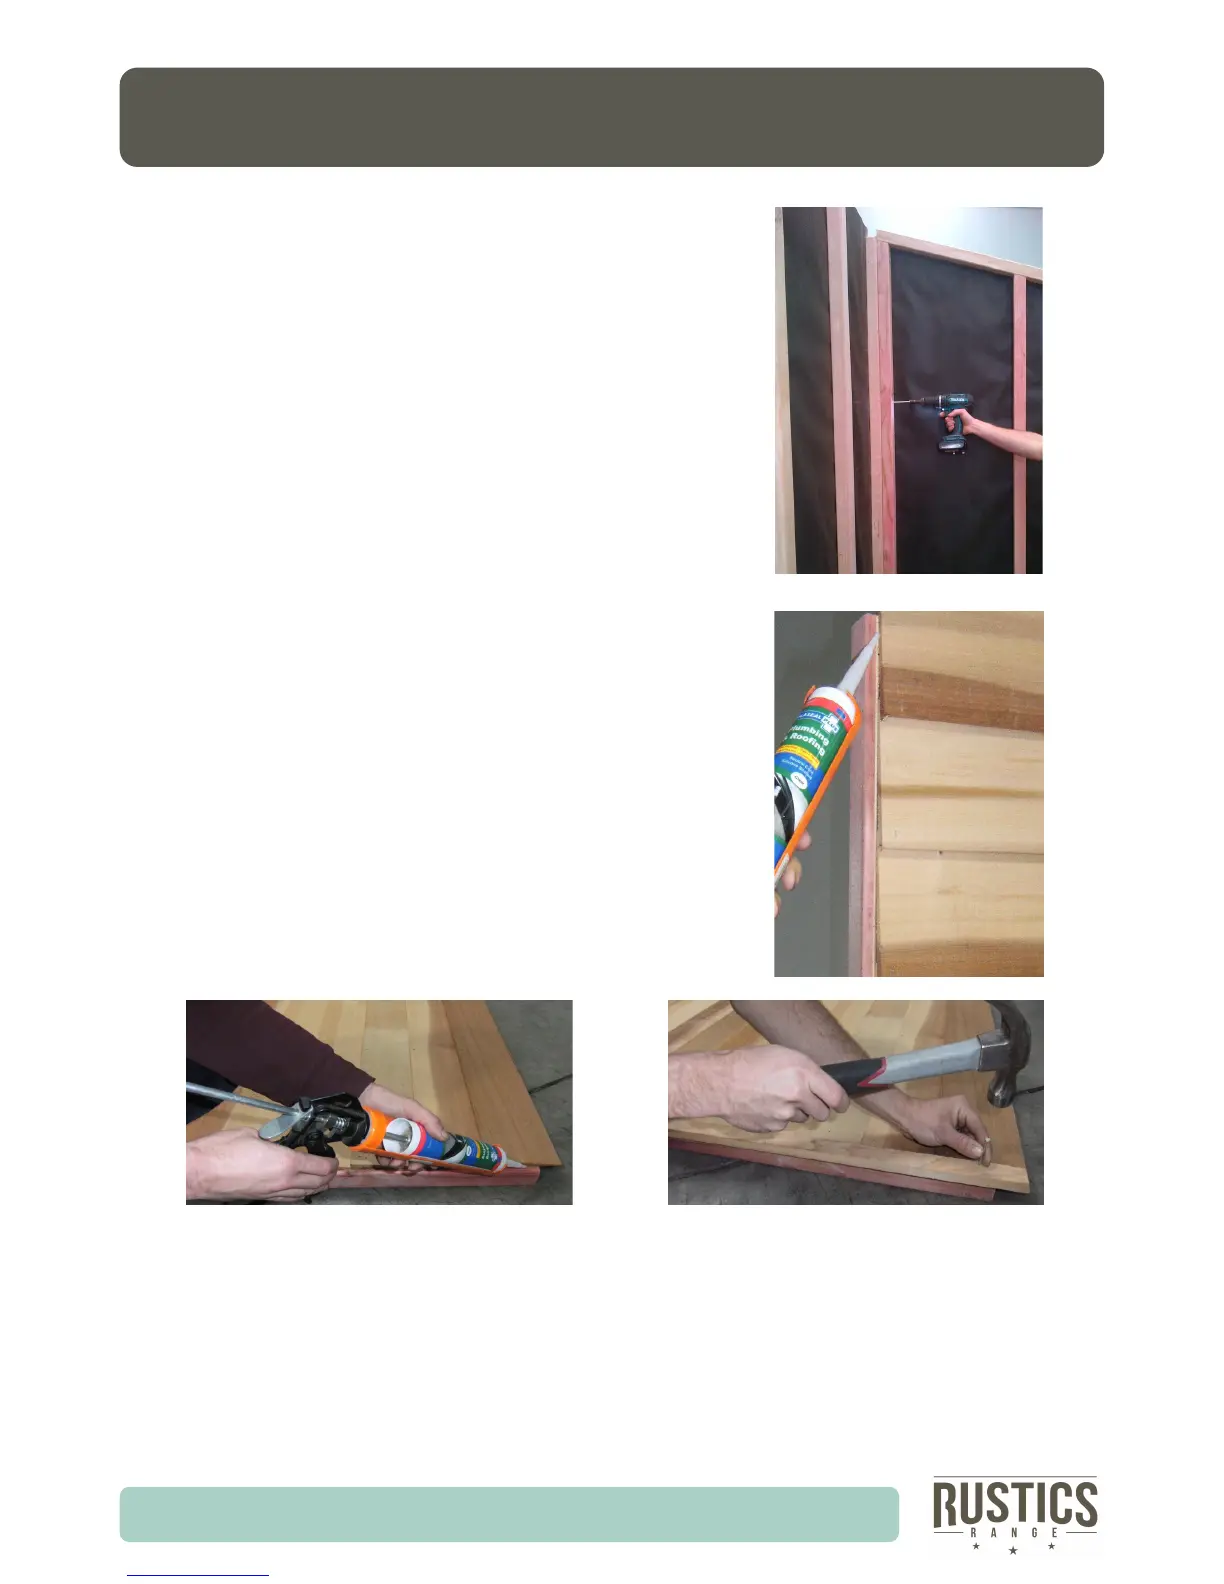
Step 4: Screw wall panels together using 75mm tek
screws (3 per panel), ensuring end wall panels are
inside the front and back panels as shown in the
wall plan on page 5.
Step 6: Silicone and nail remaining beads on each panel. Screw panels together
using 3 tek screws per join. Keep referring back to wall on page 5 if need be.
PG 6
IDAHO WALL INSTALLATION
Step 5: Silicone edge of weatherboards on the stand-
ing panel, and lying your next wall down silicone the
connecng edges weatherboards. Nail the bead to the
laid down panel. ( 4 bead nails per bead)
Make sure bead is properly sealed to avoid leaks.
Note: The top of beads is bevelled to allow for slope of
the roof.