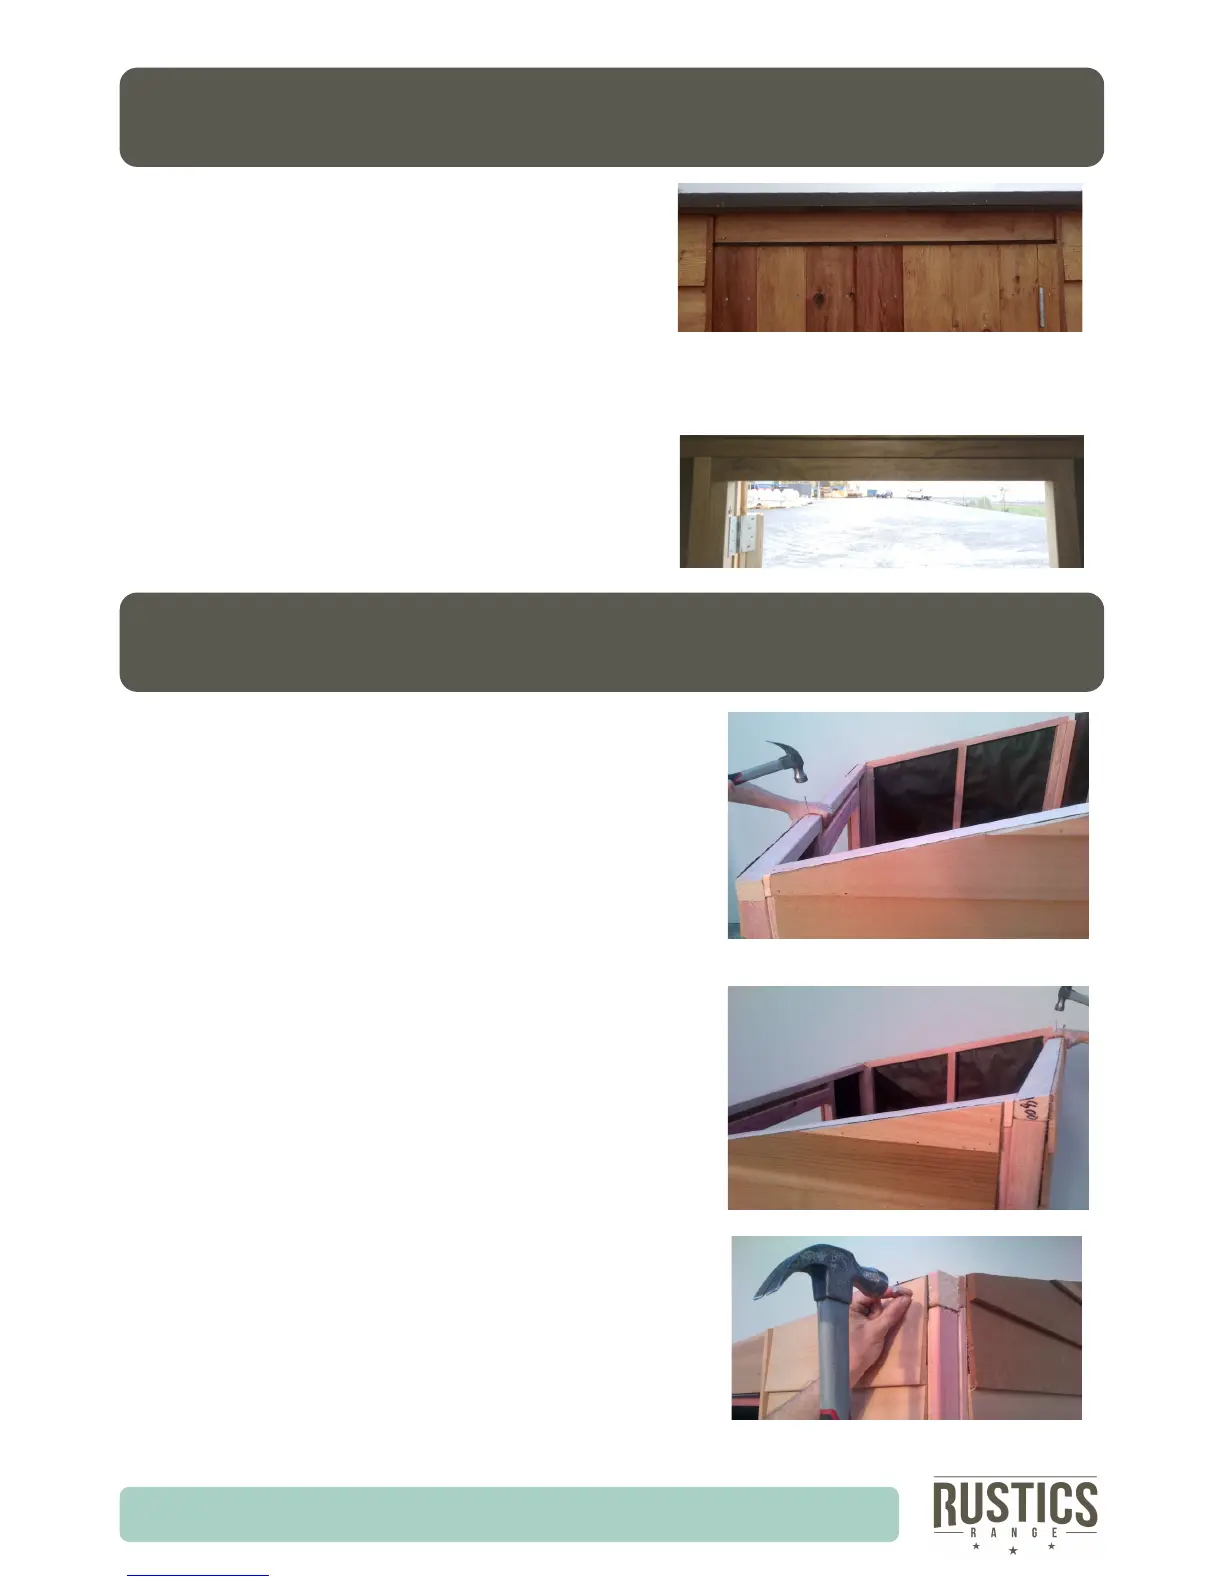
Step 8: Using 75mm framing nails, nail both top
plate seners into front and back wall panels
studs, as shown using 2 nails per stud on the
ends, and 1 nail for each remaining stud. Ensure
ends are spaced evenly before nailing.
Note: Back sener is bevelled.
Step 9: Using 30mm clouts nail top cedar boards
to Seners (2-3 per board). Predrill holes to stop
boards from spling.
PG 7
IDAHO TOP LINTEL
IDAHO TOP STIFFENER
Please note: this model does not have a large angle like
that shown.
Note: Weatherboards will come to the edge at the
corners. Unlike that shown above.
Step 7: Using the 15mm Packer screw the door
lintel into place, using 2 x 75mm tek screws at
each end. Screwing though the stud into the
lintel.
Tip: Using the screw to predrill a hole before
aempng to screw into the lintel will make this
easier.
Above Lintel from the outside, below Lintel from
the inside.