English
3
NOTE: This radio is capable of receiving AM (Amplitude
Modulated) and FM (Frequency Modulated) radio signals.
The AM frequency range is 522-1620 KHz or MW (Medium
Wave). The display on the radio will show MW and FM.
CAUTION
Danger of explosion if battery is incorrectly replaced.
Replace only with the same or equivalent type.
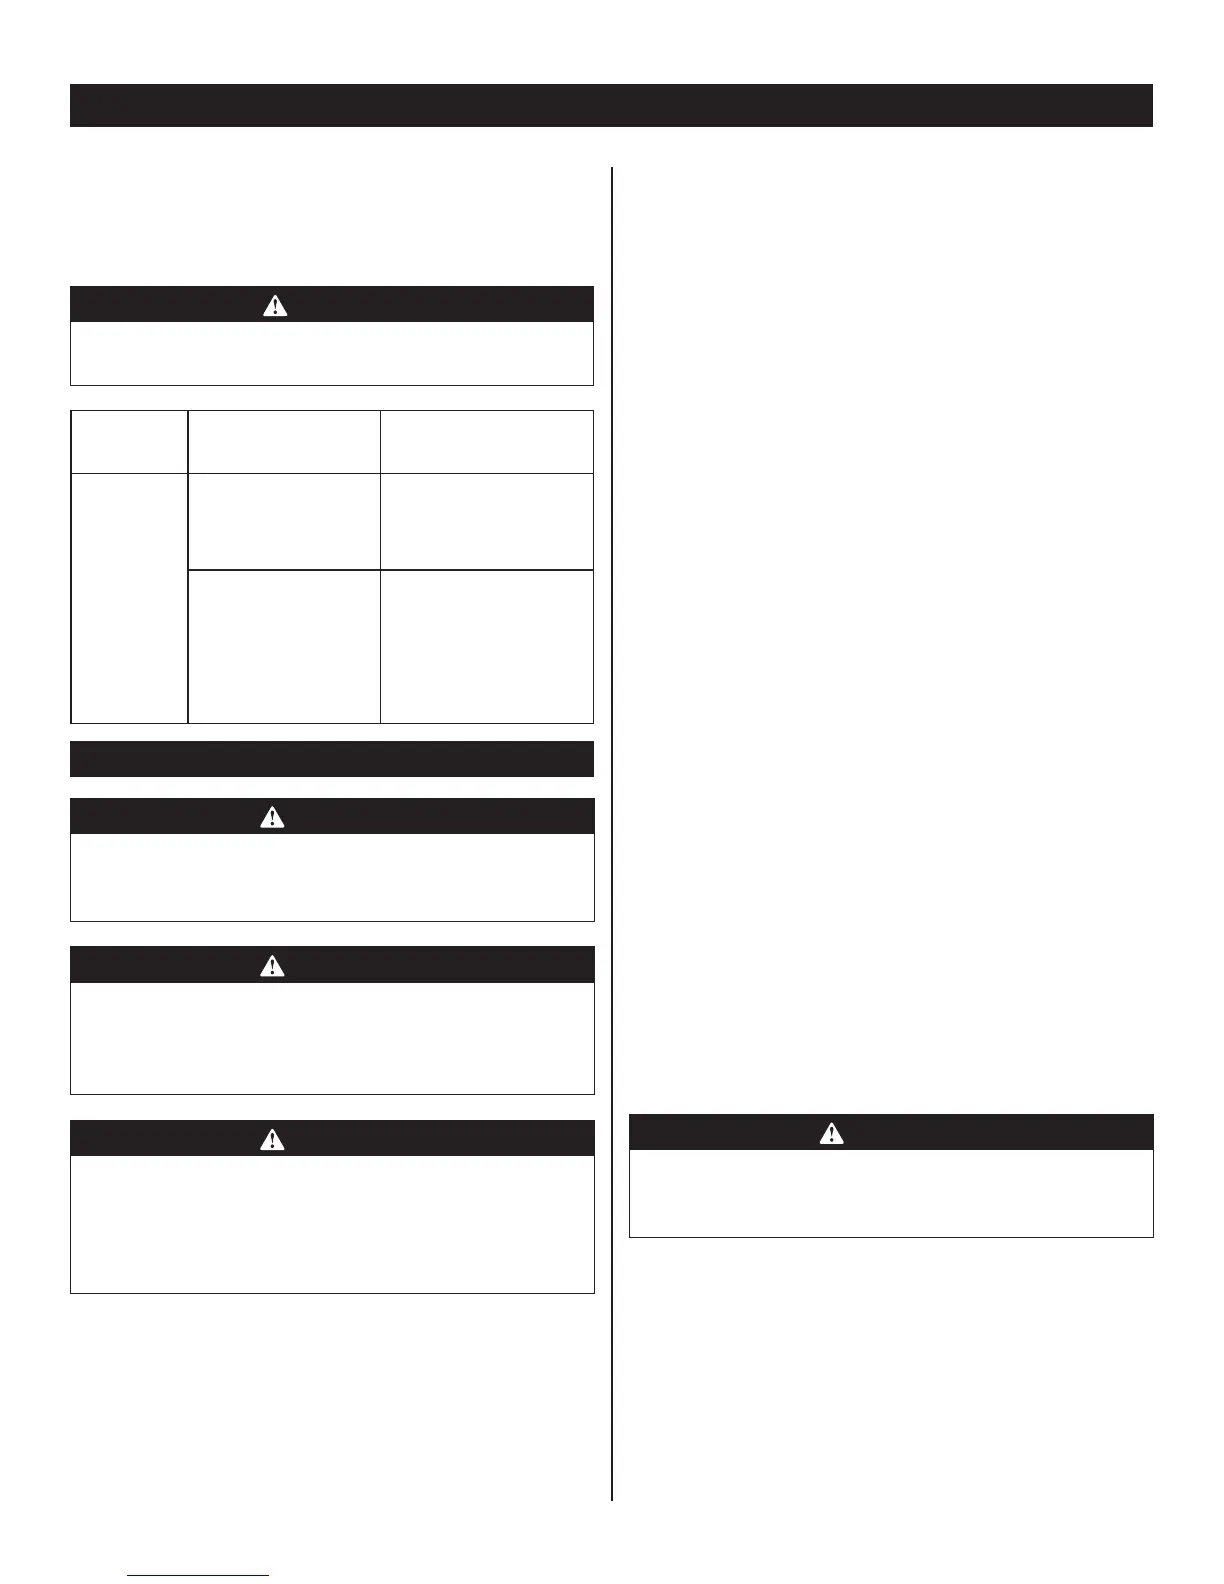
Model
Compatible
battery pack
Compatible charger
CDR180
BPL-1820
BPL-1815
BCL-1800
BCL1418
BCS618
ABP1801
ABP1802
ABP-1813
ABP-1815
BCL-1800
BCS618
BCL1418
ACR1800
260022029
OPERATION
WARNING
Do not allow familiarity with products to make you
careless. Remember that a careless fraction of a
second is suffi cient to infl ict serious injury.
WARNING
Do not use any attachments or accessories not
recommended by the manufacturer of this product. The
use of attachments or accessories not recommended
can result in serious personal injury.
WARNING
This radio is capable of producing sound levels that can
be dangerous to long-term hearing. Listening to music
at high volume for any period of time may cause noise-
induced hearing loss. The higher the volume, the less
time required before your hearing may be affected.
APPLICATIONS
You may use this product for the purposes listed below:
Listening to MW/FM radio
Amplifying MP3 players, CD players, and other
audio devices
This product will accept Ryobi One+ 18 V lithium-ion
battery packs and Ryobi One+ 18 V nickel-cadmium
battery packs.
BATTERY PROTECTION FEATURES
Ryobi 18 V lithium-ion batteries are designed with features
that protect the lithium-ion cells and maximise battery life.
Under some operating conditions, these built-in features
may cause the battery and the tool it is powering to act
differently from nickel-cadmium batteries.
During some applications, the battery electronics may
signal the battery to shut down, causing the tool to stop
running. To reset the battery and tool, release the trigger
and resume normal operation.
NOTE: To prevent further shut down of the battery, avoid
forcing the tool.
If releasing the trigger does not reset the battery and tool,
the battery pack is depleted. If depleted, the battery pack
will begin charging when placed on a lithium-ion charger.
TO INSTALL/REMOVE AAA BATTERIES (INCLUDED)
See Figure 2.
It is advisable to write down stored frequencies before
replacing the clock batteries.
There is a 15-second time frame for replacing the AAA
batteries. If batteries are not replaced within 15 seconds,
the radio will lose all settings previously stored in memory,
and they will require reprogramming.
Always use new alkaline batteries for replacement.
1. Loosen the screw from the battery cover.
2. Remove the battery cover.
3. Install two new AAA batteries according to polarity
indicators inside the battery compartment.
NOTE: Do not mix old and new batteries.
4. Replace the battery cover and secure with the screw.
TO INSTALL/REMOVE BATTERY PACK
See Figure 3.
WARNING
Always remove battery pack from the product when
assembling parts, making adjustments, cleaning, or
when not in use.
To install:
1. Place the battery pack in the radio, aligning the raised
rib on the battery pack with the groove in the radio’s
battery port.
2. Make sure the latches on each side of the battery pack
snap in place and that battery pack is secured in the
radio.
 Loading...