18
ADJUSTMENTS
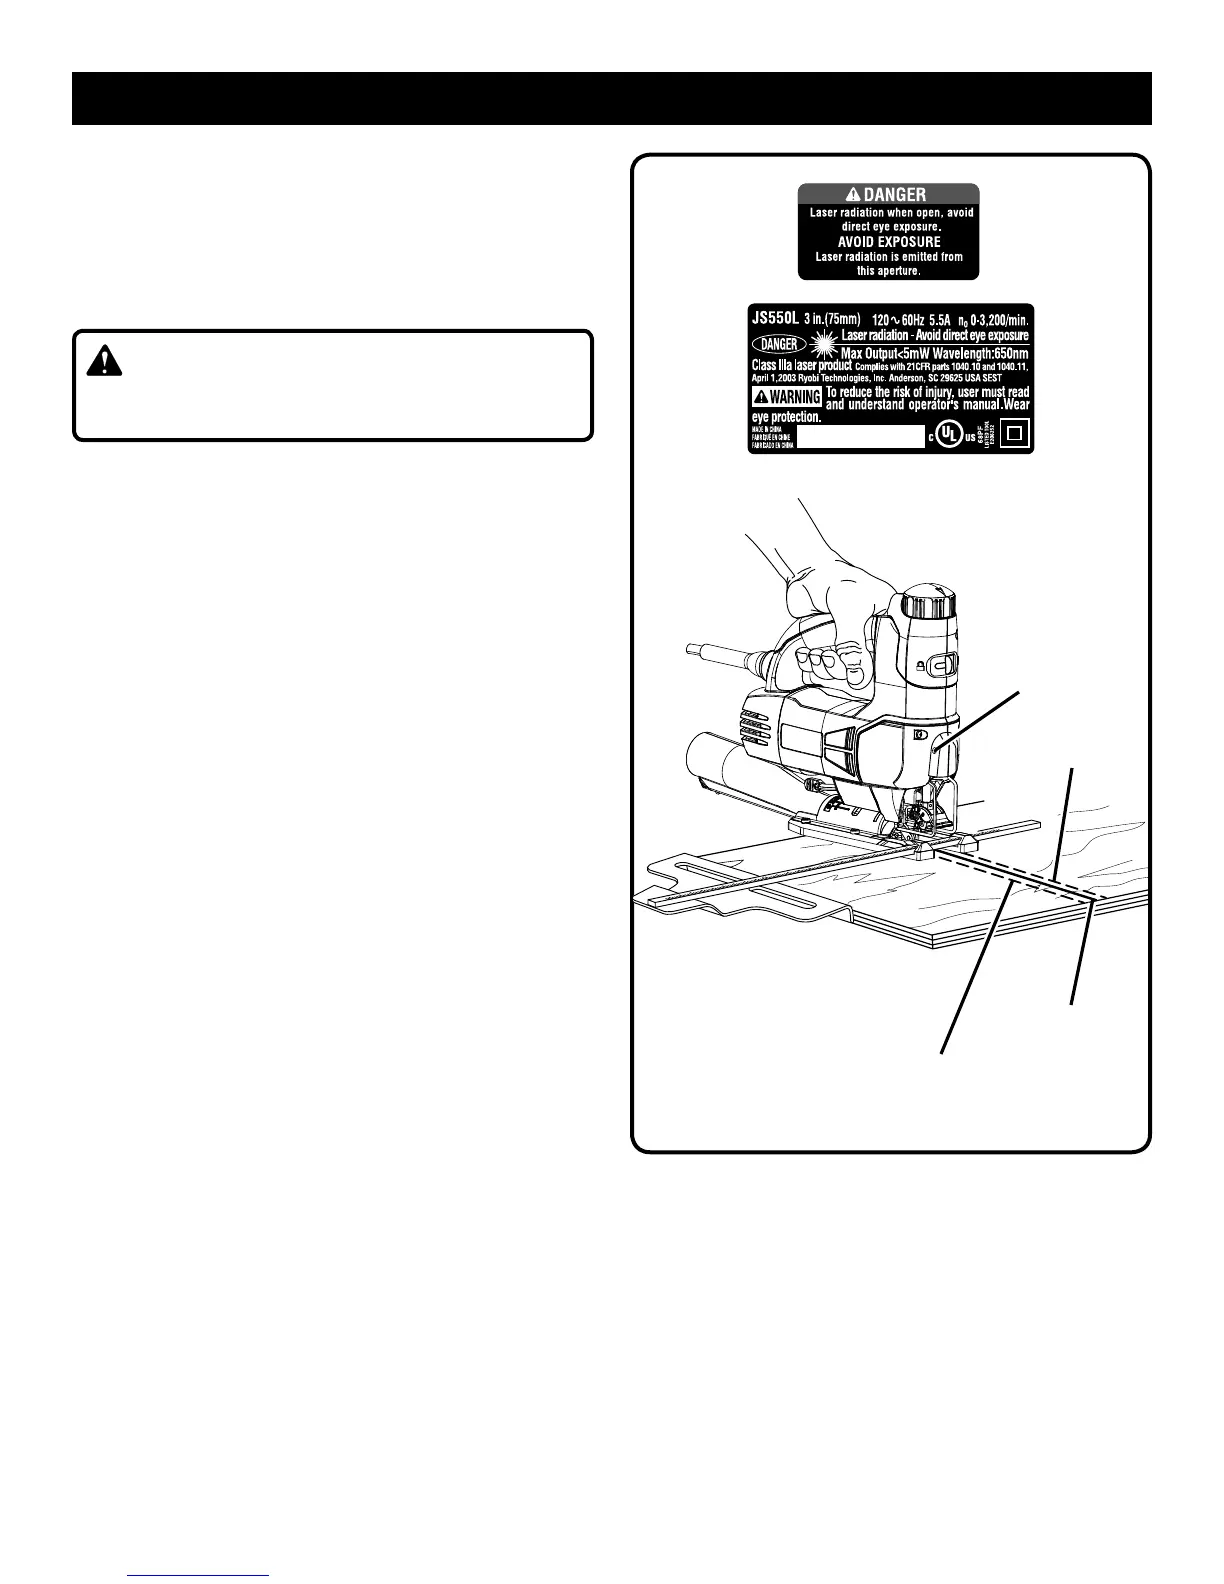
LASER GUIDE ADJUSTMENT
See Figure 20.
NOTE: Draw a pencil line on a scrap workpiece parallel to
the long edge of the base as a straight line guide to aid in
the adjusting process.
n Unplug the jig saw.
WARNING:
Failure to unplug your saw could result in accidental start-
ing causing possible serious personal injury.
n If the laser guide is on the right side of the line, turn the
laser adjustment screw counter clockwise one half of a
turn.
n If the laser guide is on the left side of the line, turn the
laser adjustment screw clockwise one half of a turn.
n Plug saw into power supply.
n Pull the switch trigger just enough to light the laser guide
to check for position.
n Repeat above steps if necessary.
Fig. 20
LASER LINE AT
RIGHT SIDE
CUT LINE
LASER LINE AT
LEFT SIDE
LASER
ADJUSTMENT
SCREW