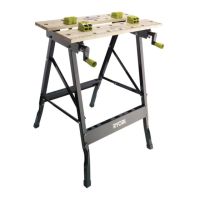
ASSEMBLY
12
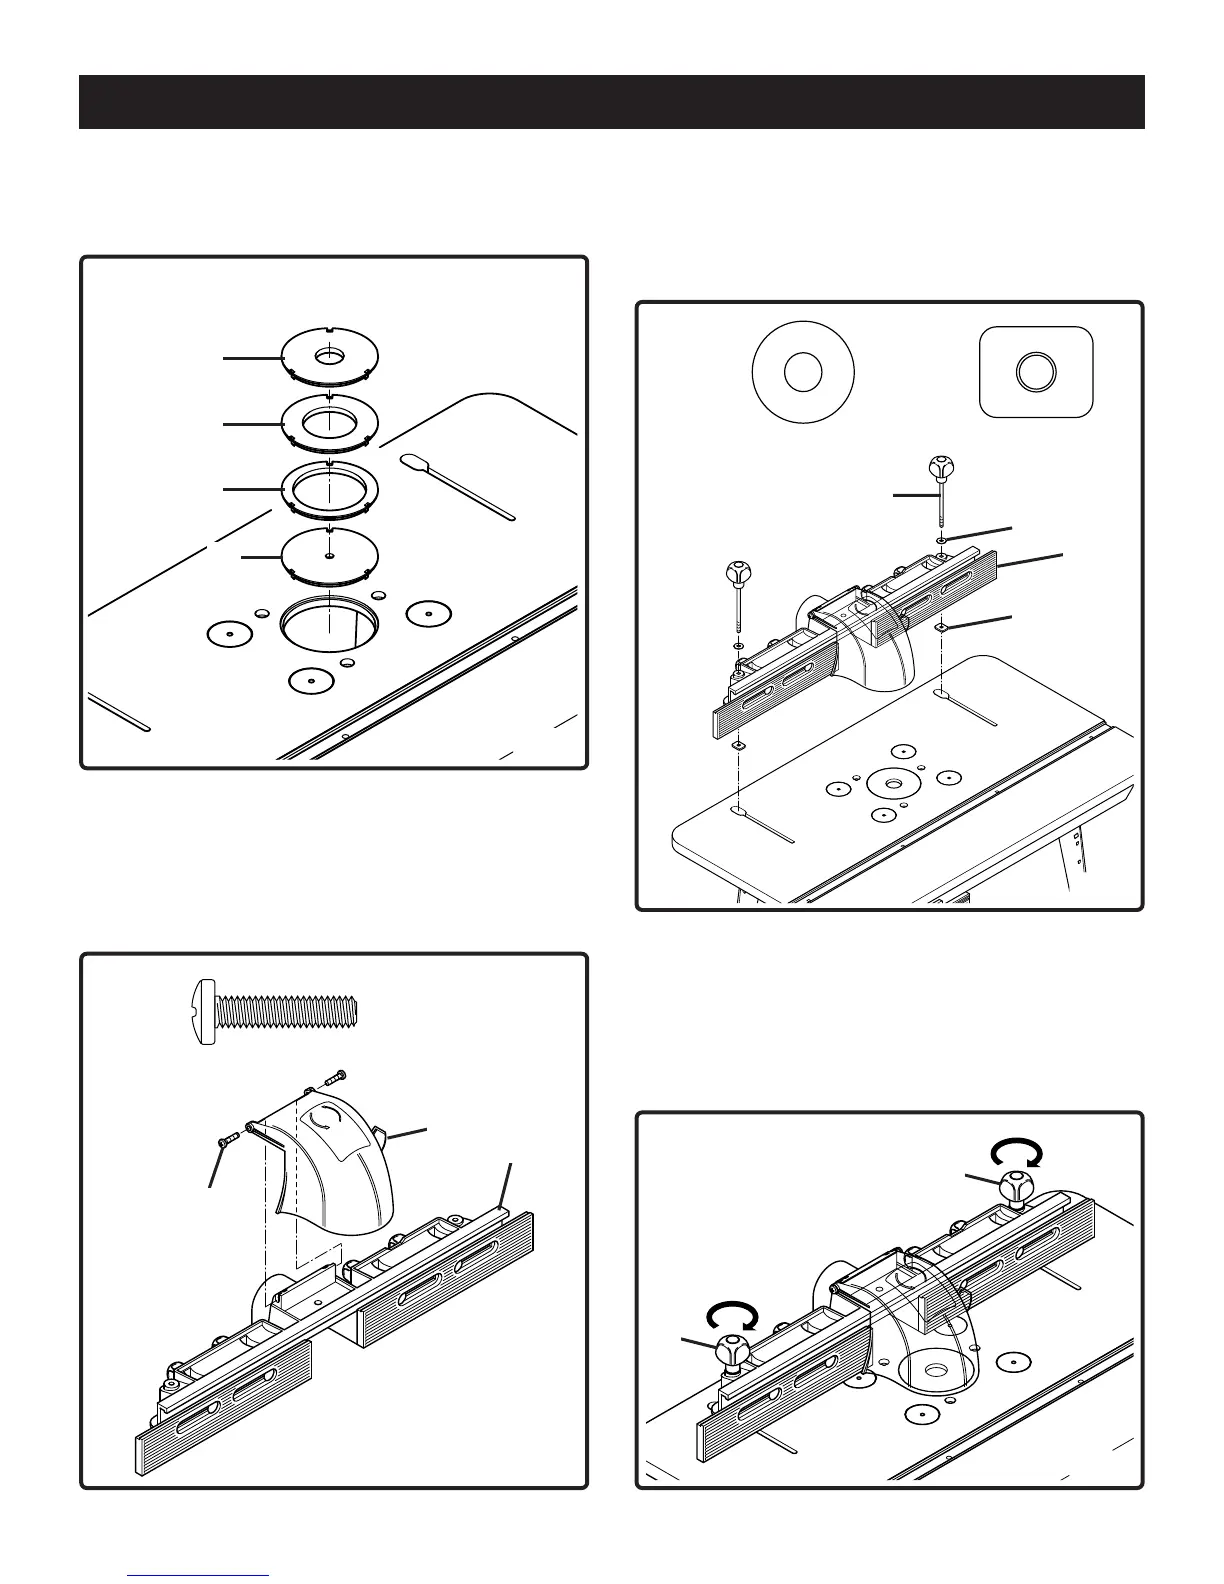
Fig. 6
TO ATTACH THE FENCE
See Figure 6
10. Attach the safety shield (A) to the fence (B) with 2 pan
head screws (AH). Use a #3 Phillips screwdriver to
tighten the screws.
ASSEMBLE THE INSERTS
See Figure 5
9. Three of the inserts are for use with a specific size bit.
See Figure 7
11. Place the 2 washers (AE) on top of the 2 holes in the
fence, insert the 2 knob screws (T) into the holes and
fasten on the other side with the 2 flat nuts (Z).
NOTE: Do not tighten the 2 flat nuts at this stage.
See Figure 8
12. Place the fence on the tabletop so that the 2 flat nuts
(Z) are placed into the 2 slots in the table. Slide the
fence forward (always parallel with the front of the
table). When the fence is in the desired location
tighten the knob screws (T) by turning clockwise.
AH (2)
Fig. 5
M
N
P
L
AH
A
B
Fig. 7
Fig. 8
AE (2) Z (2)
Z
AE
T
B
T
T
Bdal 6146.461 3Sprachen 04.06.2005 11:58 Uhr Seite 12