Do you have a question about the Ryonet Riley Hopkins 300 and is the answer not in the manual?
| Brand | Ryonet |
|---|---|
| Model | Riley Hopkins 300 |
| Category | Power Tool |
| Language | English |
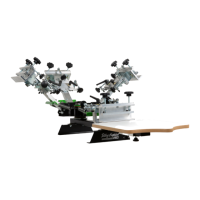
Install and tighten lower bumper bolt assemblies to hold parts in place.
Install and tighten upper bumper bolt assemblies to hold parts in place.
Mount print stations, matching numbers, snug but not fully tight.
Use 3/16" roll pins to align print stations, then tighten hardware.
Mount platens onto print stations and secure by tightening knobs.
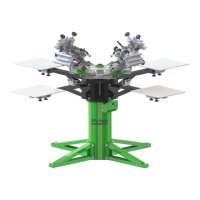
Install leveling feet for stability and adjust detent bracket tension.
Adjust press height by swiveling leg sections into higher position holes.
Adjust bearing gate tightness by turning the set screw clockwise.
Ensure print head arms are level with print stations for proper alignment.
Perform micro adjustments for front-to-back and side-to-side print registration.
Adjust off-contact and tilt using jam knobs and locking levers.
Warranties apply to original purchasers of new presses from Ryonet® after April 20, 2013.
Lifetime warranty for Band Members; 2-year for non-Band Members.
Covers non-wearable parts and components, excluding expendable parts and misuse.
Excludes installation, maintenance, used equipment, modifications, and negligence.
Service requires nearest Ryonet® location and proof of original purchase.
Contact Ryonet® for further warranty information via email or phone.