4. VIEWING FAULTS AND
FAULTS CODE DESCRIPTION
4. VIEWING ERRORS AND ERRORS DESCRIPTION
. VIEWING ERRORS AND ERRORS DESCRIPTION
4.1 HOW TO VIEW THE ERRORS
4.1 HOW TO VIEW THE ERRORS
Errors detected by the board are divided into three levels:
1. Level I errors: errors that block the elevator when they occur. But the elevator can resume operation
right after the error disappears.
2. Level II errors: errors that can be tolerated for a few occurrences before the elevator is blocked by the
board. The count of level II errors is shown on LCD Page 4. When the count of level II errors reaches the
preset number
, the board will block the elevator.
3. Level III errors: errors that the board considers to be fatal and will block any further operation of the
elevator.
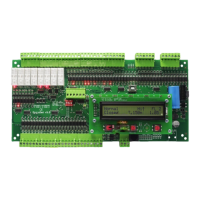
Pressing the Select push button while on LCD Page 4 will prompt the board to start displaying the last 15
errors saved in memory. The board begins by displaying the last error followed by the oor number where
the error occurred. Press Previous or Next push buttons to display the previous or next error.
4.2 HOW TO ERASE THE ERRORS
4.2 HOW TO ERASE THE ERRORS
To erase the errors as well as the count of level II errors from memory, enter the menu, go to Empty Error Log
and press Select push button. You will be prompted to conrm your request. If Yes is pressed all errors are
erased, if No is pressed, errors are not aected.
Refer to section 5.

 Loading...