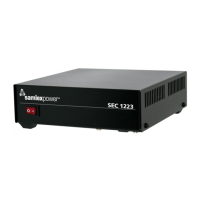
10 | SAMLEX AMERICA INC. SAMLEX AMERICA INC. | 11
MISE EN GARDE!
Montage de l’appareil sur une surface verticale avec les fentes de ventilation
sur les côtés vers le haut / vers le bas n’est pas recommandé. Comme expliqué
ci-dessus, il s’agit d’éviter que (i) la chute d’objets dans l’unité à travers les
fentes provoquant un court-circuit ou (ii) en tombant de délogé / composants
surchauffés fondu sur un matériau combustible en cas de défaillance interne
catastrophique.
4.5 AC SIDE CONNECTION
4.5.1 Connection for nominal AC input voltage of 120VAC (range: 100-130VAC),
50/60Hz (Factory preset condition)
The unit has been factory preset for nominal AC input voltage of 120VAC (range:100-
130VC), 50/60Hz.
120VAC power is fed to the unit through detachable, 120 VAC power cord supplied with
the unit. The power cord has the following specications:
• Length of the cord: 6 ft
• Cable : 3 conductors (Line – black; Neutral – White; Grounding - Green), each
AWG #18
• 15A Connector for power supply end: “IEC 60320 – C13” female connector.
Insert this end into the AC Power Inlet on the unit (2, Figs 2.1 / 2.2)
• 15A Plug for connecting to 120 VAC outlet: NEMA5-15P
4.5.2 Connection for nominal AC input voltage of 230VAC (range: 200-260VAC),
50/60Hz (will require internal jumper setting)
The unit can also be operated from nominal AC input voltage of 230VAC (range: 200 to
260VAC), 50/60Hz by internal jumper setting, changing internal fuse size and changing
AC power cord as described below:
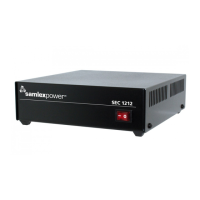
4.5.2.1 SEC-1212
Changing internal jumper setting:
a) Switch off the unit and unplug the AC power cord from the AC outlet supplying
AC power to the unit.
b) Remove the top cover by unscrewing 4 screws
c) For 120VAC operation (factory preset condition), points marked “D” and “E” on
the Printed Circuit Board (PCB) have been connected (shorted) with a exible,
yellow colored jumper wire that has black colored Quick Disconnect Terminal at the
2 ends. To convert to 230VAC operation, disconnect the Quick Connect Terminal
of the jumper wire at point “D” by pulling it upwards. Insulate this end with
insulation tape and use a cable tie to tie it securely to the nearby wire bundle.
SECTION 4 | Installation