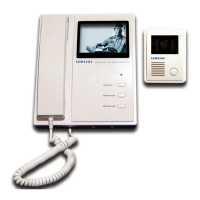
Samsung CCTV SDV-410Y QuickStart Instructions
Setting up SDV-410Y Video Intercom
System
This system is simple to install. It uses a
four (4) conductor wire connection for the
initial installation.
Step 1: Mount the Camera
1. For the SDV-410Y unit, using the
camera outside with a wall mount,
secure to the wall using spacers and
screws provided.
2. Remember: never aim the camera
directly at sunlight. The iris will
have a very hard time adjusting to
the light.
Step 2: connect the System to the Camera
See Figures 1
1. The four connections that are made from the camera to the monitor will connect to the
corresponding connection on both units.
2. Connect a wire to the “1R (12v DC)” on the back of the monitor to the back of the
camera, “1R”. Use standard 24-gauge low voltage wire.
3. Then, connect “2W (GND)” from the monitor to “2W” on the camera.
4. Next, “3Y” (Video)” from the monitor to “3Y” on the camera.
For 2W & 3Y:
Up to 50’- Use 24 gauge CAT5 cable
Up to 200’ – Use 18 gauge CAT5 cable
Over 200’ – Use RG6 Coax Cable, the inner coax in connected to 3Y and the shield is
connected to 2W.
5. Finally, connect “4B (audio)” from the monitor o the camera, “4B”. Use 18 gauge CAT5
cable.