Disassembly and Reassembly _ 11
Part Figure Description
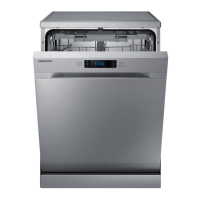
DOOR HINGE
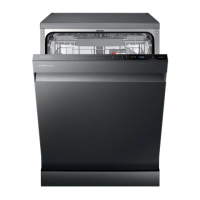
(except
DW6*M****IB)
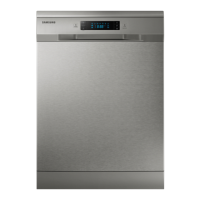
DW6*M****F*/DW6*M****U*/DW6*M****SS
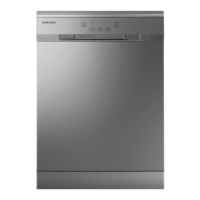
DW6*M****BB/DW60M****IB
5. Connect the wire harness to Sub PBA.
Caution
Make sure the Wire harness are not getting stuck in
other parts.
NOTE :
Incase of DW6*M5*** models, place the DOOR
SWITCH assembly on the CONTROL PANEL also.
B
A
6. Fix 8 screws to assemble the ASSY CONTROL
PANEL with Torx® T15 screwdriver.
- Type A: DD81-01371A / 2 pcs
- Type B: DD81-02466A / 6 pcs
1
2
7. Assemble the holes of DOOR OUTER to hooks of
CONTROL PANEL.
Warning
Do not this work without safety gloves. It can cause
injury from sharp edge.
Holes of DOOR OUTER Hooks of CONTROL PANEL
C
8. Fasten 6 screws to x the DOOR OUTER.
NOTE :
Use the Torx® T15 screw driver.
- Type C: DD81-01370A / 6 pcs
 Loading...