English - 3English - 2
English
• To disconnect the apparatus from the mains, the plug must be
pulled out from the mains socket, therefore the mains plug shall
be readily operable.
• Do not expose this apparatus to dripping or splashing. Do not put
objectslledwithliquids,suchasvasesontheapparatus.
• To turn this apparatus off completely, you must pull the power
plug out of the wall socket. Consequently, the power plug must
be easily and readily accessible at all times.
PRECAUTIONS
1. Ensure that the AC power supply in your house complies with
thepowerrequirementslistedontheidenticationsticker
located on the bottom of your product. Install your product
horizontally, on a suitable base (furniture), with enough space
around it for ventilation (7~10 cm). Make sure the ventilation
slotsarenotcovered.Donotplacetheunitonampliersor
other equipment which may become hot. This unit is designed
for continuous use. To fully turn off the unit, disconnect the AC
plug from the wall outlet. Unplug the unit if you intend to leave
it unused for a long period of time.
2. During thunderstorms, disconnect the AC plug from the wall
outlet. Voltage peaks due to lightning could damage the unit.
3. Do not expose the unit to direct sunlight or other heat
sources. This could lead to overheating and cause the unit to
malfunction.
4. Protect the product from moisture (i.e. vases), and excess
heat(e.g.areplace)orequipmentcreatingstrongmagnetic
orelectricelds.UnplugthepowercablefromtheACwall
socket if the unit malfunctions. Your product is not intended
for industrial use. It is for personal use only. Condensation may
occur if your product has been stored in cold temperatures. If
transporting the unit during the winter, wait approximately
2 hours until the unit has reached room temperature before
using.
5. The battery used with this product contains chemicals that are
harmful to the environment. Do not dispose of the battery in the
general household trash. Do not expose the battery to excess
heat,directsunlight,orre.Donotshortcircuit,disassemble,or
overheat the battery.
CAUTION : Danger of explosion if the battery is replaced
incorrectly. Replace only with the same or equivalent type.
01 CHECKING THE
COMPONENTS
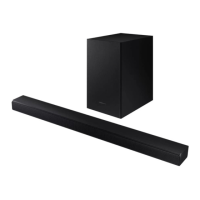
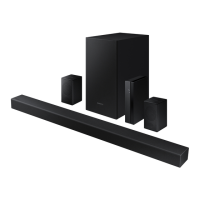
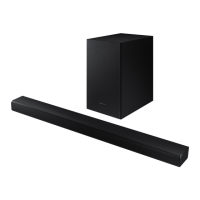
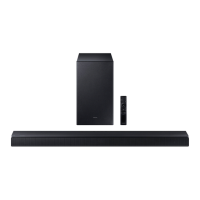
Soundbar Main Unit / Subwoofer / Remote Control / Batteries
/ Power Cord X 2 (Subwoofer, Soundbar) / Optical Cable
NOTES
• For more information about the power supply and power
consumption, refer to the label attached to the product.
(Label: Bottom of the Soundbar Main Unit)
• To purchase additional components or optional cables, contact a
Samsung Service Centre or Samsung Customer Care.
• Designandspecicationsaresubjecttochangewithoutprior
notice.
02 PRODUCT OVERVIEW
Front Panel / Top Panel of the Soundbar
Source
Volume
Power
Position the product so that the SAMSUNG logo is located
on the top.
Display
Press the (Source) button and the mode to be
changed appears on the display. (D.IN / BT / USB)
Bottom Panel of the Soundbar
USB (5V 0.5A)
DIGITAL AUDIO IN
(OPTICAL)
POWER
USB (5V 0.5A)
DIGITAL AUDIO IN
(OPTICAL)
POWER
USB (5V 0.5A)
DIGITAL AUDIO IN
(OPTICAL)
POWER
USB (5V 0.5A)
DIGITAL AUDIO IN
(OPTICAL)
USB (5V 0.5A)
DIGITAL AUDIO IN
(OPTICAL)
POWER
USB (5V 0.5A)
DIGITAL AUDIO IN
(OPTICAL)
POWER
DIGITAL AUDIO IN (OPTICAL)
Connect to the digital (optical) output of an external
device.
USB (5V 0.5A)
ConnectaUSBdeviceheretoplaymusiclesstoredon
the USB device through the Soundbar.
POWER
Connect the Soundbar's AC power cable.
03 CONNECTING THE
SOUNDBAR
Connecting the power and units
• For more information about the required electrical power and
power consumption, refer to the label attached to the product.
(Label: Bottom of the Soundbar Main Unit)
Rear of Subwoofer
Bottom of the Soundbar Main Unit
USB (5V 0.5A)
DIGITAL AUDIO IN
(OPTICAL)
POWER
USB (5V 0.5A)
DIGITAL AUDIO IN
(OPTICAL)
POWER
USB (5V 0.5A)
DIGITAL AUDIO IN
(OPTICAL)
POWER
USB (5V 0.5A)
DIGITAL AUDIO IN
(OPTICAL)
POWER

 Loading...
