The main lead must be plugged into an appropriate socket.
Before plugging your system into a main socket, you must check
the voltage.
Plug the main lead (marked AC Cord on the rear of the system) into
an appropriate socket.
Press the On/Standby( ) button to switch your micro component
system on.
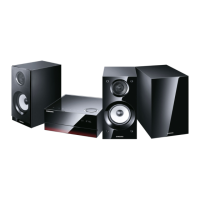
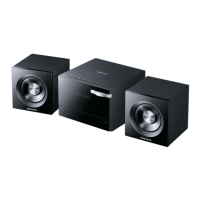
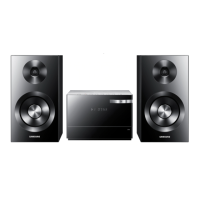
To take full advantage of your new micro component system, fol-
low these installation instructions before connecting the unit.
Install the system on a flat, stable surface.
Never place this unit on carpeting.
Never place this unit in an outdoor area.
Maintain an open space of approximately 6 inches (15 cm) on the
sides and rear of the system, for ventilation purposes.
Make sure that you have enough room to open the compact disc
compartment easily.
Place the loudspeakers at a reasonable distance on either side of
the system to ensure good stereo sound.
Direct the loudspeakers towards the listening area.
For optimum performance, make sure that both speakers are placed
at an equal distance above the floor.
Where to Install Your
Micro Component System
Connecting your System to the
Power Supply
2
GB
8
1
The auxiliary input can be used to take advantage of the
sound quality of your micro component system when listening
to other sources.
Examples
: A television
A video disc player
A Hi-Fi stereo video cassette recorder
To connect the external source, the source must have an audio
output. In addition, you need an RCA connection cable.
Set the system to standby mode and disconnect it and the external
source from the main.
Connect the audio cable to the rear of the micro component system.
Connect the... To the connector marked...
Red jack R (right)
White jack L (left)
For optimum sound quality, do not invert the right and left
channels.
Plug the system back into the main socket and press On/Standby
( ) to switch it on.
Select the AUX source by pressing AUX.
Result: AUX is displayed.
Switch the external source on.
Adjust the volume and balance as required:
Volume Equalizer S.Bass
Example: You can watch a film and take advantage of stereo sound
provided that the original sound track is in stereo (as if you
were in a cinema).
Connecting to an External Source
1
2
3
4
5
6
This unit can output CD digital sound signals through this jack. Use
an optical cable to connect digital audio equipment.
(DAT deck, MD recorder, etc.).
Remove the dust cap (1) from the CD DIGITAL OUT jack. Then,
connect an optical cable plug to the CD DIGITAL OUT jack.
When the CD DIGITAL OUT jack is not being used.
Attach the supplied dust cap.
CD Digital Out Jack
(1)
 Loading...