6
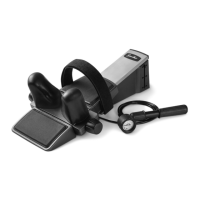
Rotate the gauge housing of the hand pump to the “PUMP”
position. Begin SLOWLY pumping air into the cylinder by stroking
the pump handle all the way out and all the way in. Observe the
gauge to make sure you are staying within the guidelines provided
by your health care provider. When you have reached the desired
amount of stretch, rotate the gauge housing to the “HOLD” position.
Begin timing your treatment now, following the instructions of your
health care provider.
CAUTION: Do not exceed level of traction prescribed by your
health care provider. The stretch provided by traction should never
cause pain. Relax . . . let your traction device do the work.
When the treatment is complete, release the traction by rotating the
gauge housing to the “RELEASE” position.
CAUTION: Keep fingers away from the gap between the neck
carriage and base.
Undo the head strap. You should rest and relax for a few moments;
then move your head slightly up and down and side to side a few
times before getting out of the traction device.
NOTE: In the course of your treatment it is normal for a small loss
of pressure (by 10%) due to the relaxation of your spine. As this
occurs, add additional air to return to the prescribed force. If you
give too much traction, rotate the gauge housing to the “RELEASE”
position to let some air out of the system.
Review of Hand Pump Operation
1. “HOLD” - holds traction force at the desired level.
2. “PUMP” - fills the cylinder with air, increasing the traction force.
3. “RELEASE” - empties air from the cylinder during or after
tr
eatment and prior to use.