– 6 – – 7 –
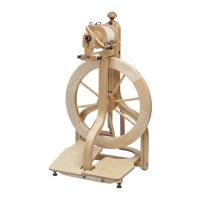
FOR ALL WHEELS
ADJUSTING THE FRONT MAIDEN
We have adjusted the maiden stop
(black hex head screw) at the factory,
but you should check to see that it
is adjusted properly for your wheel.
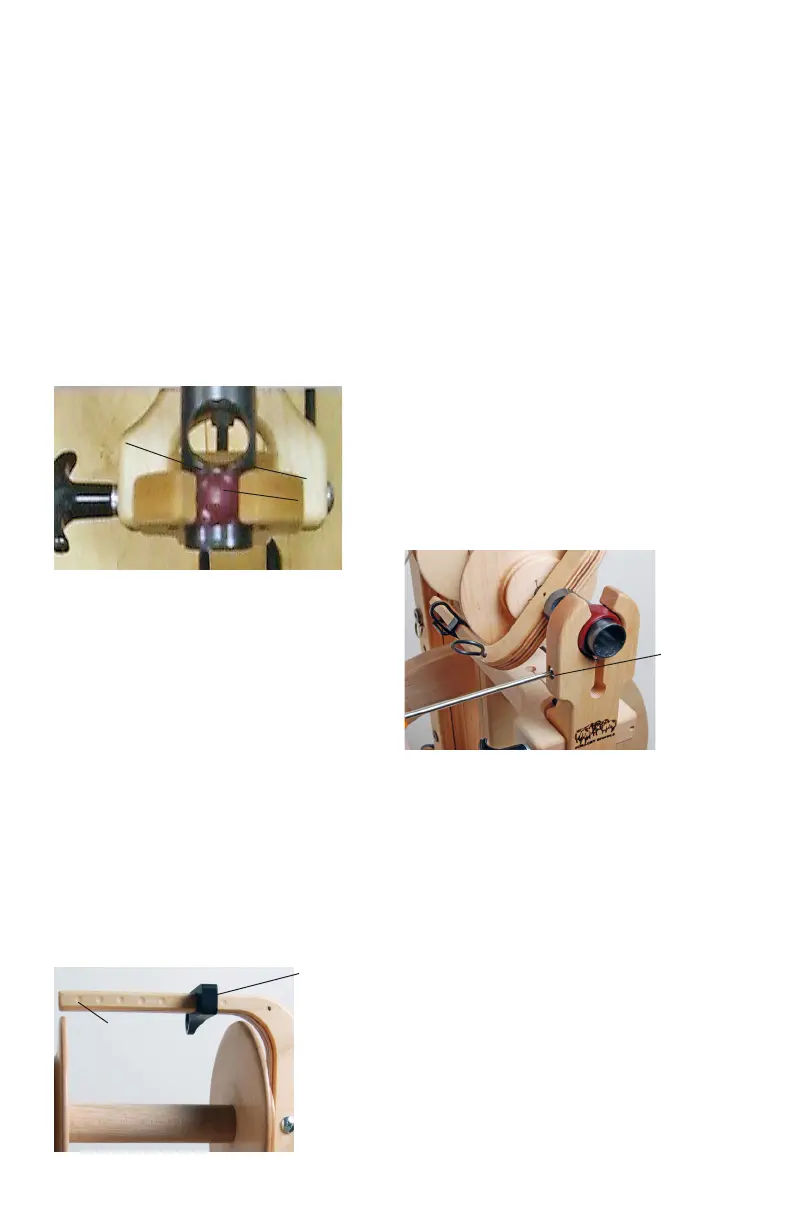
Look down from the top to where
the yer shaft enters the front bear-
ing. There should be a 1/16" space
between the burgundy bearing and
the black shoulder of the yer shaft.
If there is no gap, fold down the front
maiden and use the 5mm hex head
wrench to adjust the screw in or out
as necessary. Fold the front maiden
up and check the t.
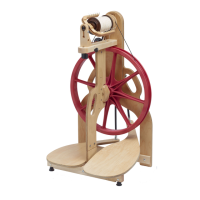
MOVING THE FLYER HOOKS
Along the bottom of each yer arm
are eight small dimples. The adjust-
able yer hooks slide along the yer
and a spring loaded ball bearing snaps
into place at each dimple. The yer
hooks move most easily if you hold
the hooks above and below the yer.
1/16"
gap
bearing
shoulder
Note: to keep your yer in balance,
always leave both hooks on the yer.
CHECKING THE FLYER
After installing the yer assembly,
with the drive band off, spin the yer
arms with your nger. If it turns
freely, you’re ready to spin. If there
seems to be resistance, follow the
directions in the section Adjusting the
front maiden.
If the yer still does not turn freely,
you might need to loosen the bear-
ing adjustment screw on the side of
the front maiden. Use a Phillips head
screw driver and loosen a quarter
turn. Test the yer and repeat this
process again if needed.
USING LONGER DRIVE BANDS
If you are using a slow speed whorl,
we recommend tying a longer drive
band. Using your usual drive band
with the larger whorls will stretch out
the drive band over time, so that when
you resume spinning with a smaller
whorl, your drive band will be too
large.
bearing
adjustment
screw
dimple
adjustable
yer hook
 Loading...